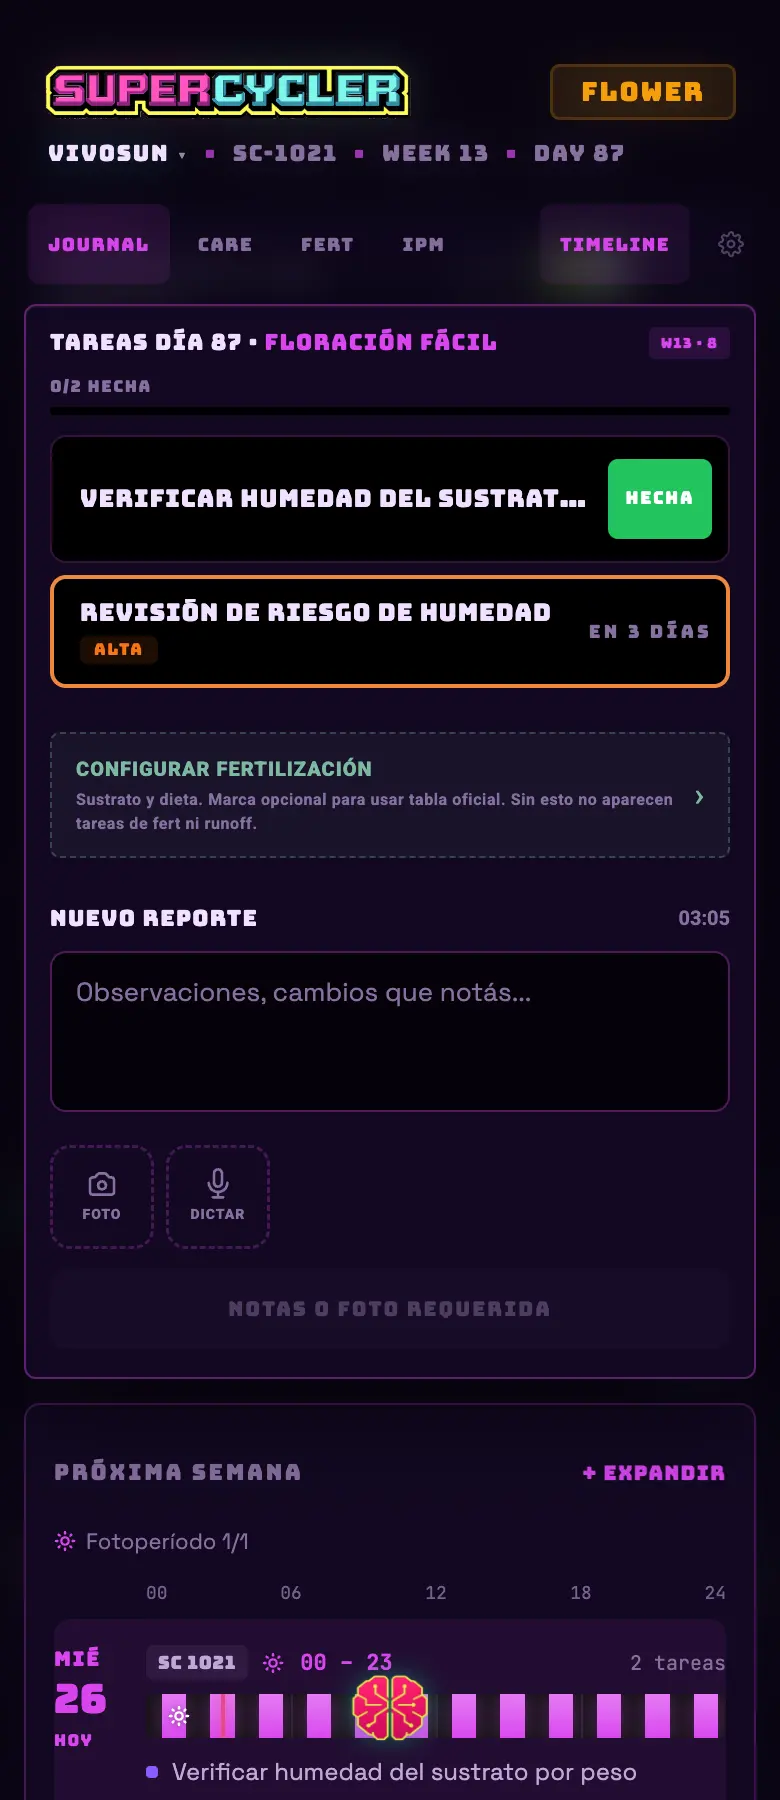
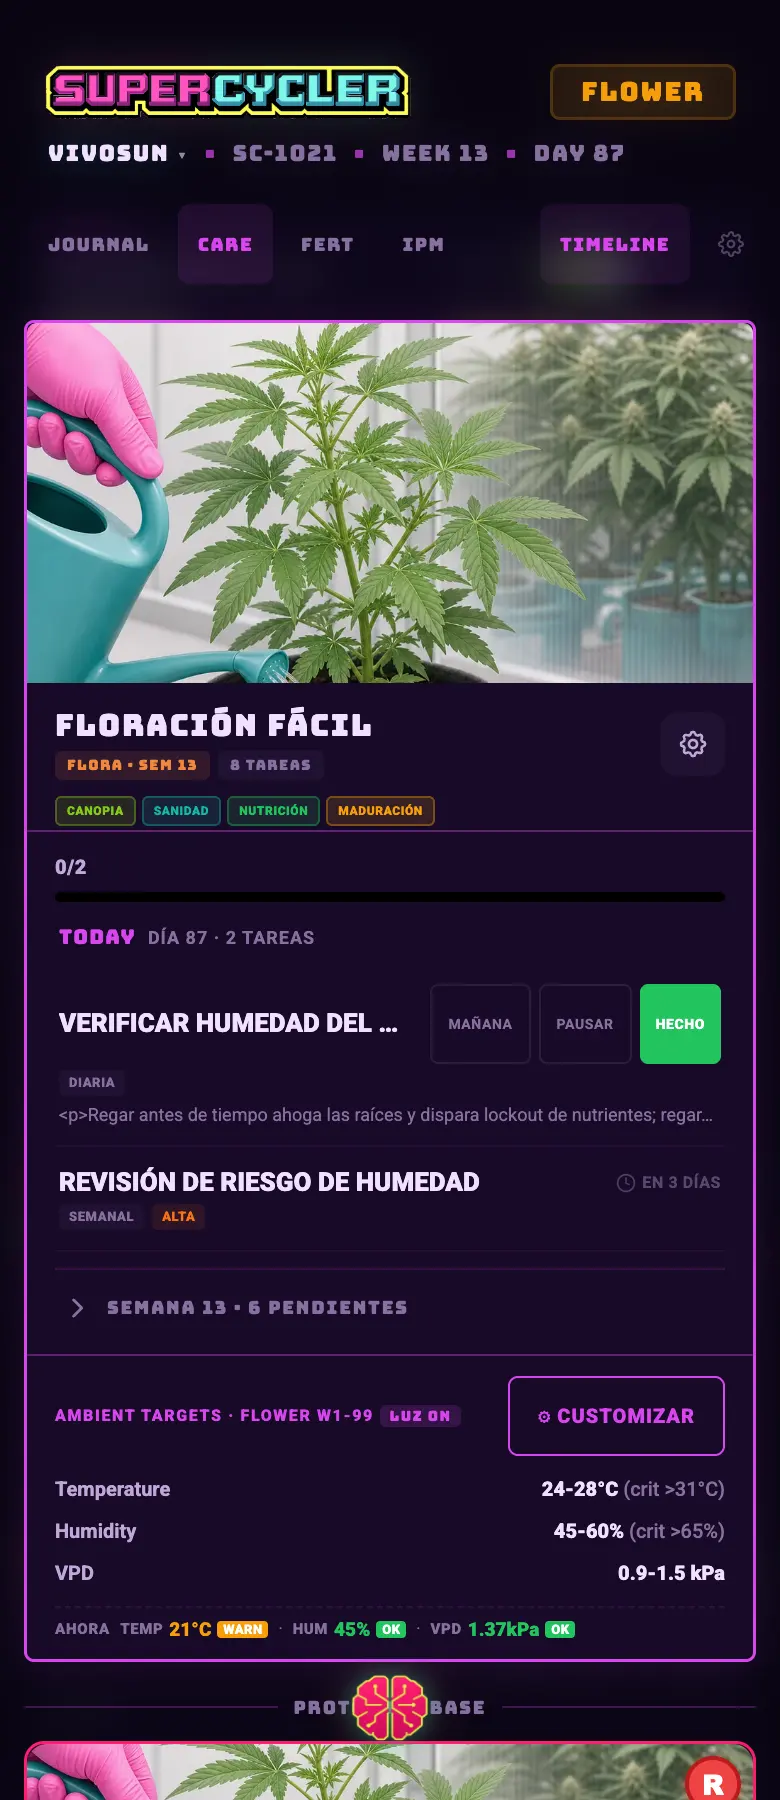
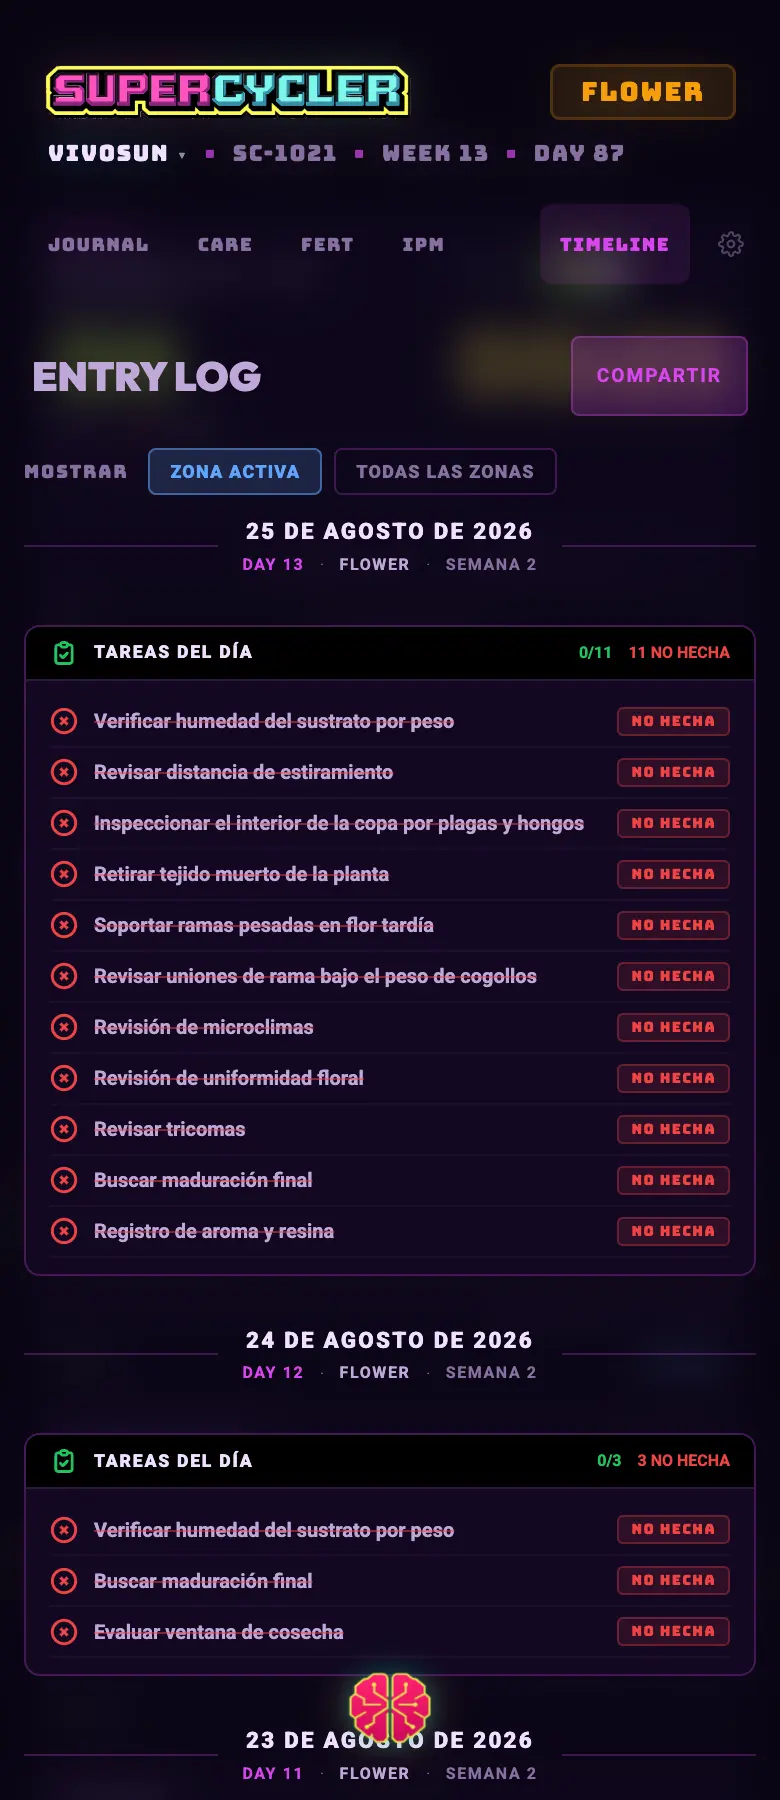
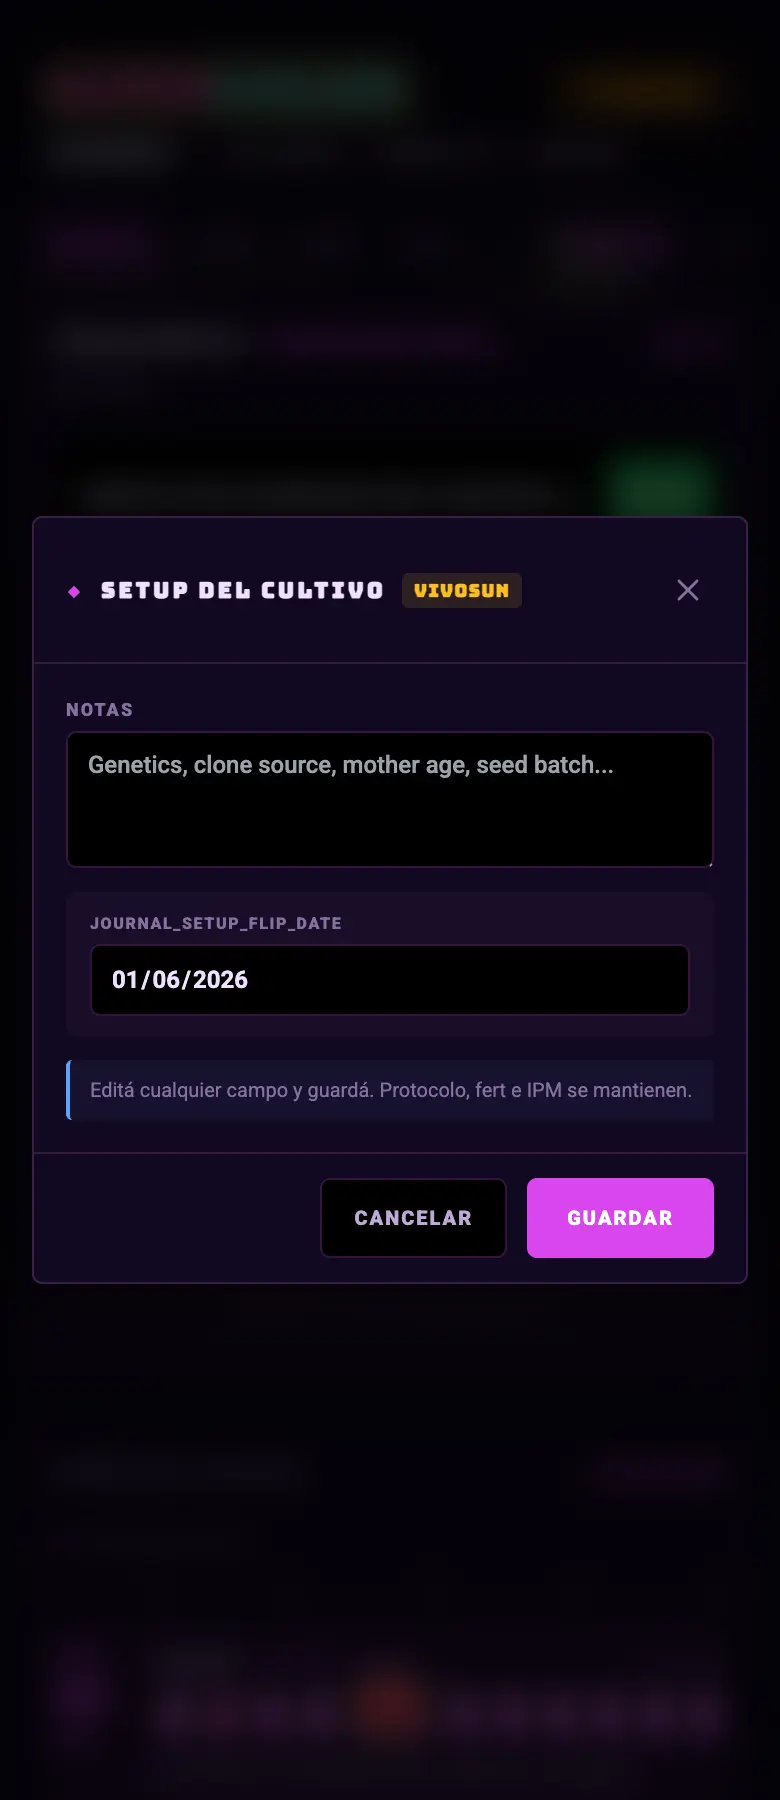
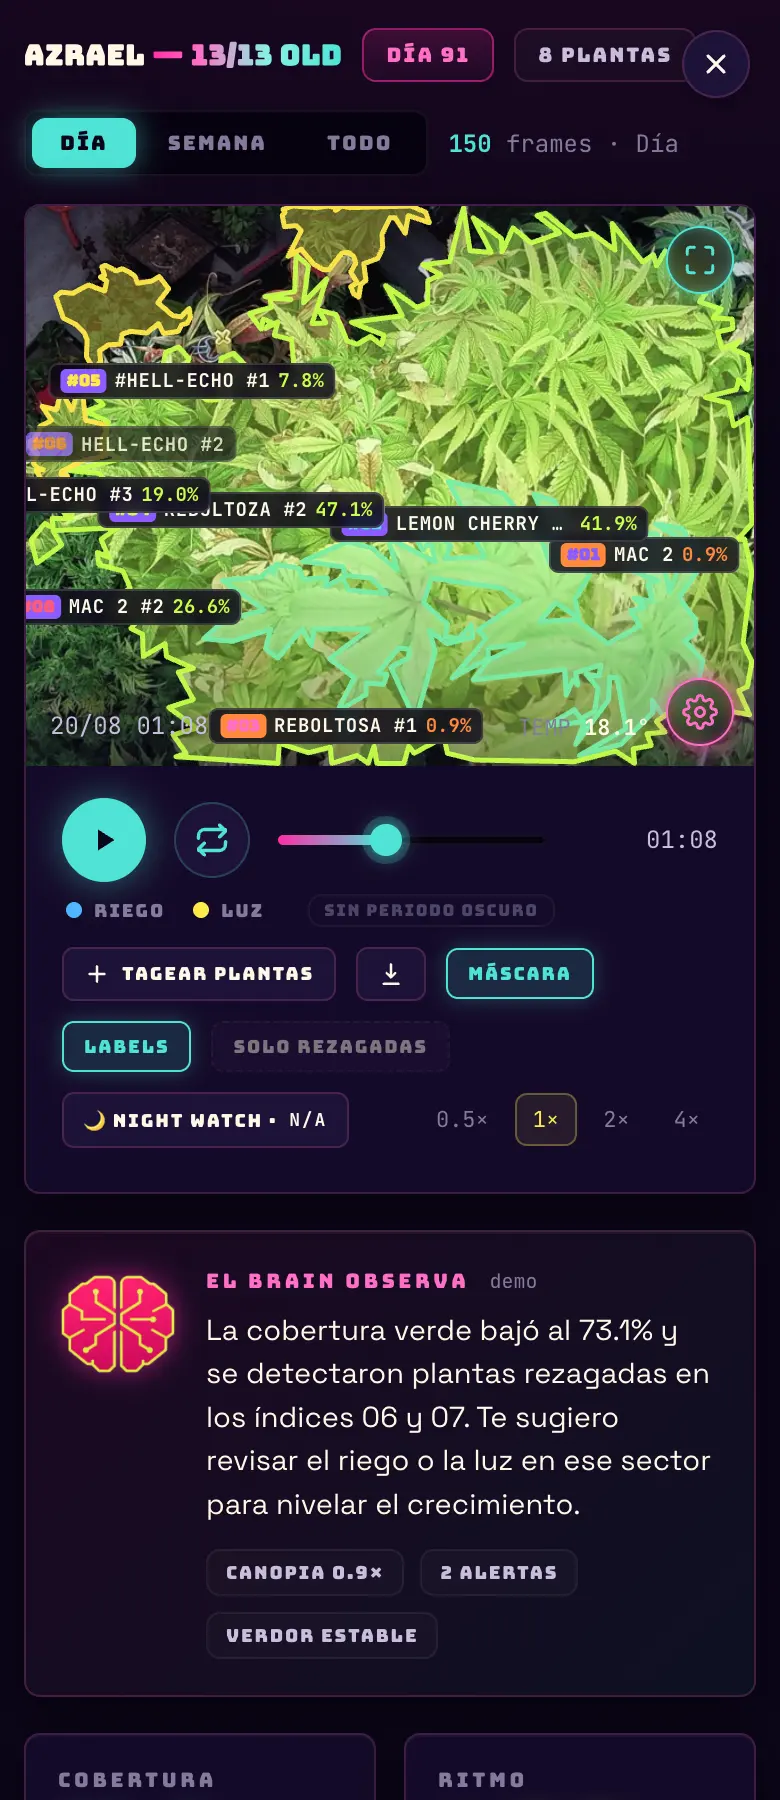
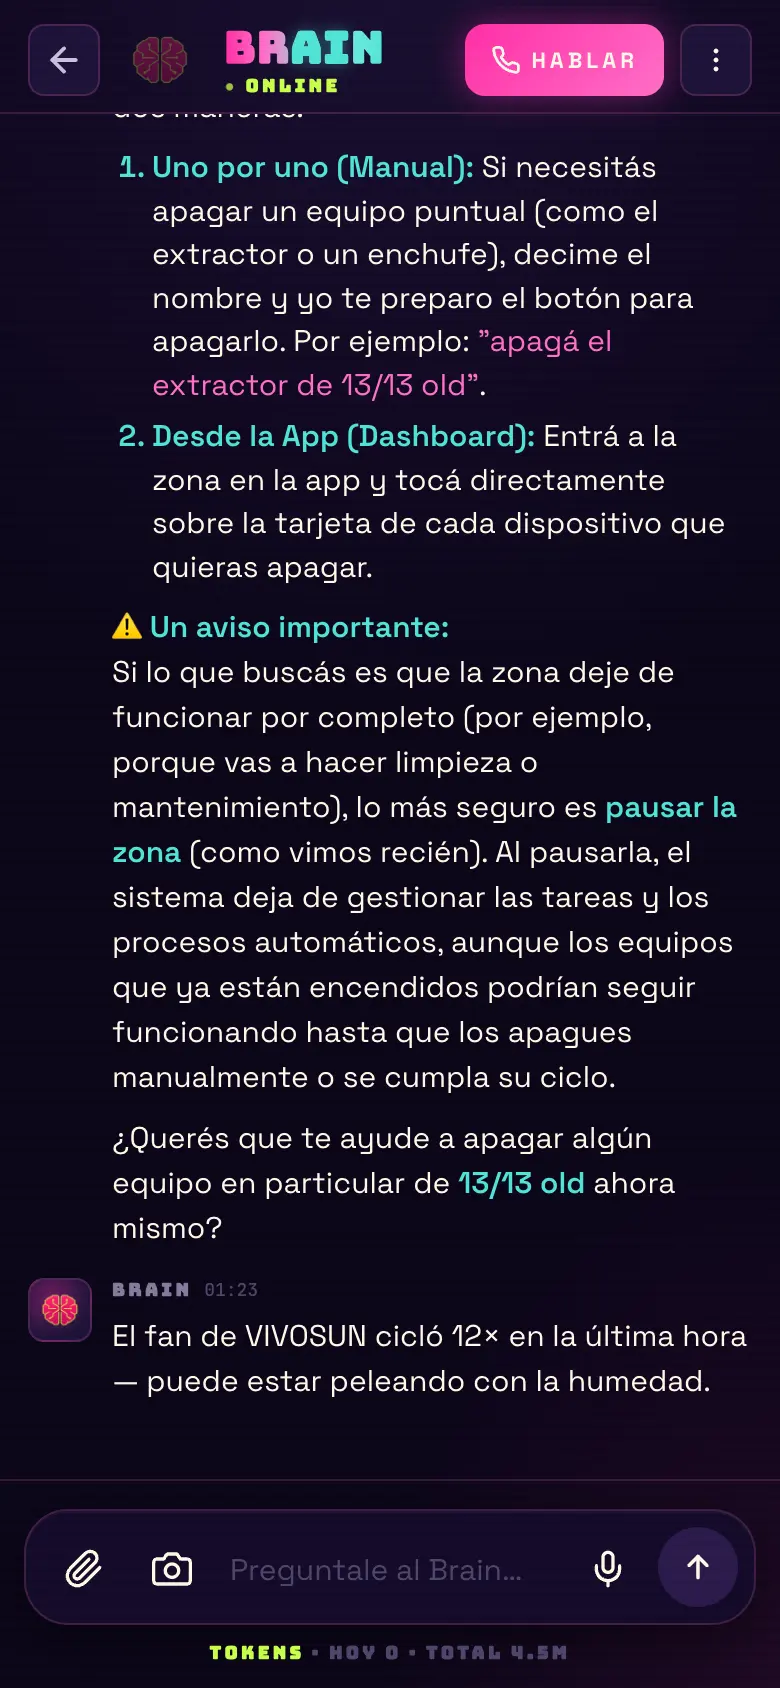
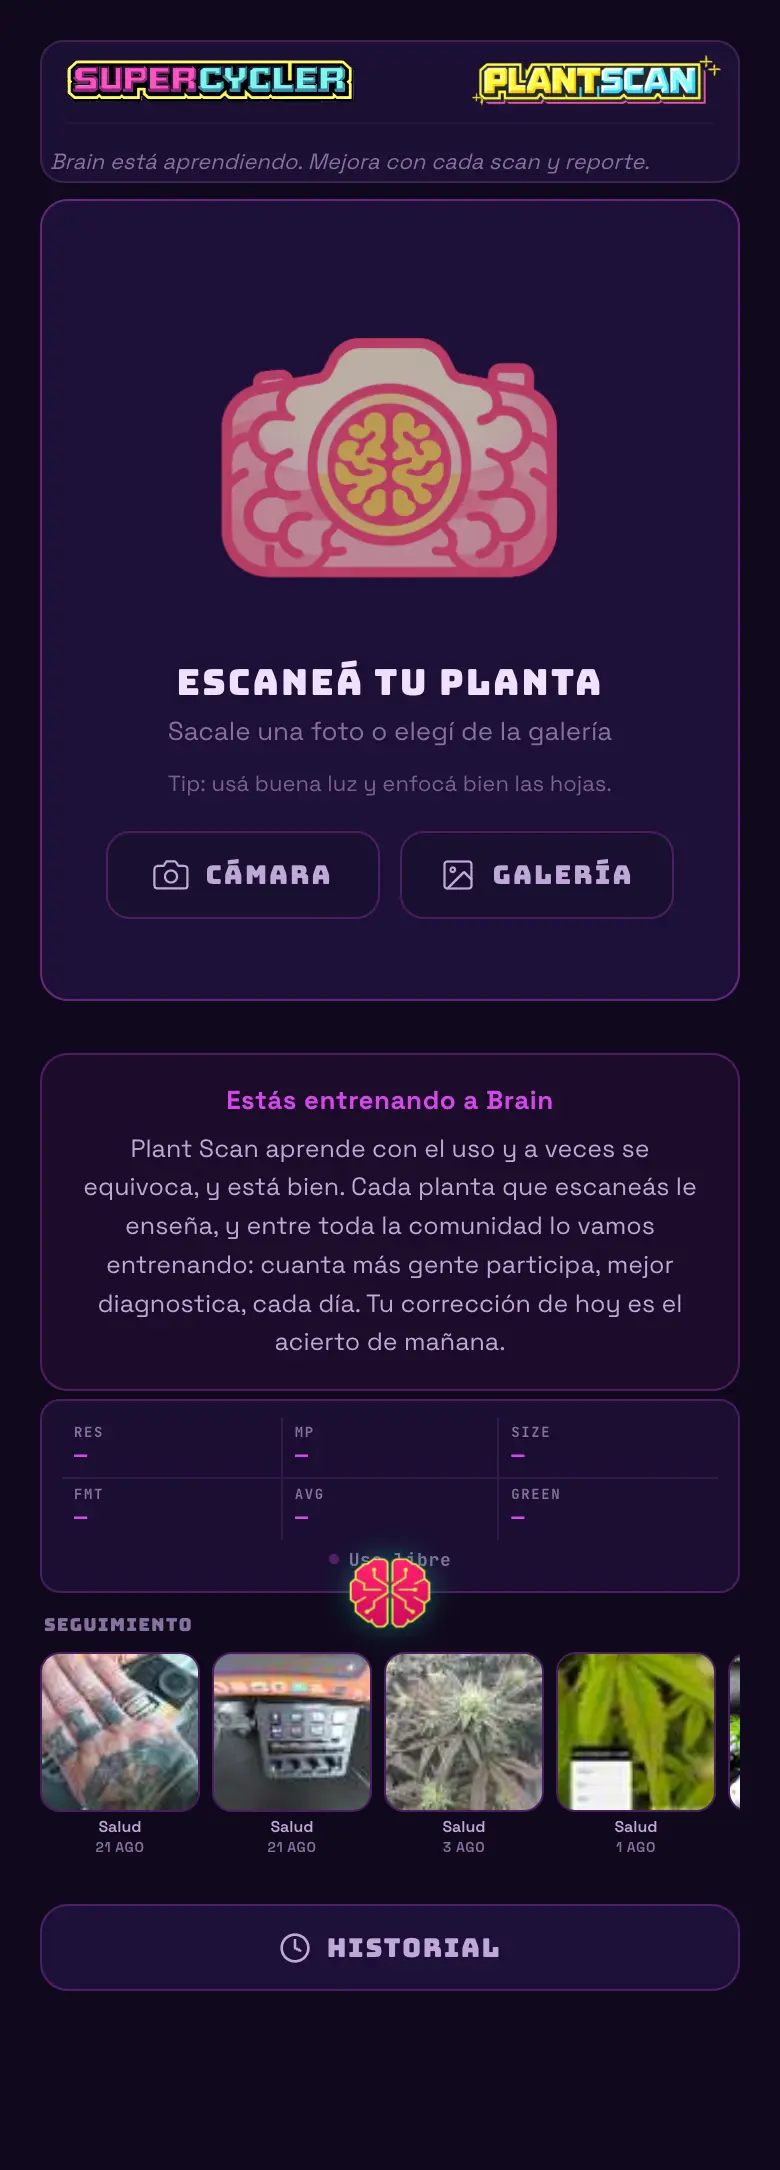
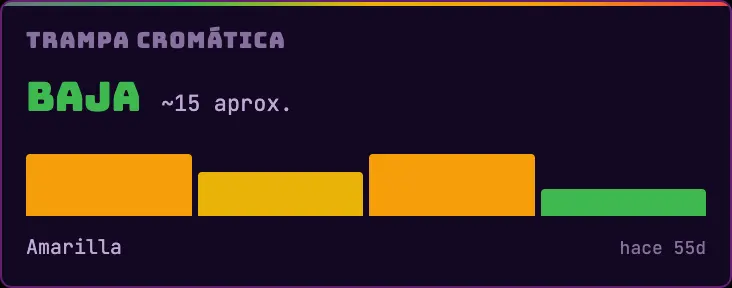
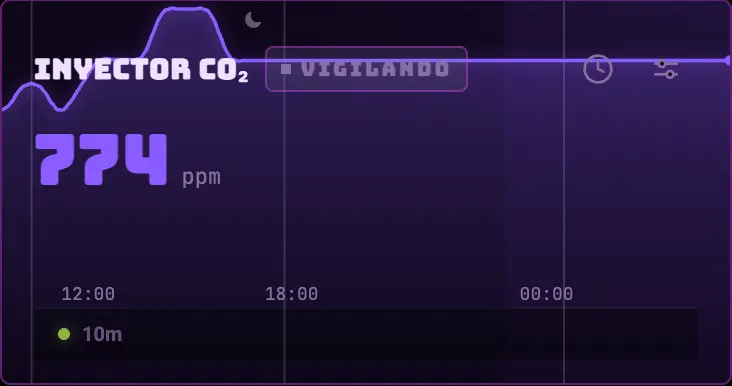
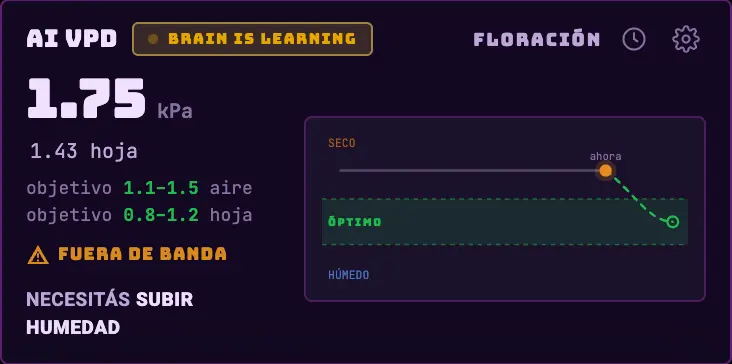
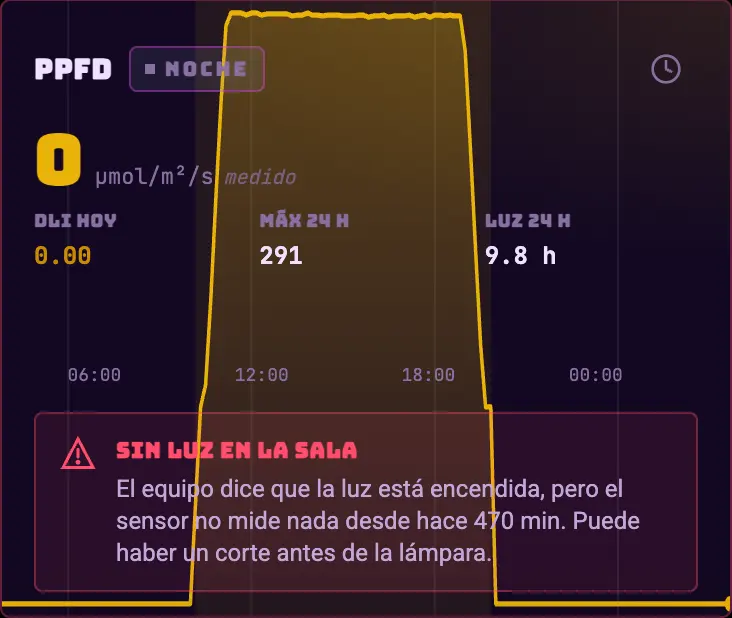
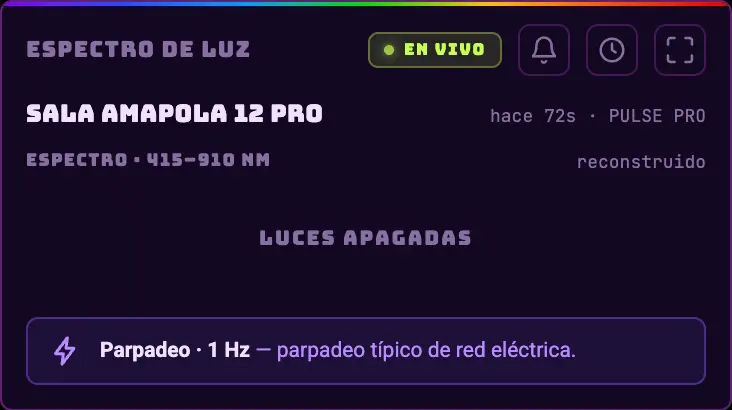
What every screen, every card and every setting in the app does, with a screenshot of the real screen next to it. It's ordered by when you're going to need it: it starts with what you touch on day one and ends with what you only need on your third grow.
Where to start3 steps
Assign the light and set its scheduleIt comes first because everything else hangs off it: the grow day, synchronized watering and the night thresholds all come from knowing when it turns on and when it turns off.The light and its schedule →
Connect an ambient sensor and mark it as primaryThat sensor is where the temperature, humidity and VPD you see on the dashboard come from, and what the alerts fire against. Without it, the app is showing you the tent blind.Environment and VPD →
Set up the alerts before you go to sleepThey're the only thing working when you're not looking. With two thresholds set well you find out about a problem at 3 in the morning instead of at 9.Alerts →
01 · StartBASIC
First run
Creating the account, logging in, and deciding where to start. The app doesn't force you to have hardware on day one: you can walk through all of it in trial mode and connect the plug later.
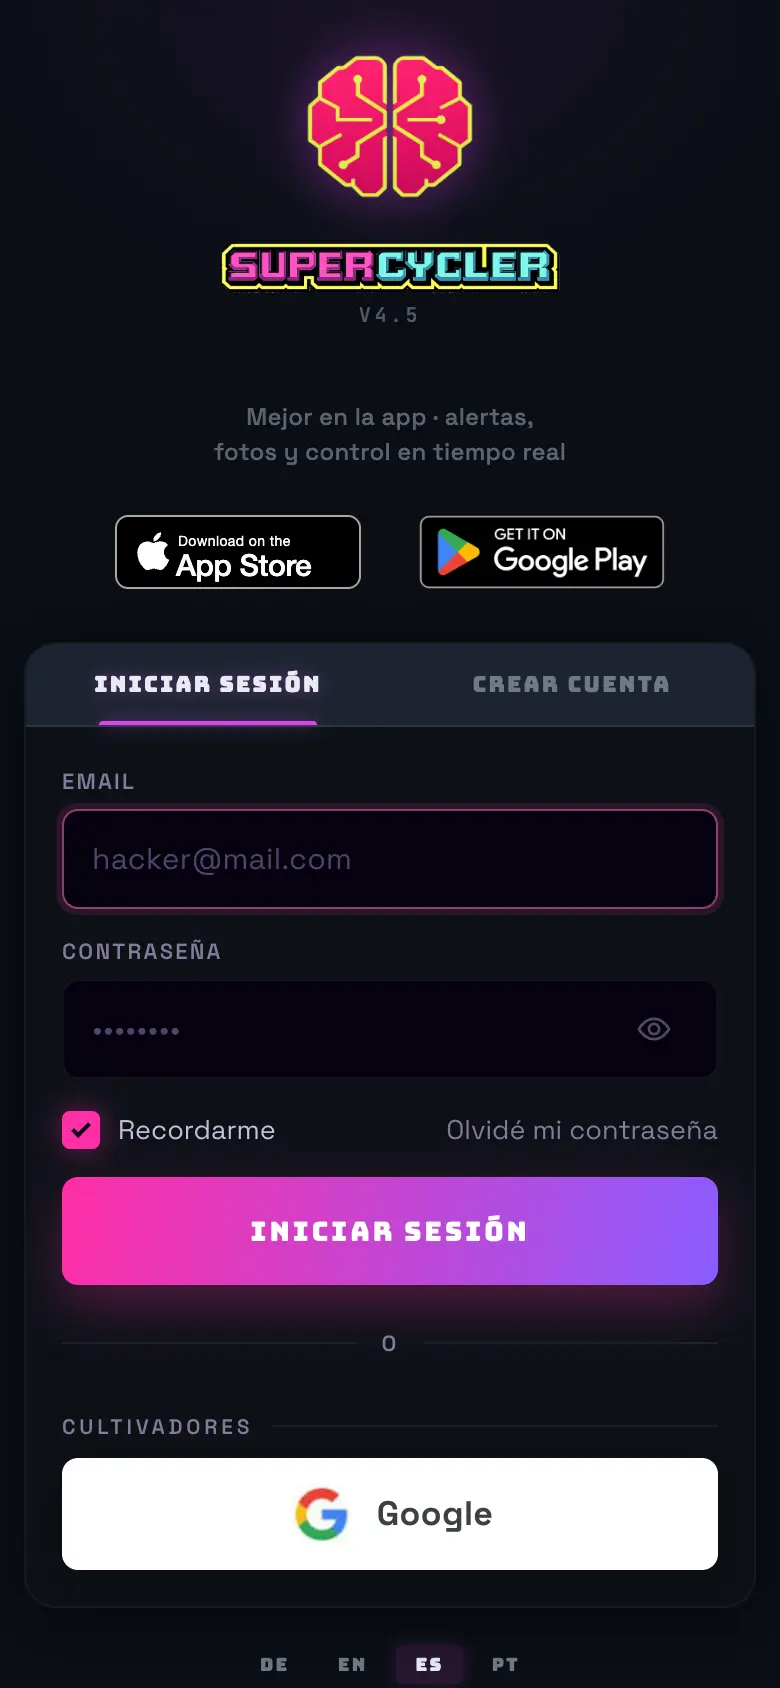
01Go into the app and create the account with email and password, or with Google. If it asks you for an invite code, it's because signups are closed at that moment.
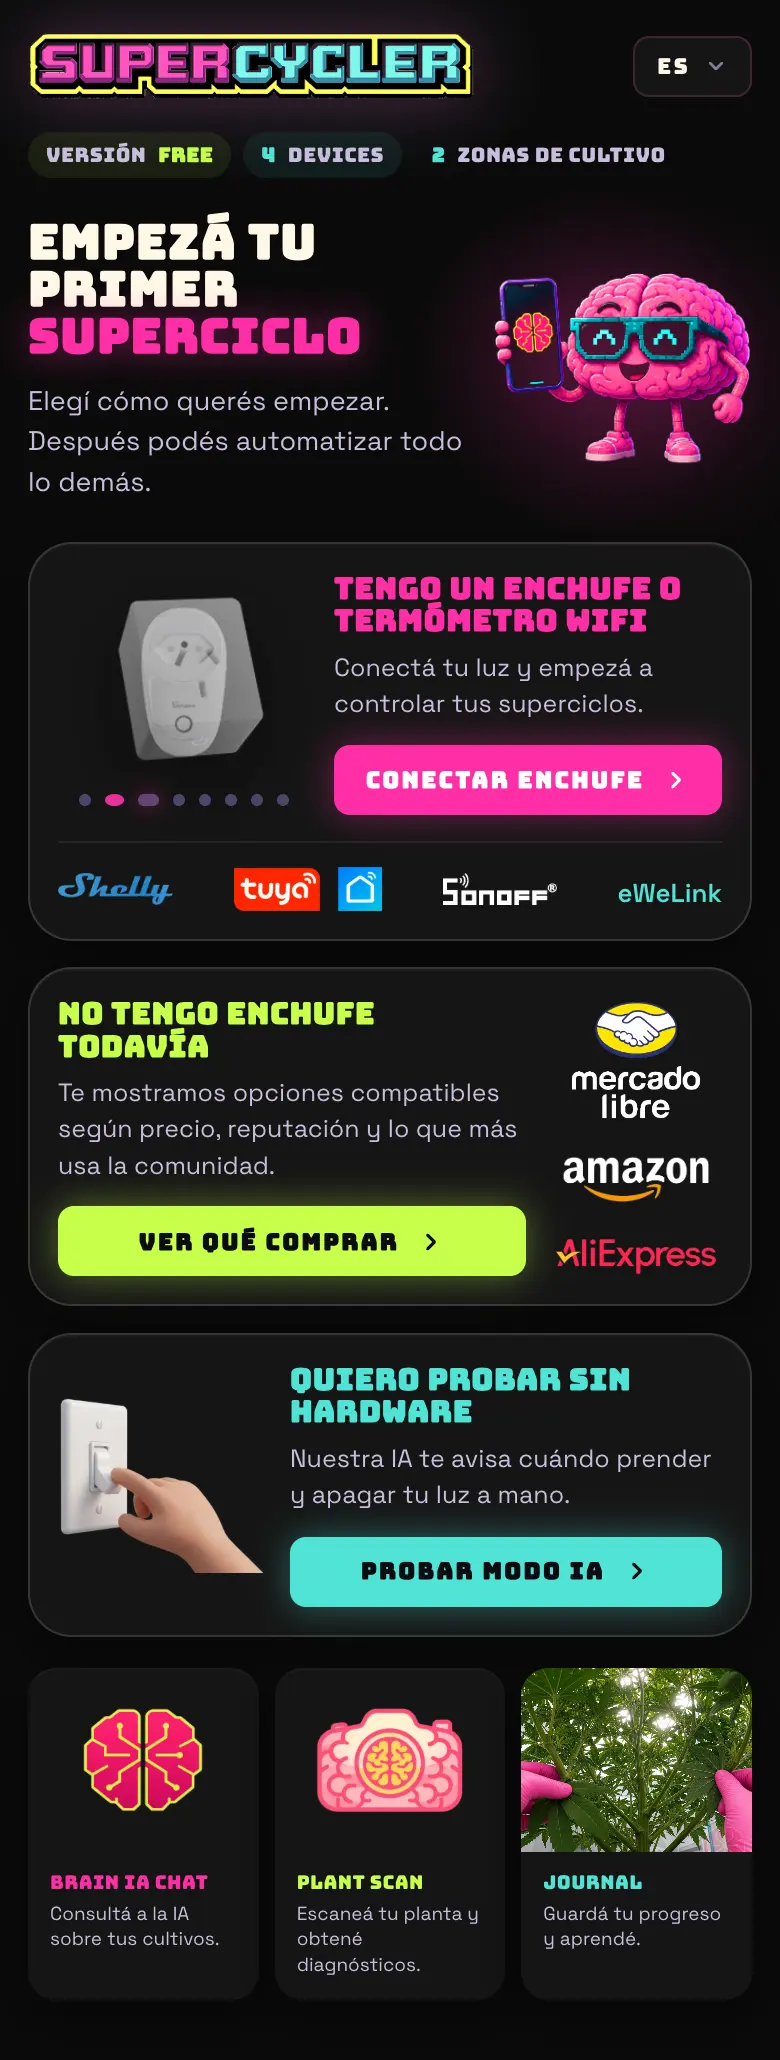
02The welcome screen offers you three paths: I have a wifi plug or thermometer (goes to the setup wizard), I don't have hardware yet (goes to the buying guide), and I want to try it without hardware (drops you on the dashboard with demo data).
03Pick the language from the ☰ menu if you don't want Spanish: there's Spanish, English, Portuguese, and German, and it changes the whole app, not just the titles.
04When you connect your first device, the app creates your first zone on its own and drops you on the dashboard.
FIG 01a · Entry. The footer has the link to the FAQ, no account needed.FIG 01b · Welcome: the three ways to start.
Do this
Put a nickname in your profile. Brain calls you by it, and the chat's answers change tone quite a bit when it knows who it's talking to.
Avoid this
Don't create one account per tent. One account holds all your zones; separate accounts leave your electricity spend and your ranking split, and there's no way to merge them later.
How urgent it is
EssentialAccount created and email confirmed.
ImportantLanguage and nickname chosen.
OptionalAvatar and theme.
02 · HardwareBASIC
Connecting your first device
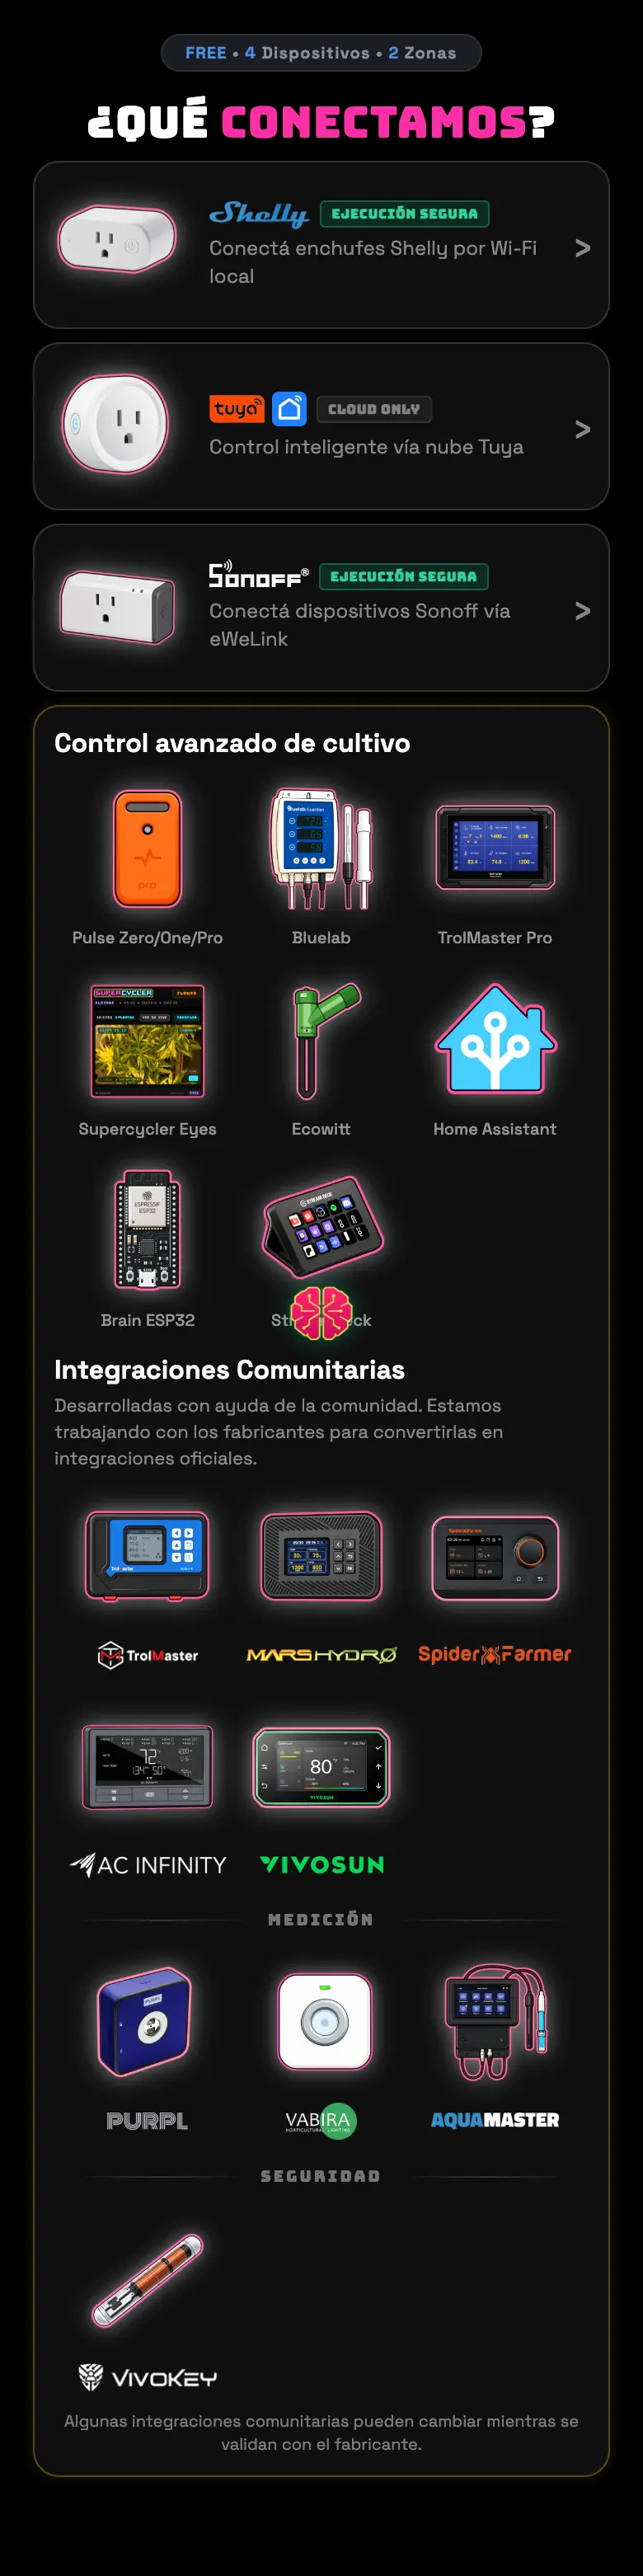
The setup wizard is the only door for adding hardware, and it opens again every time you buy something new, from ☰ → Add device. Each brand comes in its own way, but they all end the same: the device lands in your list and you assign it to a zone.
01☰ menu → Add device.
02Pick the brand. The cloud ones (Tuya/SmartLife, Sonoff/eWeLink, Shelly) ask you to sign in once with that app's account: the app stays linked and from there you see all your devices.
03Pick which devices you want to bring in. The ones you leave out stay in the manufacturer's cloud and don't get in the way.
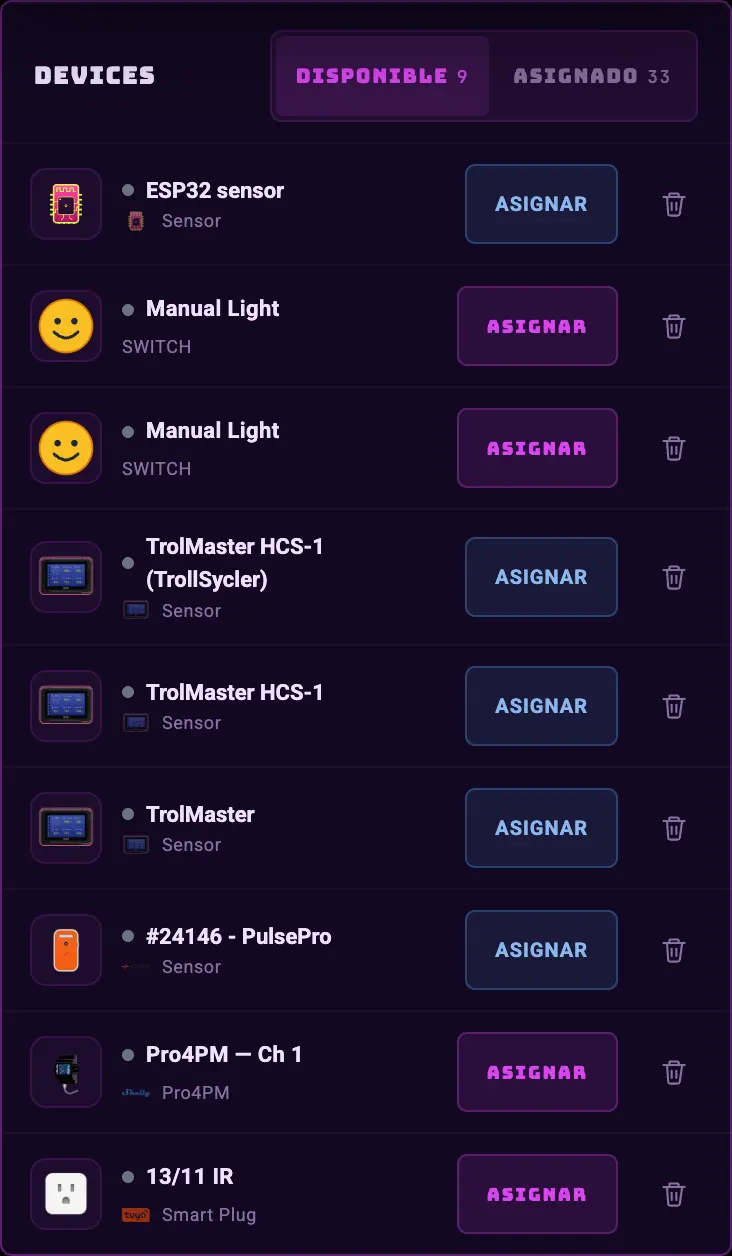
04Assign them to a zone and tell the app what each one is: light, exhaust fan, pump, sensor. That role is what gives you the widgets and lets the app run the equipment on its own.
FIG 02a · Setup wizard: one card per integration.FIG 02b · DEVICES widget: available and assigned tabs.
What each integration can do
Integration
Read
Act
Notes
Tuya / SmartLife
Yes
Yes
The most complete one. Plugs, sensors, IR blaster, dehumidifiers. Set up by QR or by login.
Sonoff / eWeLink
Yes
Yes
Includes timers on the plug itself and the TH sensors. Multichannel (Dual R3).
Shelly
Yes
Yes
Works through the cloud and also directly by IP. It has its own hardware timer.
Mars Hydro / Spider Farmer
Yes
Yes
Dimmable lights: the app handles the brightness percentage and the ramp.
VIVOSUN
Yes
Yes
GrowHub light and fans.
AC Infinity
Yes
Yes
Only the Controller 89 ("AI+") and its outlets.
TrolMaster
Yes
Partial
It comes in through a bridge of its own. The controller's light schedule is visible but you can't touch it from here.
Home Assistant
Yes
No
Brings the sensors you already have in HA into the dashboard. It doesn't turn anything on or off, and that's on purpose: we don't want to promise you a watering we can't deliver.
Ecowitt
Yes
No
Brings in your sensors, soil probes included.
Bluelab
Yes
No
pH, EC and water temperature. With that the app stops watering when the water is out of range.
Pulse
Yes
No
Temperature, humidity, VPD, CO₂, light and spectrum (Pulse Pro).
DIY / ESP32
Yes
No
Build your own board: how to talk to it over MQTT is written up here. You don't depend on anyone's cloud, and it is read-only.
Eyes (phone)
Yes
—
Turn an old Android into a grow camera, paired by QR.
Do this
Give your devices an alias as soon as you assign them ("Tent 1 exhaust fan", not "Smart Plug 3"). The alias is what shows up later in the alerts, in the chat and in the journal.
Avoid this
Don't set up the same plug in two zones. A device belongs to one zone; duplicating it makes two automations fight over the same relay.
How urgent it is
EssentialThe main light and an ambient sensor, assigned and with their role.
ImportantExhaust fan and fan with the right role.
OptionalCamera, soil probes, water meters.
03 · DashboardBASIC
Anatomy of the dashboard
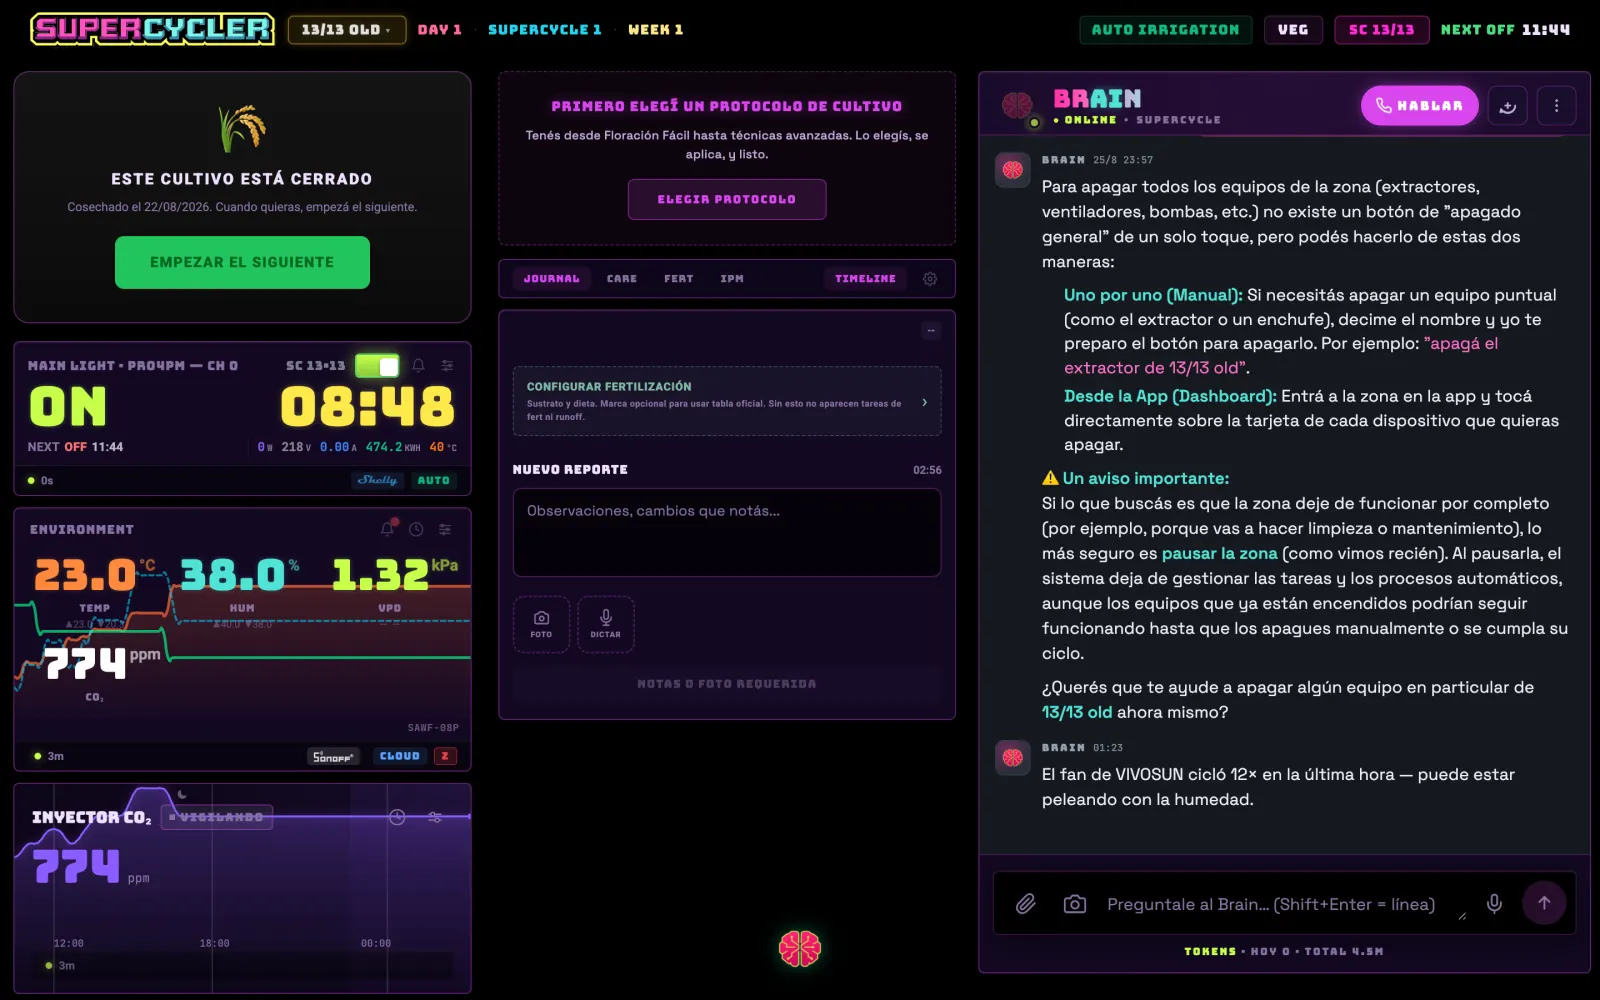
The dashboard is a single screen that builds itself out of what you have connected. There are no nested menus: every device you add shows up as a card ("widget") and you tap each card to configure it.
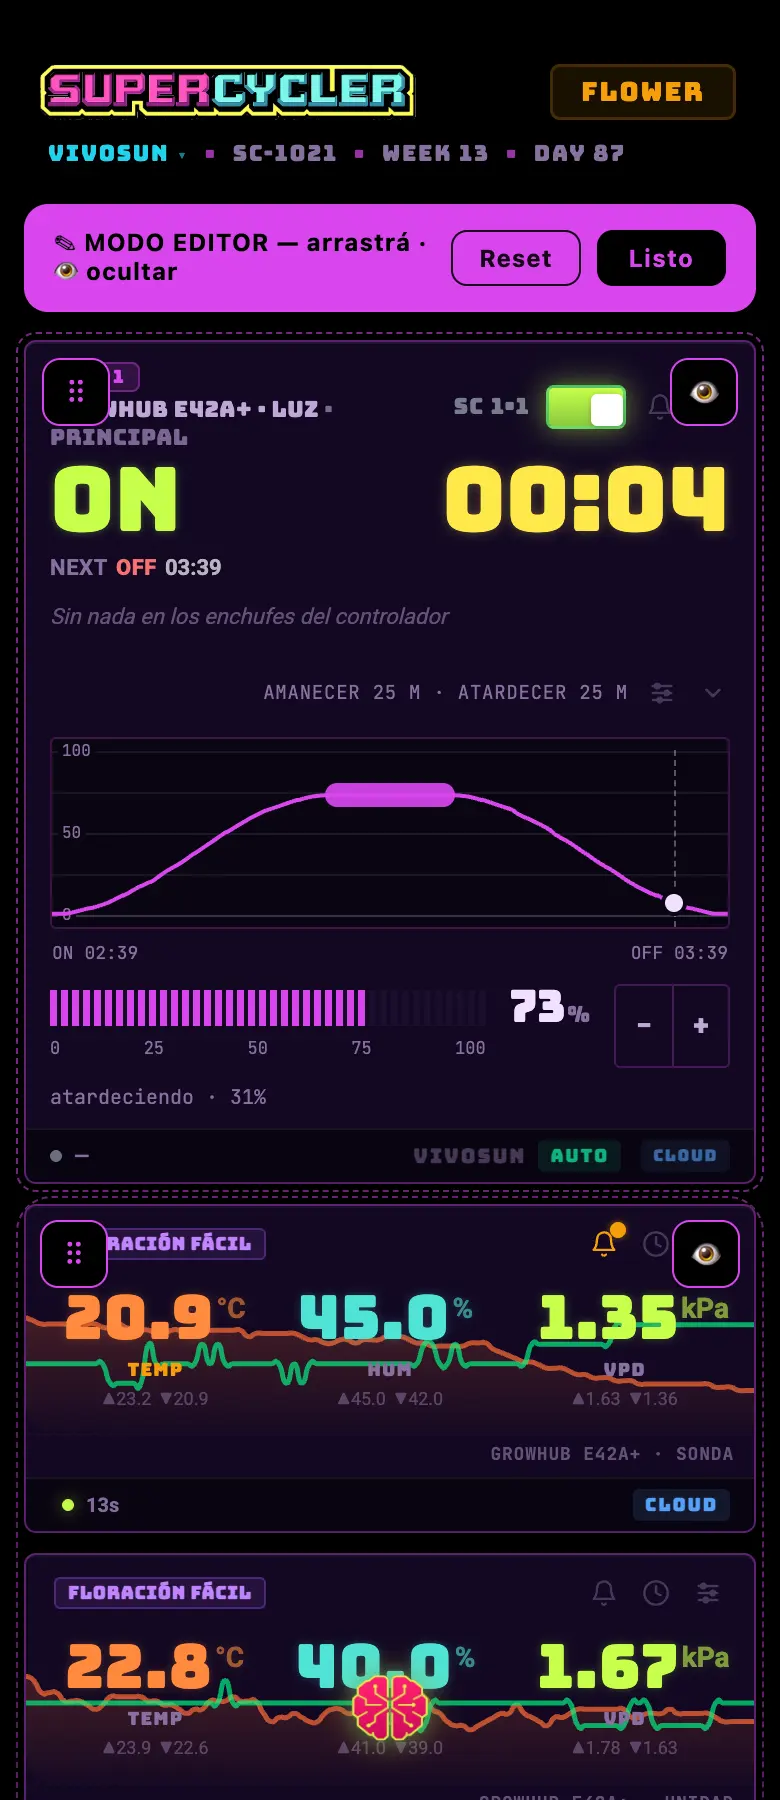
FIG 03a · Dashboard of a zone in flowering, day 87. Each card showed up on its own when you connected the device that drives it.FIG 03b · On a wide screen the dashboard splits into columns and adds the Brain chat on the right.
The fixed parts
Header
Logo, PRO badge, and the line ZONE · SUPERCYCLE N · WEEK N · DAY N. Tap the zone name to switch tents.
Floating brain
The round brain button opens the ☰ menu. A number on top of it means unread Brain messages. The menu doesn't close by tapping outside: you close it with the X.
Widgets
Everything else. They appear and disappear depending on the hardware the zone has — the The 22 widgets section tells you exactly what's needed for each one to show up.
The footer of each card
A colored dot (green = the data is fresh), the "X ago" since the last reading, the brand logo and the CLOUD tag or the technology icon. Before you believe a number, look at the "X ago".
Reordering and hiding cards
FIG 03c · Edit mode: each card gets a handle to drag and an eye to hide it.
You get in by holding down the logo in the header for a second.
Drag the ⠿ handle to change the order; tap the 👁 to hide a card.
Hidden ones sit as chips at the very bottom: tap them to bring them back.
The order is saved per zone and per user: you can have irrigation on top in the flowering tent and light on top in the veg one.
RESET returns to the factory order without hiding anything.
Do this
Put on top what you look at without thinking (light and environment) and send to the bottom what you only check once a week (devices, protocol).
Avoid this
Don't hide the irrigation card to "clean up" the screen. It's the one that warns you when something got blocked, and hidden you won't see it.
How urgent it is
EssentialKnowing how to read each card's footer: green dot and "X ago".
ImportantArranging the dashboard the way you like it.
OptionalA different order per zone.
04 · ZonesBASIC
Zones: one per physical environment
A zone is an environment with its own light schedule, its own sensors and its own plugs. It's the unit of everything: alerts, the journal, spending and the grow closeout are all per zone.
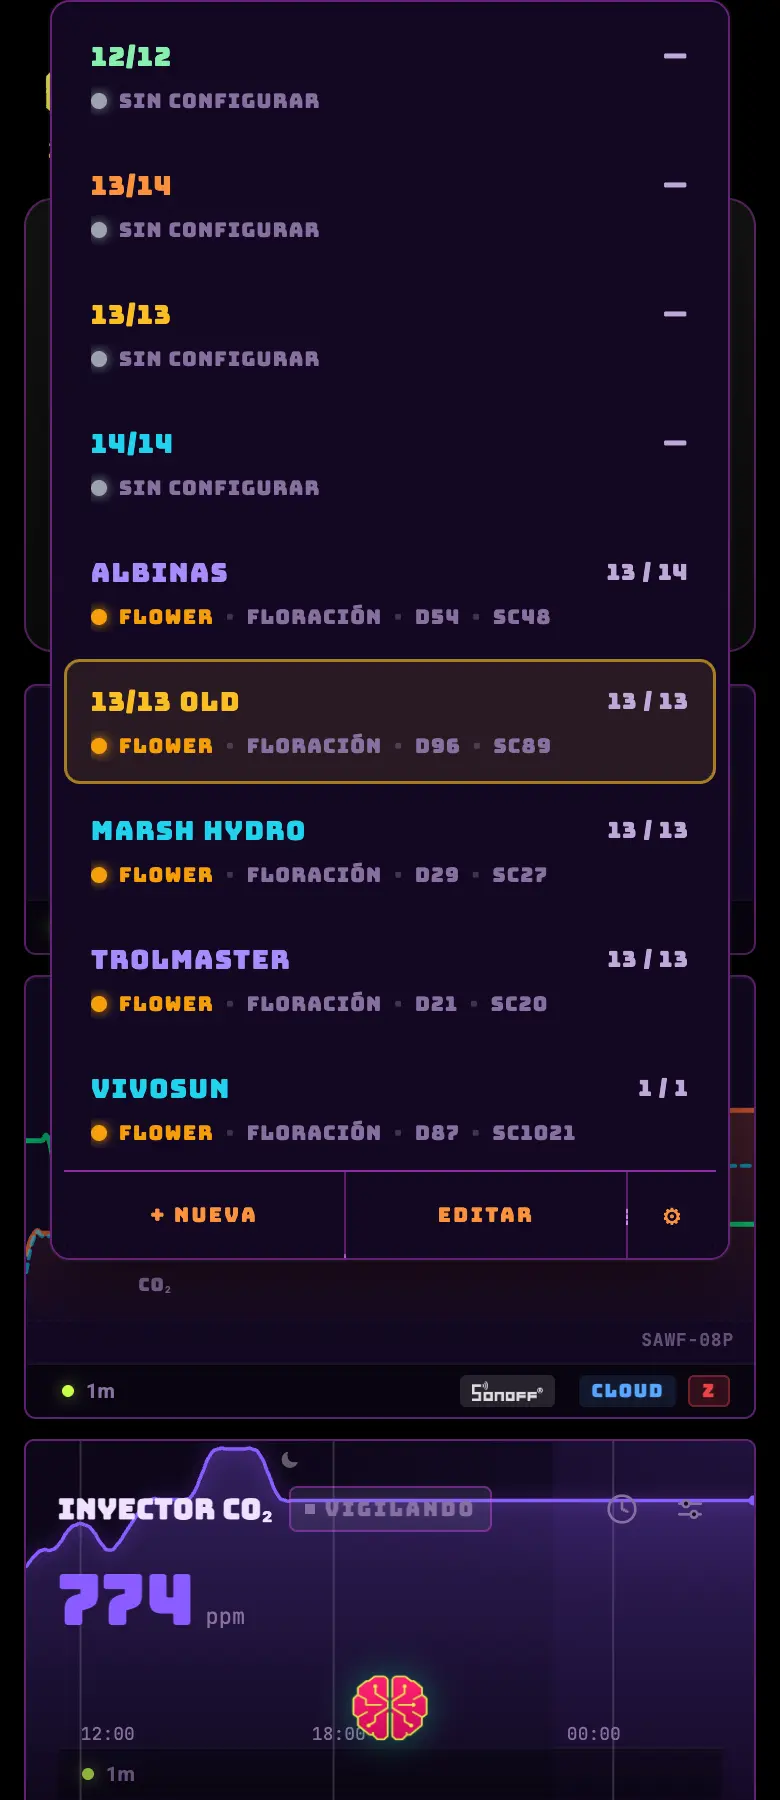
01Tap the zone name in the header to open the selector.
02That's where all your zones are and, below them, the ones shared with you. A borrowed zone is painted a different color so you don't mistake someone else's tent for your own.
03To create, rename or delete a zone: ☰ → My Lab → Overview tab.
FIG 04 · Zone selector. It's the only way into shared zones.
Active zone
The one you're looking at. The app remembers it and next time opens where you left off.
Stage
Vegetative, flowering, drying or curing. Drying and curing are real stages: the environment thresholds change and the light stops driving the phase.
Paused zone
You can pause a zone (maintenance, a trip). A banner appears at the top and the automations sit still without you having to take anything apart.
Closed zone
When you close the grow, the zone is left with the "this run is over" banner and the button to start the next one.
Do this
Name the zone after the physical environment and not after what's inside it today: "Small tent" survives a change of genetics, "Gorilla Glue" doesn't.
Avoid this
Don't delete a zone to "start over". It takes the history, the spending and the journal with it. To start another grow there's the grow closeout.
How urgent it is
EssentialOne zone per physical environment.
ImportantThe right stage set.
OptionalStable names across grows.
05 · NavigationBASIC
The menu: everything that's inside it
The floating little brain opens the menu, and that's where everything that doesn't live on the dashboard is. It's worth going through it once: there are whole features you won't discover on your own because they have no card on the main screen.
01Tap the little brain floating at the bottom. If it has a number on it, those are unread Brain messages.
02The menu doesn't close by tapping outside: it closes with the X. That's on purpose, so it doesn't close on you while you're reading something.
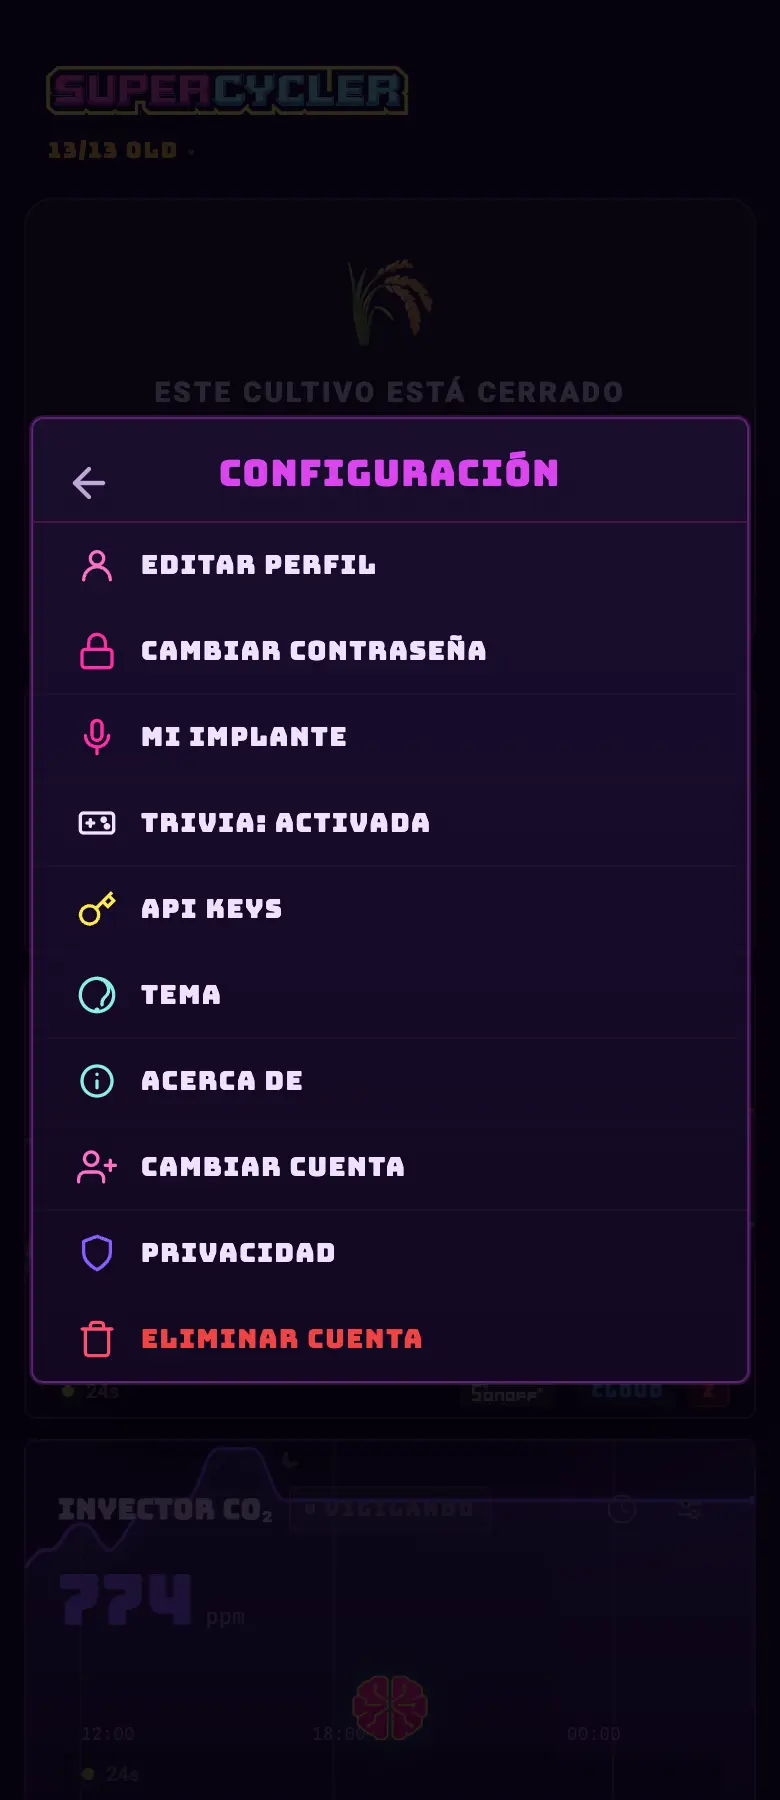
03The gear or your avatar open Settings, which is a second level.
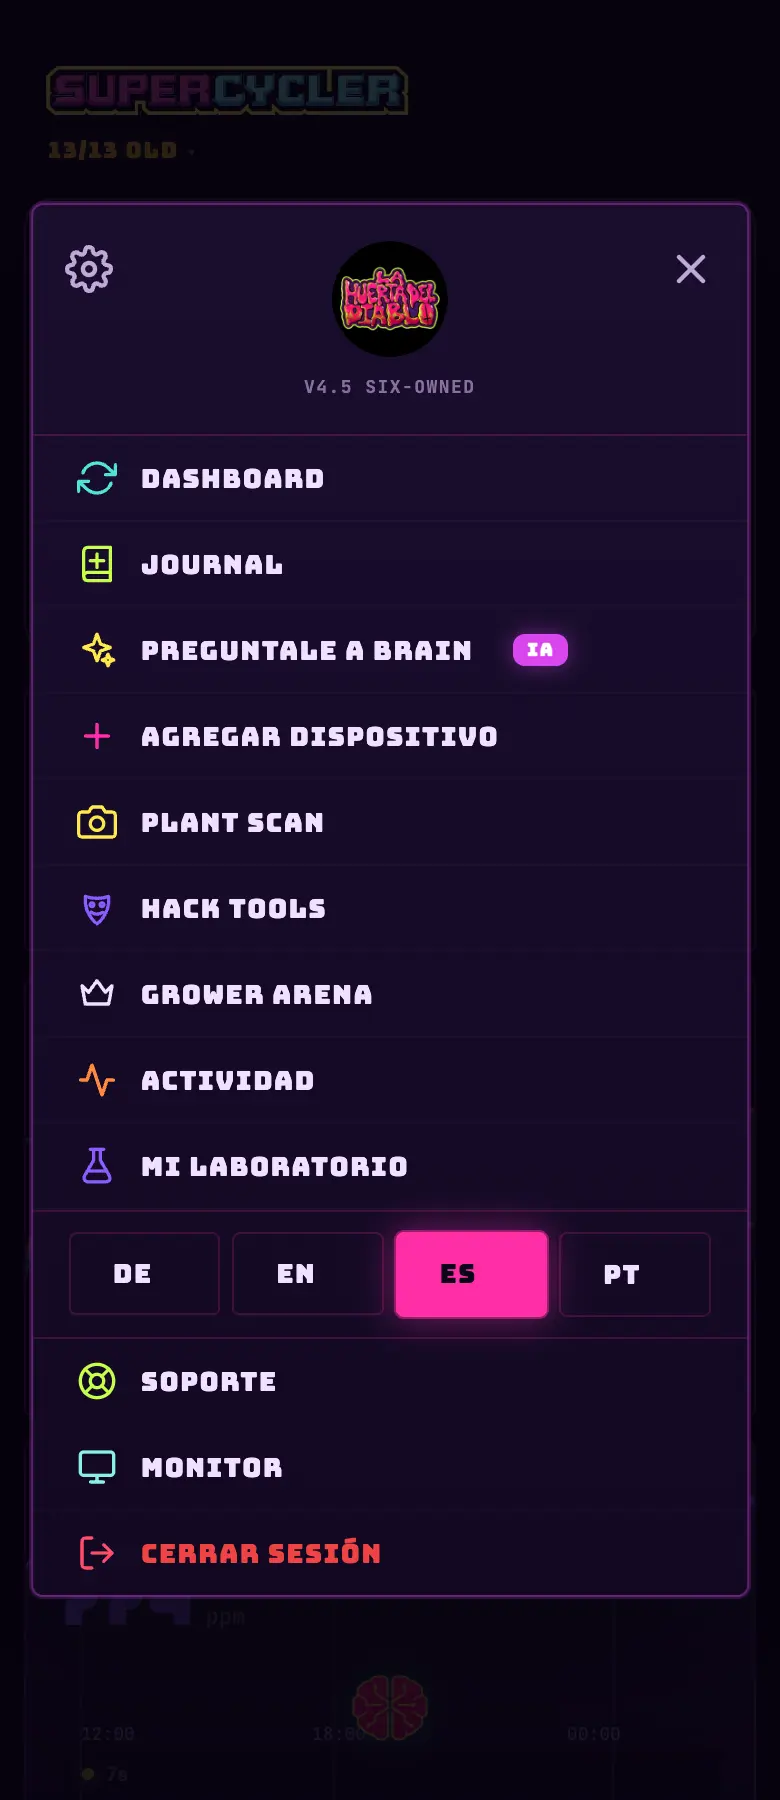
FIG 03d · The main menu.FIG 03e · The Settings submenu.
What's in the main menu
Journal
The grow journal, with the tasks, the reports and the timeline.
Ask Brain
The chat with the AI that has already read your sensors.
Take a photo of a plant or a trap and have it analyzed.
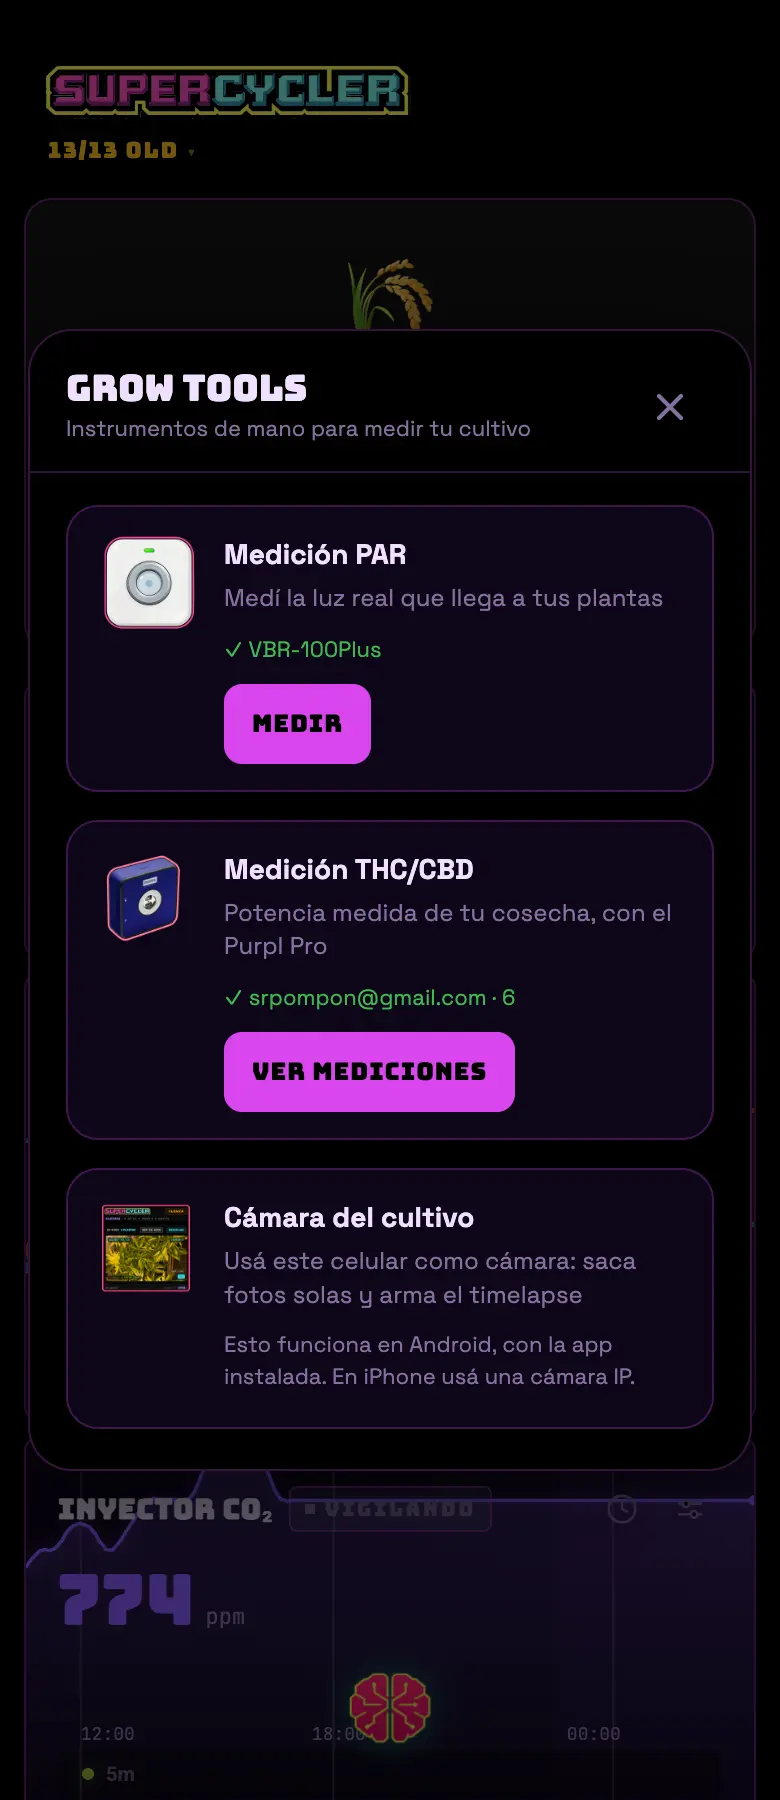
GROW TOOLS
PAR meter, THC/CBD meter and using this phone as a camera. It only shows up in the app, not in the browser: it needs Bluetooth.
HACK TOOLS
Genetic map and the polyploidy protocol.
Grower Arena
The grower ranking.
Activity
The log of everything the system did, with the why of each thing.
My Lab
The zone's full record: floor plan, substrate, genetics, closeout.
Support
Open a ticket. The number on the icon is unread replies.
Monitor Mode
The board for the TV. It also opens by turning your phone sideways.
And in Settings
Edit profile, change password and switch account.
My implant — the login with an NFC chip, Android only.
Turn the chat's trivia on or off.
API keys — where you see and change the keys for each integration.
Theme — the ten color themes.
About — version, changelog and who made it.
Delete account, which asks you to type DELETE to confirm.
Do this
Go through the menu once on day one. There are whole features that only live there.
Avoid this
Don't look for GROW TOOLS in the browser: it doesn't show up, and that's not a bug.
How urgent it is
EssentialKnowing where the menu is.
ImportantLanguage and profile set up.
OptionalThe rest of the tools.
06 · LightBASIC
The light and its schedule
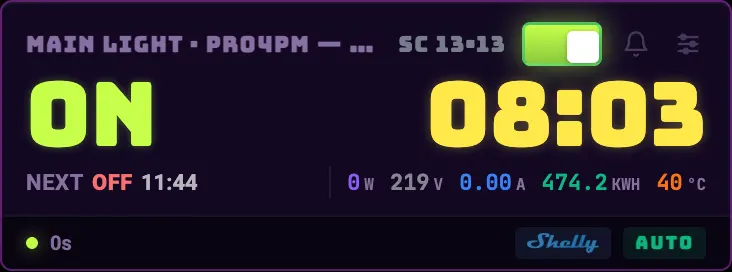
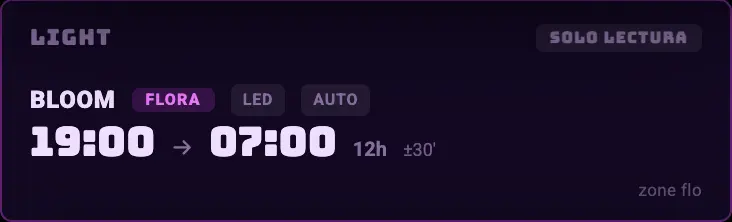
It's the most important card on the dashboard and the first one you'll set up. It shows whether the light is on, how long until the next change, and — if your fixture dims — the day's brightness curve.
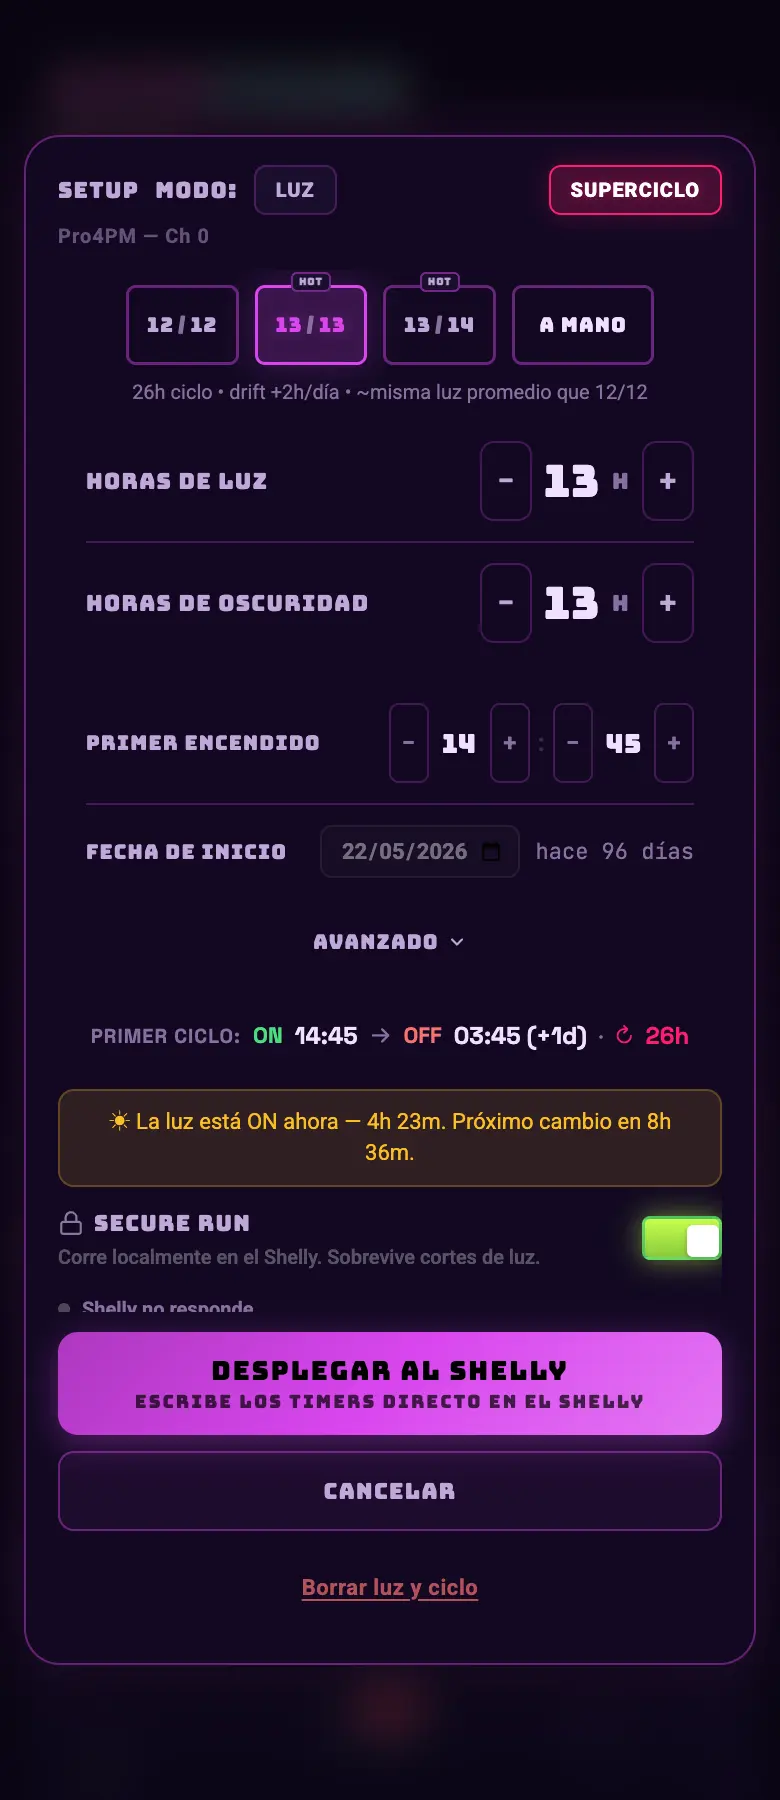
FIG 05a · Light card: state, countdown, next change, and consumption.FIG 05b · Schedule editor: this is where the cycle is defined.
What the card shows
State and countdown
ON or OFF in big type and how long until it changes. It's the grow's real clock, not the server's time.
NEXT
What time the next change is and to what state. If it says MANUAL it's because someone forced it and the schedule is paused.
Consumption
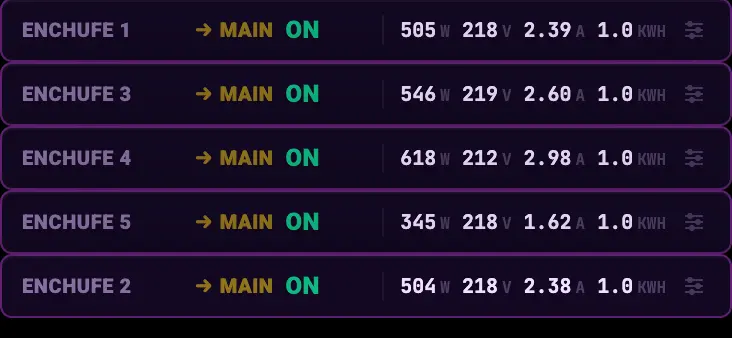
Watts, volts, amps, kWh, and plug temperature, on the models that report it. That's where the electricity spend comes from.
AUTO / MANUAL
The badge at the bottom says who's in charge right now. If it says MANUAL there's a button to go back to automatic.
Bell button
Manual light alarm: it reminds you at the time you set so you go turn it on or off by hand when there's no smart plug.
The schedule
You set it in hours and minutes of ON and hours and minutes of OFF; you're not tied to a 24 h cycle (see Supercycles).
The start time anchors the cycle: it's the moment the first ON begins.
There's a schedule pause (it stays as it is until you resume it) and a temporary override (you force a state for a while and it comes back on its own).
Every minute the app compares how the light should be with how it actually is on the equipment, and corrects it if they don't match. If your plug rebooted and came back inverted, it fixes itself.
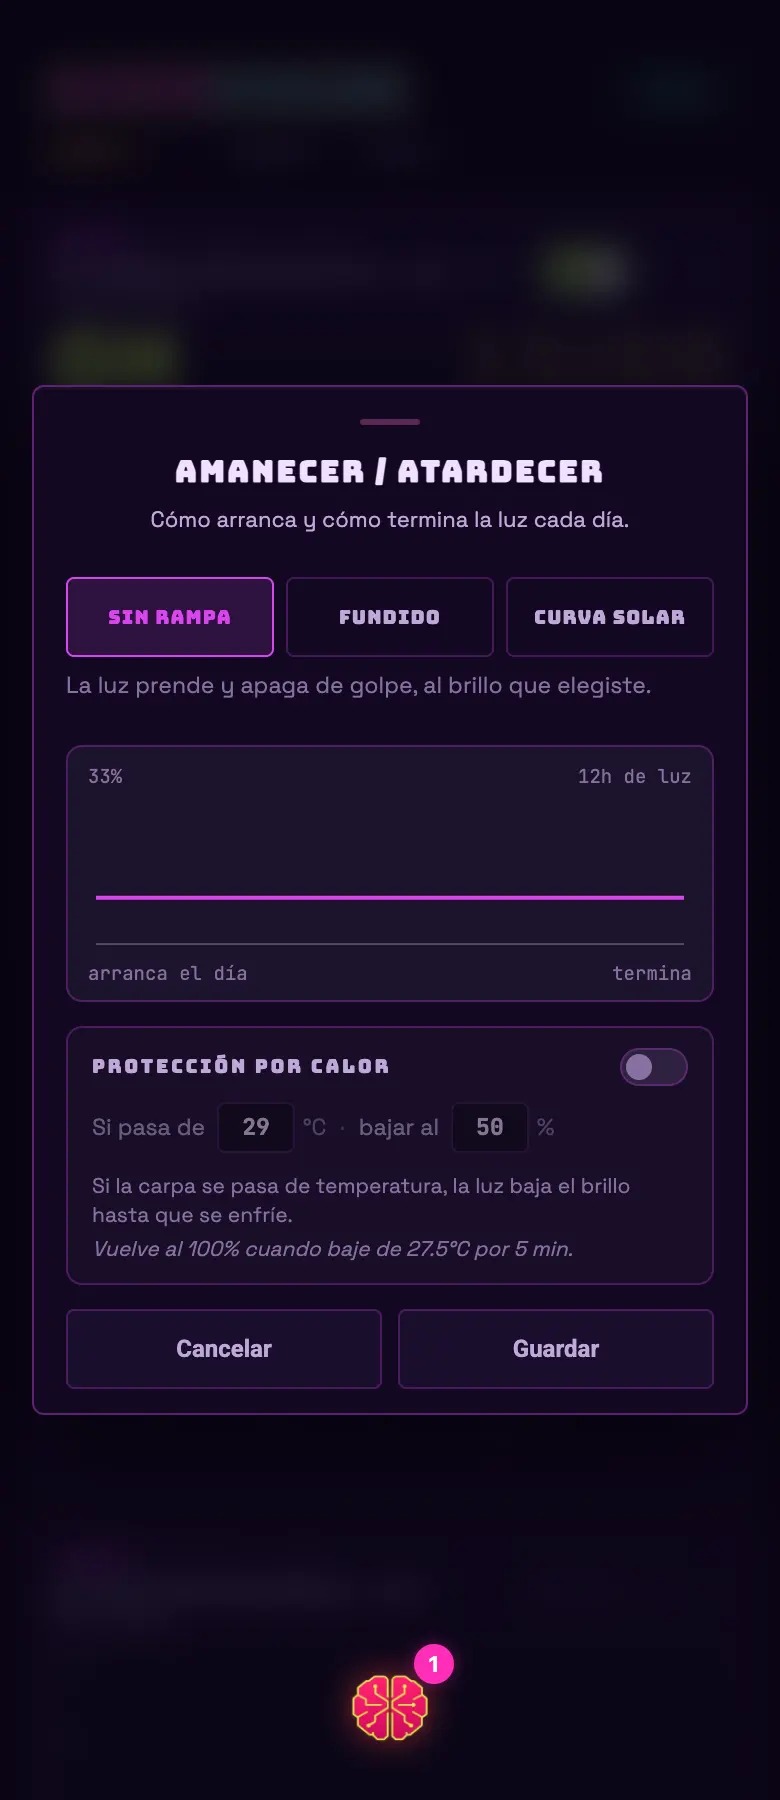
FIG 05c · Brightness and ramp settings for a dimmable fixture.
Do this
Set the schedule even if you turn the light on by hand. With the schedule set, the rest of the system (synced irrigation, night VPD, grow day) knows when it's day.
Avoid this
Don't leave the light on override "just for a bit". The override turns off the photoperiod guardian, and forgetting for 12 hours in flowering will revert your plants.
How urgent it is
EssentialSchedule set and the badge on AUTO.
ImportantManual light alarm if you don't have a smart plug.
OptionalBrightness curve with a ramp.
07 · CyclesINTERMEDIATE
Supercycles: cycles that don't add up to 24 h
It's the idea the product is named after. An ordinary timer forces ON + OFF to add up to 24 hours. Not here: you can run 13/13, 13/11 or any combination, and the system keeps the correct count of what day of the grow you're on.
Supercycle
One full turn of your cycle: one ON plus one OFF. If you run 13/13, a supercycle lasts 26 hours.
SC in the header
How many supercycles the grow has completed. It's the number that doesn't lie to you when the cycle isn't 24 h.
DAY
The grow's calendar day, calculated in your facility's time zone — not the server's. A grow in Madrid sees the same day as one in Buenos Aires.
Stage
Veg, flowering, drying or curing. The explicit flip overrides the light: that's why autoflowers, which run 18/6 their whole life, still show up as flowering.
Solar cycle
The schedule shifts a little every day, mimicking how the real day gets longer or shorter.
Do this
If you're going to try an odd cycle, start it in veg. The grow will tell you within a few days whether it suits it, and you still have room to go back.
Avoid this
Don't compare "days" between a 12/12 grow and a 13/13 one. Compare supercycles: that's the same number of sunrises.
How urgent it is
EssentialUnderstanding the difference between DAY and SC before reading any metric.
ImportantThe flowering flip entered with its real date.
OptionalSolar / seasonal cycle.
08 · EnvironmentBASIC
Environment: temperature, humidity and VPD
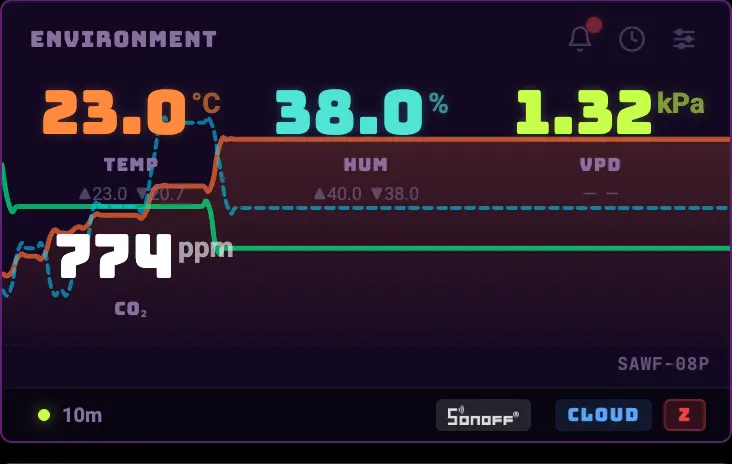
The ENVIRONMENT card is the tent's thermometer. It shows what the main sensor reports, the trend over the last few hours, and the climate equipment that depends on it.
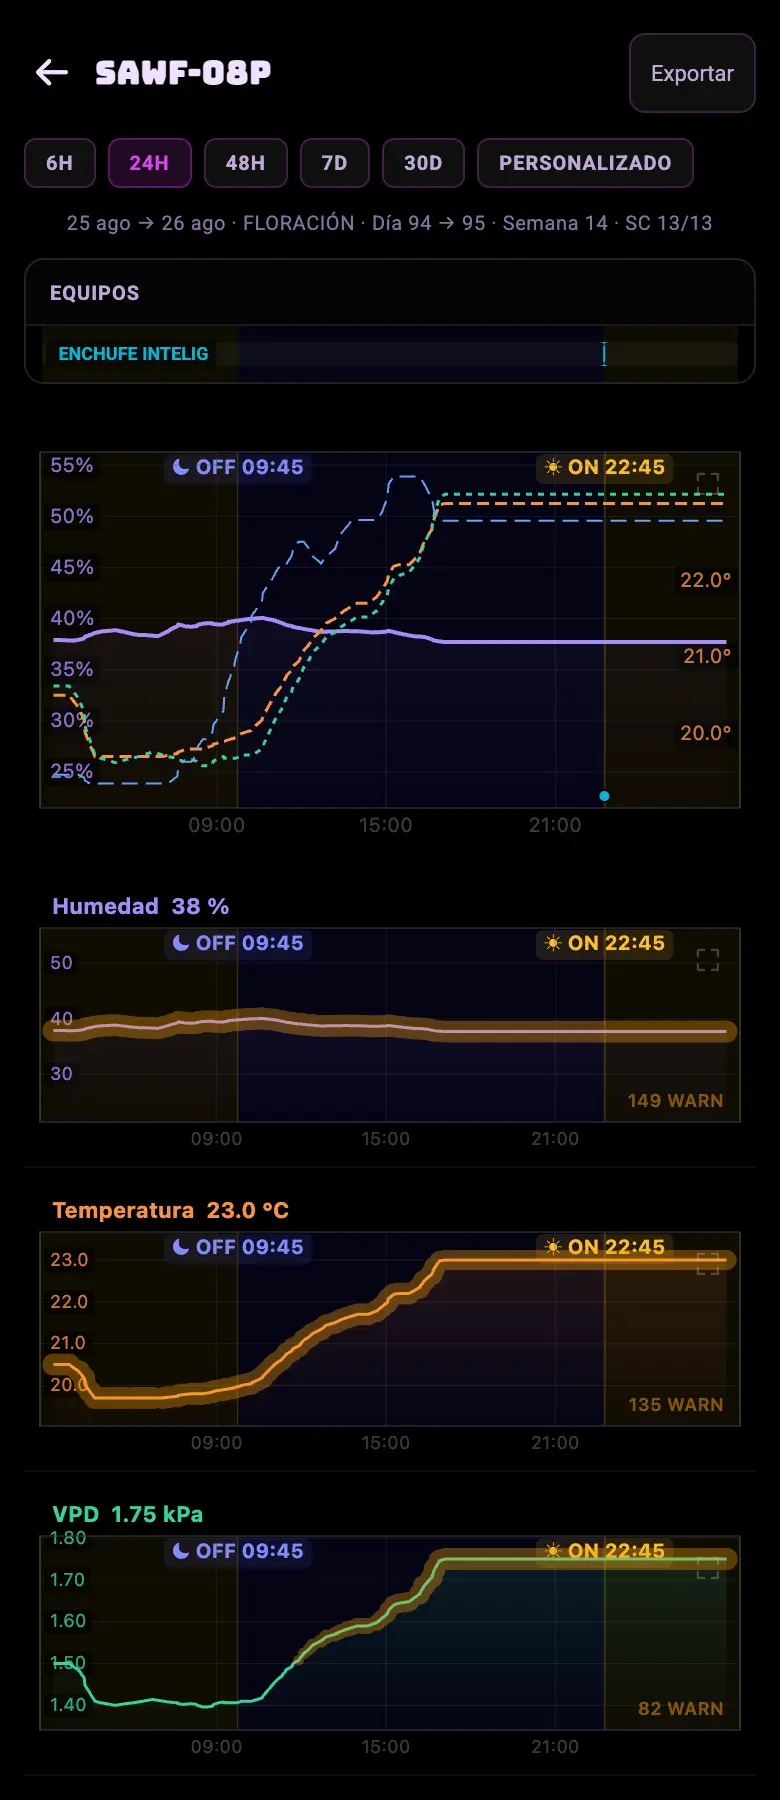
FIG 06a · Environment with a sensor connected: big numbers and the trend behind them.FIG 06b · History: charts per metric, with CSV export.
The card's three faces
With the sensor reporting: numbers, chart and equipment.
Sensor assigned but no data yet: "waiting for first reading" along with the device name. If it stays like that for a long while, the problem is the connection, not the app.
No sensor: the whole card is a button that takes you to assign one.
The three buttons in the header
🔔 Bell
Alarm history for this zone: what fired, when, and with what value.
🕐 Clock
Environment history: charts per metric, a range you pick and CSV download.
⚙ Gear
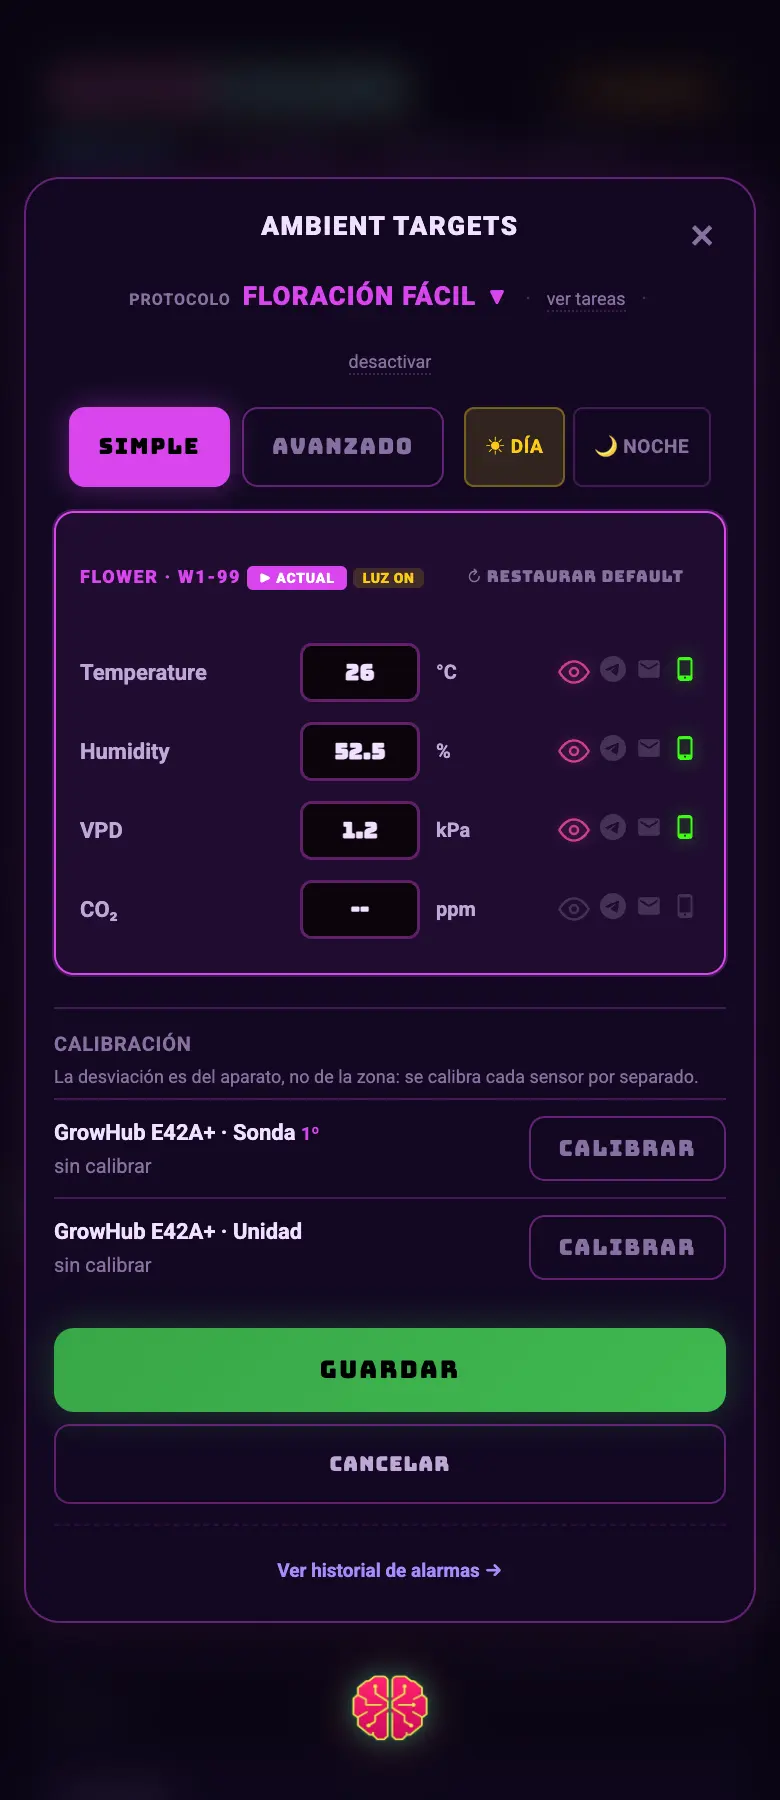
Everything on one screen: environment targets per stage, alert thresholds, sensor calibration and what each piece of equipment does.
FIG 06c · Environment settings: the protocols per stage come with the targets already filled in.
VPD, in one line
VPD combines temperature and humidity into a single number: how thirsty for water the air is. That is the one to watch, not humidity on its own.
The app calculates air VPD and leaf VPD. The leaf one assumes the leaf is cooler than the air (2 °C less, by default) and it is the one that reflects what the plant feels.
Each stage has its target band in kPa. Inside the band it goes green; outside it goes amber and tells you what to correct ("raise humidity", "lower temperature").
Stage
Day temperature
Day humidity
Day VPD
Veg
22 – 28 °C (critical at 32)
55 – 70 %
0.7 – 1.1 kPa
Flower
20 – 26 °C (critical at 30)
40 – 55 %
1.0 – 1.4 kPa
Drying
17 – 20 °C (critical at 23)
55 – 65 %
—
These are the targets the app proposes if you have not picked a protocol. At night it drops about 3 °C and raises humidity: you can set a night offset of 1 to 6 °C with a single control, or edit the night values one by one in advanced mode.
The VPD bands per stage are 0.4–0.8 kPa in clones, 0.8–1.2 in veg, 1.1–1.5 in flower and 1.3–1.6 in late flower. The leaf band shown is the air band minus 0.3 kPa.
The leaf temperature offset is 2 °C by default (the leaf is cooler than the air) and you can move it between 0 and 10. You can ask for it not to be applied at night, when the leaf no longer transpires the same way.
Calibrating a sensor
We do not ask you for an "offset": we ask you for the number your reference instrument reads. The app works out the difference on its own, and always against the raw reading — so calibrating twice does not subtract twice.
The correction lands right away on the current value, on everything that arrives afterward, and backward through the history.
Maximum ±10 °C and ±30 % humidity. More than that is not a miscalibrated sensor: it is a broken sensor or a typo.
An empty field means "I am not measuring this metric right now", not "set it to zero". To remove a calibration there is the delete button.
You cannot calibrate a frozen sensor, or one whose reading is more than 15 minutes old: you would be calibrating against a dead number.
Do this
Put the sensor at canopy height, not on the floor or up against the wall. Everything the system decides comes out of that one point.
Avoid this
Do not calibrate a sensor "to make the number look nice". The offset is applied on top of the raw value and it stays there forever; if the sensor is badly placed, fix the placement.
How urgent it is
EssentialAn environment sensor assigned and marked as primary.
ImportantA VPD band that matches the stage.
OptionalSecondary sensors to map hot spots.
09 · JournalBASIC
Today's tasks and the grow journal
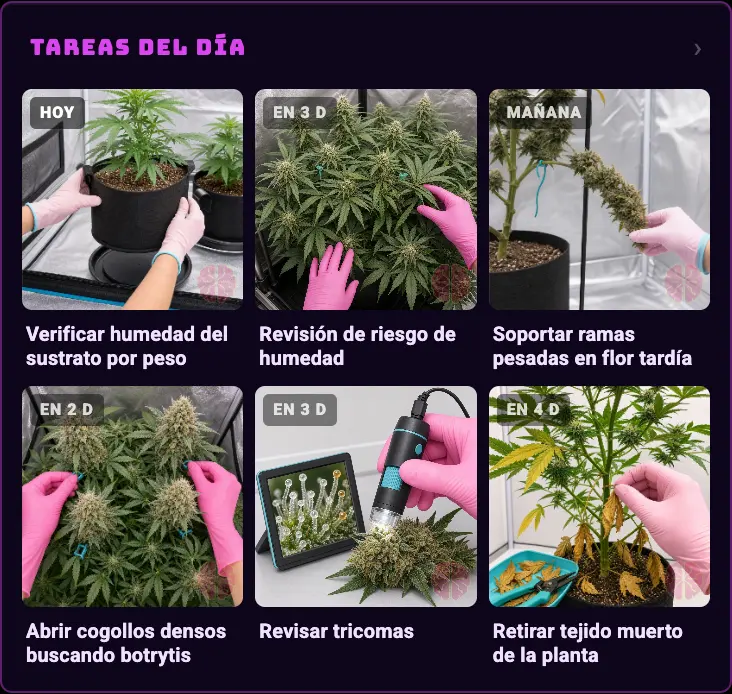
The journal is the grow's memory: what you did, when and with what. The tasks card on the dashboard is its short face — the three or four things that come up today.
01Pick a grow protocol (☰ → Journal → ⚙ Setup). With no protocol, the tasks card shows you a recommended one as a preview, chosen based on your photoperiod.
02Every day, the card lists that week's tasks with their image. Tap one to see the detail and mark it done.
03Write your reports in the JOURNAL tab: text and photos. That's what later feeds the closeout report and your leaderboard score.
FIG 07a · Tasks card: this week's, with status.FIG 07b · The full journal, JOURNAL tab.
The journal tabs
JOURNAL
This week's tasks, the report editor with photos, the applied protocol, a summary and recent entries.
CARE
The full task library: complete, postpone, pause and undo.
FERT
Feeding plan and mix preparation.
IPM
A catalog of pest management products with their safety sheet, and the sticky traps with their trend.
CHAT
Brain, inside the journal's context.
TIMELINE
The grow's timeline: photos, videos and notes in order.
⚙ Setup
Choosing and forking protocols, and the journal settings.
FIG 07c · CARE: the task library.FIG 07d · TIMELINE: the grow's history.
Do this
Take the photo anyway, even if you don't write anything. An entry with a photo is worth double in the closeout report, and it's the only thing that later tells you when a problem started.
Avoid this
Don't mark tasks as done in a batch at the end of the week. Real punctuality (the time you actually did it against the scheduled one) is part of the score and of the analysis.
How urgent it is
EssentialA protocol chosen so that tasks exist.
ImportantOne report a week at the very least.
OptionalFeeding plan and IPM catalog loaded.
10 · ProtocolINTERMEDIATE
Protocols: the plan the app follows for you
A protocol is the grow's recipe: which tasks come up each week, with which environment targets per stage. With no protocol chosen, the tasks card shows a suggestion and nothing gets scheduled for you. When you pick one, the app builds the schedule on its own and the journal starts to make sense.
01Journal → the Setup gear, or the Choose a protocol button on the tasks card.
02Pick one from the list. Each one says what it's meant for and how many tasks it brings.
03It loads into the zone you have open. This week's tasks show up on the dashboard right away.
04If you want to change something, fork it: you keep a copy of your own and the original stays untouched.
FIG 08c · The grow setup, where you choose the protocol.
Do this
Pick a protocol even if it's the simplest one. It's what turns the journal into a schedule.
Avoid this
Don't edit the system protocol. Fork it first: otherwise you lose the original.
How urgent it is
EssentialA protocol chosen so that tasks exist.
ImportantThe environment targets reviewed after applying it.
OptionalYour own fork with your adjustments.
11 · AlertsBASIC
Alerts: only get told when it matters
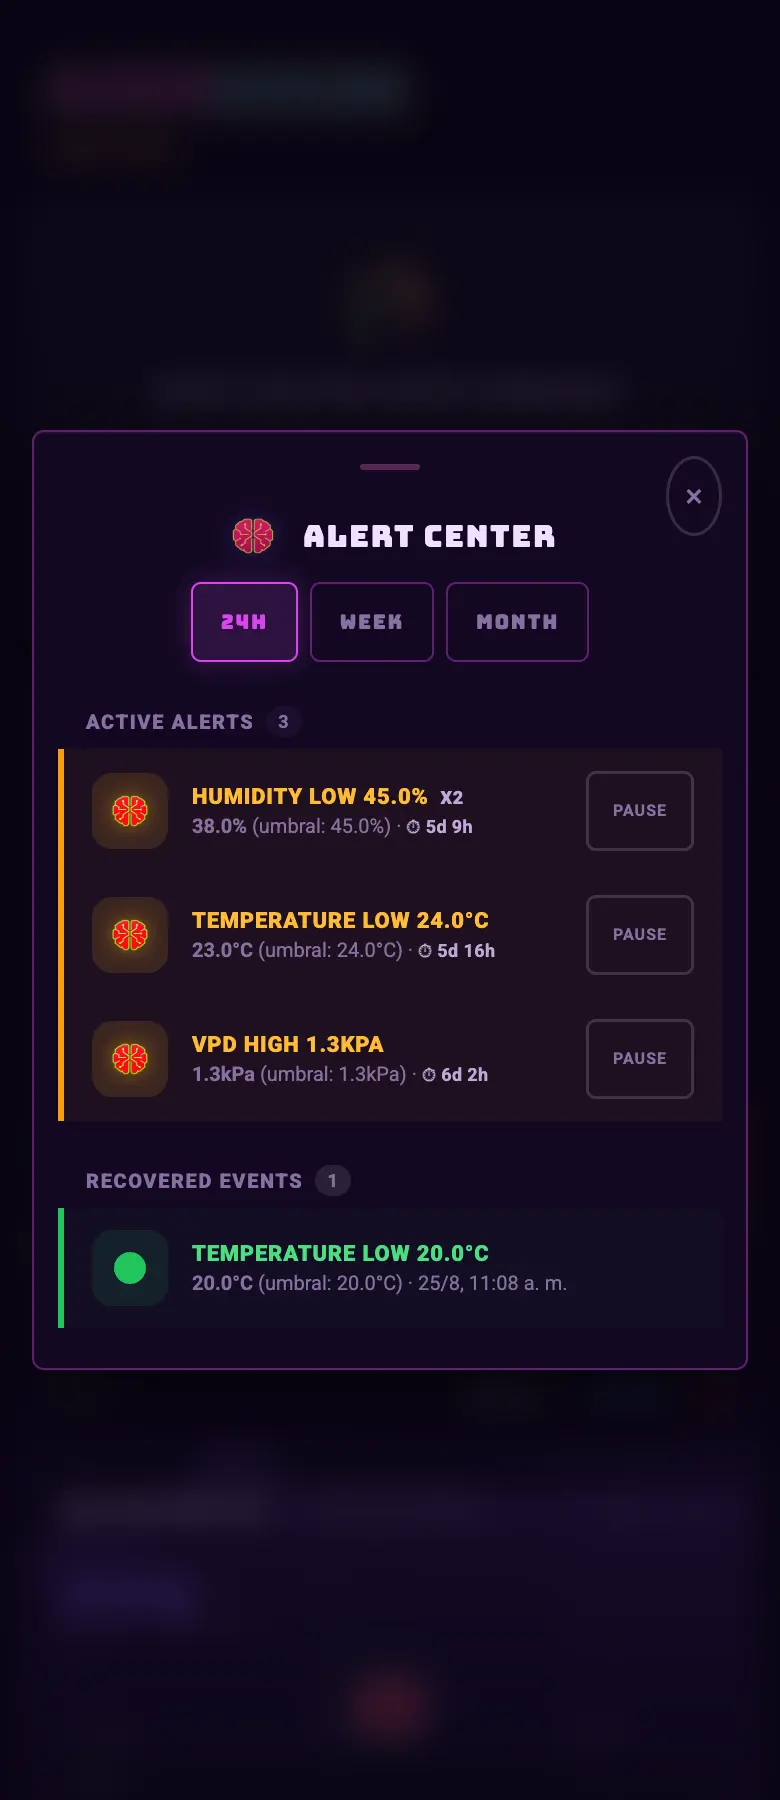
A grow is lost at night and in silence. Alerts are the only thing working when you're not watching — and the only thing that ruins itself if you set it up wrong, because a hundred notifications a day turn into zero notifications read.
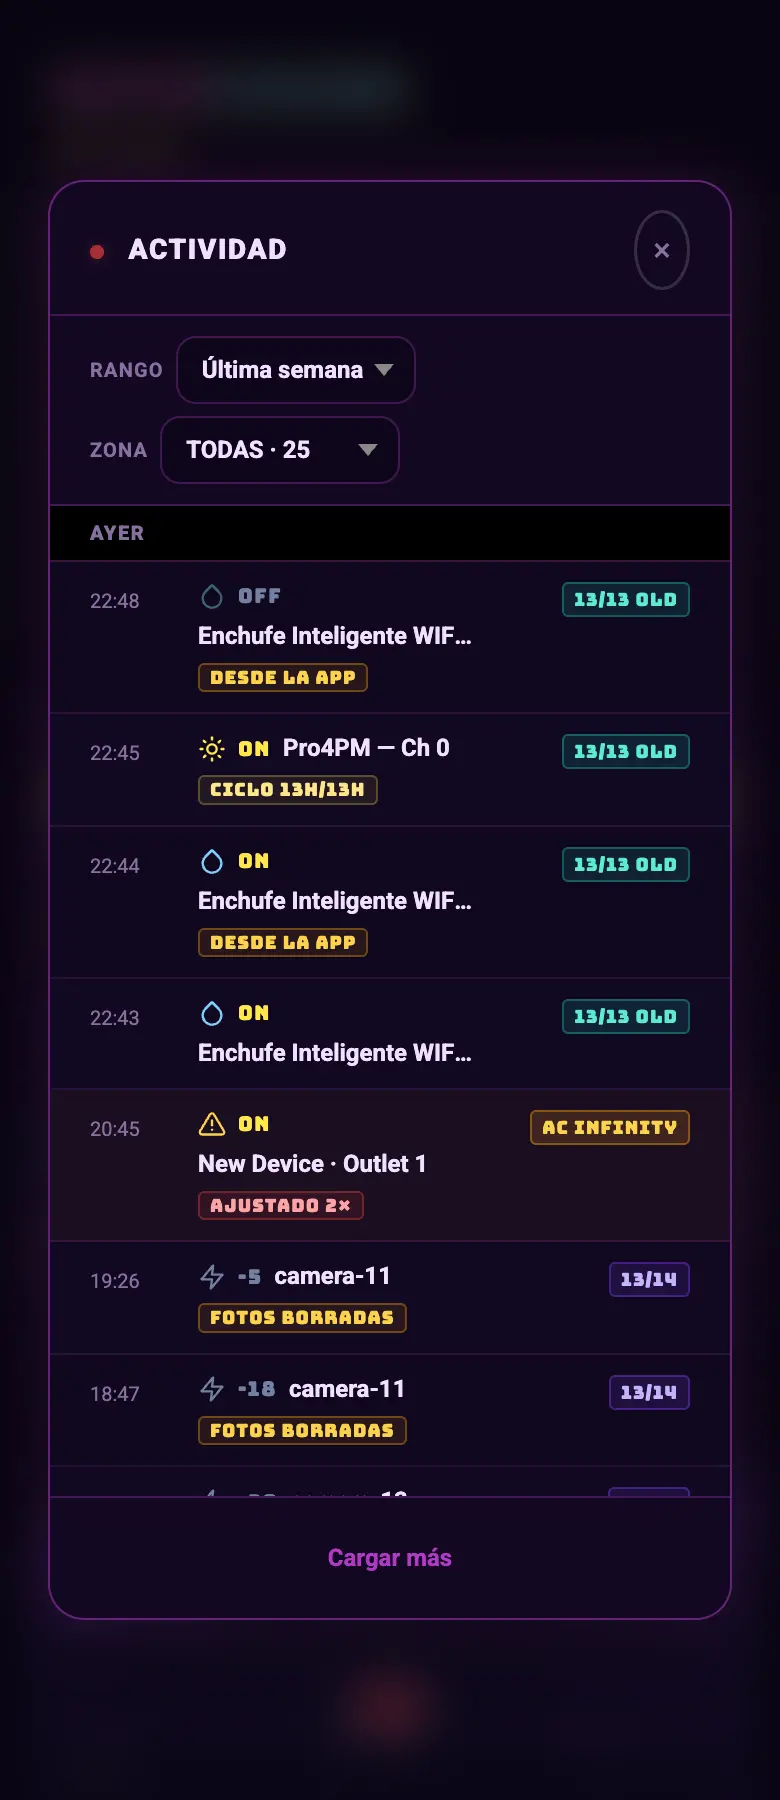
FIG 09a · Zone alarm history: what fired, when, and with what value.FIG 09b · Activity: everything the system did, with a filter by range and zone.
The four levels
Every metric (temperature, humidity, VPD, CO₂, light, PAR, DLI, pressure, VOC, dew point) takes four thresholds: warning low, critical low, warning high, and critical high.
You set them from the ⚙ on the Environment card, along with the targets.
Critical wraps warning: if a value crosses straight into critical, it goes out anyway even if the warning is in cooldown.
The rules the app won't let you break
Rule
Why
Critical has to wrap warning
Critical low below warning low, and critical high above warning high. Otherwise critical is never reached, or it's reached before the warning.
Minimum width of the warning band
1.5 °C · 5 % humidity · 0.2 kPa · 100 ppm.
Minimum width of the critical band
2.5 °C · 8 % humidity · 0.3 kPa · 150 ppm.
All or nothing
If one metric ends up wrong, none of them get saved, and the app tells you the exact number you have to fix in each field.
Anti-noise
Cooldown
One hour per alert, and you can change it. The alert that gets silenced still goes into the history: the only thing you don't get is the notification on your phone.
Escalation
The exception to the cooldown: if it goes from warning to critical, it rings.
Ephemeral alerts
You mark an alert as "today only" and it turns itself off.
What else gets alerted, besides the numbers
Equipment offline and sensors with no signal.
Relay state change: it tells you when one specific piece of equipment turns on or off.
Light leak: the camera sees light during the night. First it learns how dark your tent is, over seven days, and only alerts after several frames in a row — it doesn't fire on a single flash.
Pest traps: when the photos show the pest is on the rise.
Irrigation: close failures, dry pump, watering blocked by out-of-range water.
Platform: a cloud's quota used up, tokens about to expire, a provider's connection going down.
Where you see them
Push to your phone
The main channel. It reaches the owner and the collaborators with a role.
The bell on the card
The alarm history for that zone, computed on the spot against your thresholds.
Activity (☰ → Activity)
The log of everything the system did: what it turned on, when, and why. With a filter by range and by zone.
Telegram
Platform and support alerts. You link the account from the chat.
Do this
Put the warning where you still have time to react and the critical where there's already damage. A warning at 29 °C and a critical at 33 °C work; two thresholds at 30 and 31 don't.
Avoid this
Don't turn off notifications to stop the noise. Raise the threshold or widen the cooldown: turned off, the history keeps filling up and nobody looks at it.
How urgent it is
EssentialTemperature and humidity with warning and critical at both ends.
ImportantEquipment offline alert on the light and on the pump.
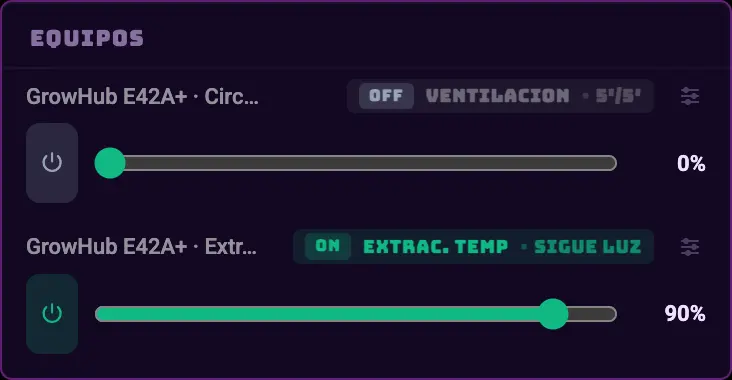
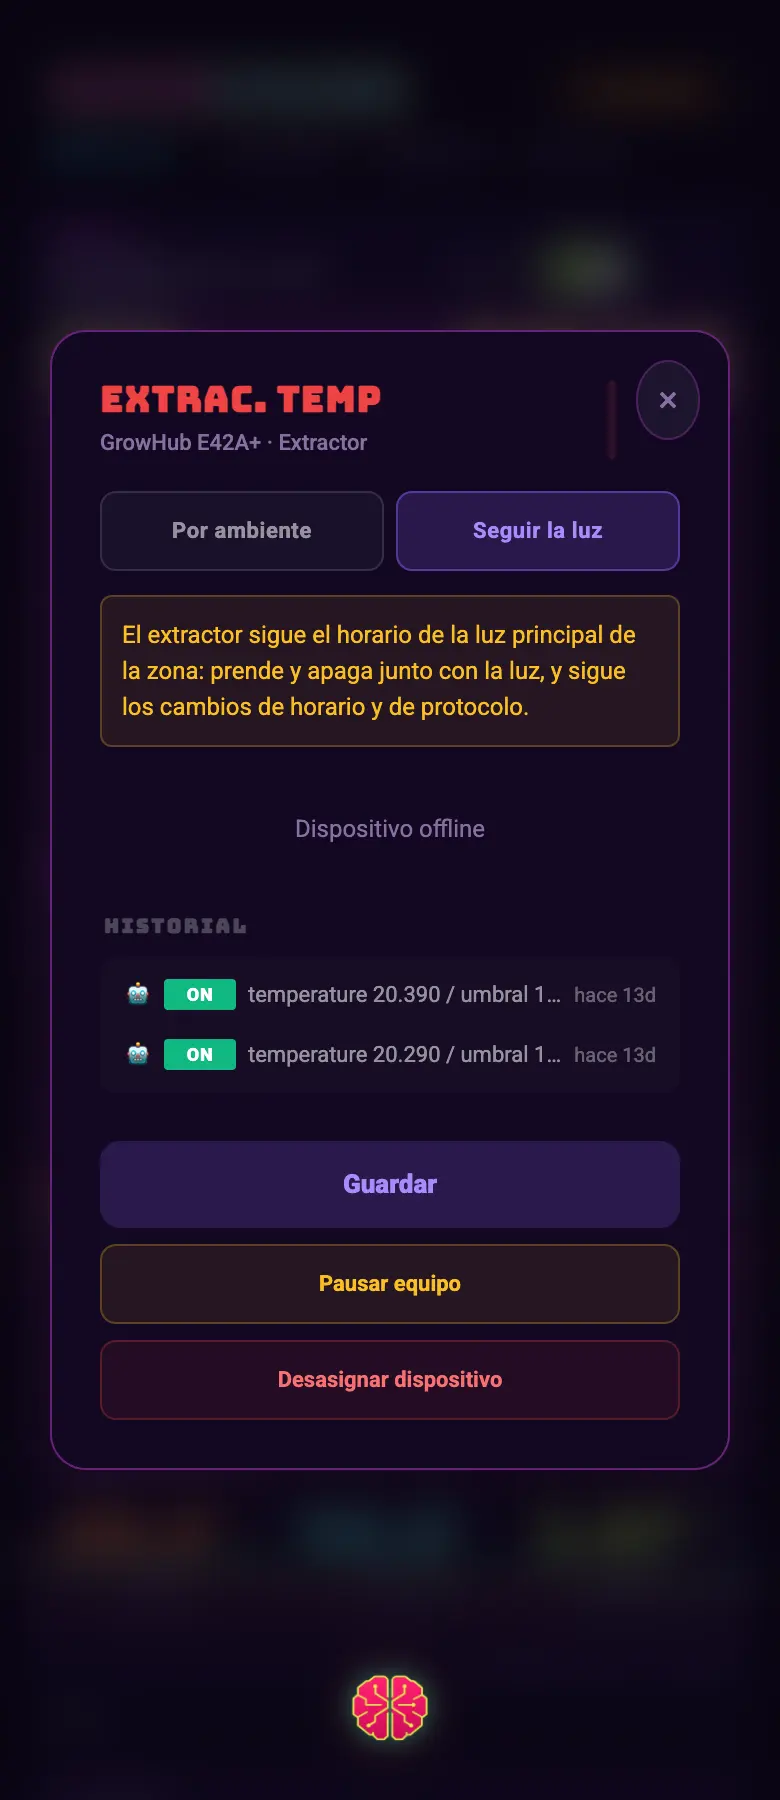
Everything that isn't the light or the pump goes here. Each device carries a role (what it is) and a mode (how it decides to turn on). With those two fields the system decides everything it does with the environment.
FIG 10a · EQUIPMENT card: the actuators that run without a sensor.FIG 10b · Equipment settings: role, mode, threshold and hysteresis.
The roles
Role
What it is
Light / Secondary light
The main lamp and the supporting ones.
Exhaust fan / Timed exhaust fan
Pulls air out. The "timed" one runs in fixed cycles without looking at the sensor.
Intake fan
Pushes air in.
Fan
Moves air inside. It doesn't change temperature or humidity by itself.
Anything that doesn't fit: you turn it on and off yourself.
The modes
Mode
How it decides
When to use it
Manual
You turn it on and off from the card.
When you've just installed it and don't know what threshold you want yet.
Timer
Fixed loop: N minutes on, N off.
Air-exchange exhaust fans and circulation fans.
Follows the light
Turns on when the light turns on (or when it turns off, if you invert it).
Exhaust fans you only need with the lamp on.
By sensor
Turns on and off by a value from the zone's sensor, with hysteresis.
Everything that corrects the environment: humidifier, heater, cooling.
The by-sensor rule, field by field
Metric
Temperature, humidity, VPD or CO₂.
Turn-on value
The number at which the equipment starts. The direction (greater than / less than) is not yours to pick: it comes from the role. A humidifier always turns on *below* a value and a dehumidifier always *above*.
Hysteresis
How many points the value has to come back for the equipment to stop. Without hysteresis the equipment turns on and off every minute and breaks.
Night value
A second threshold that only applies with the light off. The tent at night is a different tent: temperature drops and relative humidity rises without anything odd going on. Available on heater, cooling, exhaust fan, humidifier and dehumidifier, and only if the zone has a main light with a schedule — with no light there's no way to know when it's night.
Per-stage presets
The same equipment with different targets in veg, flower, drying and curing.
Hysteresis floor
The system won't let you set a gap smaller than 2 °C, 5 % humidity, 0.2 kPa of VPD or 100 ppm of CO₂. Below that the relay switches every few seconds with the sensor's noise, and that breaks the device and floods the cloud. The roles that run on a timer (timed exhaust fan, fan, intake fan) don't have this limit.
Timer minimum
In timer mode, each leg runs from 5 minutes to 24 hours.
Safe mode
What the equipment does if the sensor stops sending data: stay where it is, turn off or turn on. It's what keeps it from acting blind.
Do this
Always set hysteresis, even if it's just 2 points. A dehumidifier with no hysteresis does a hundred starts a night and dies in a month.
Avoid this
Don't put the circulation fan in by-sensor mode. It doesn't change the number you're measuring, so the rule is never satisfied and it stays on forever.
How urgent it is
EssentialThe right role on every device.
ImportantHysteresis and minimum times on everything that corrects the environment.
OptionalPer-stage presets and night value.
13 · IrrigationINTERMEDIATE
Irrigation: the five modes
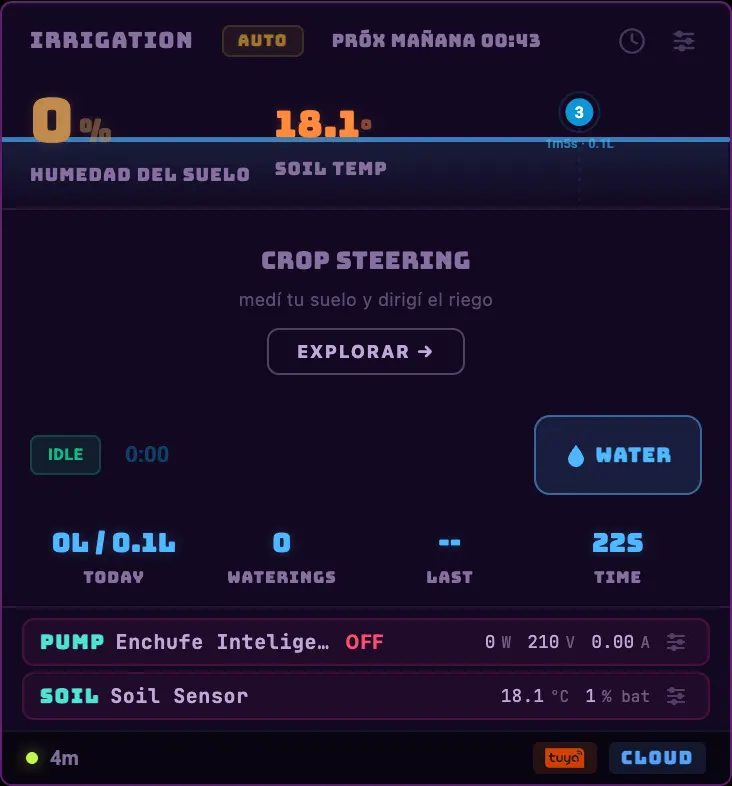
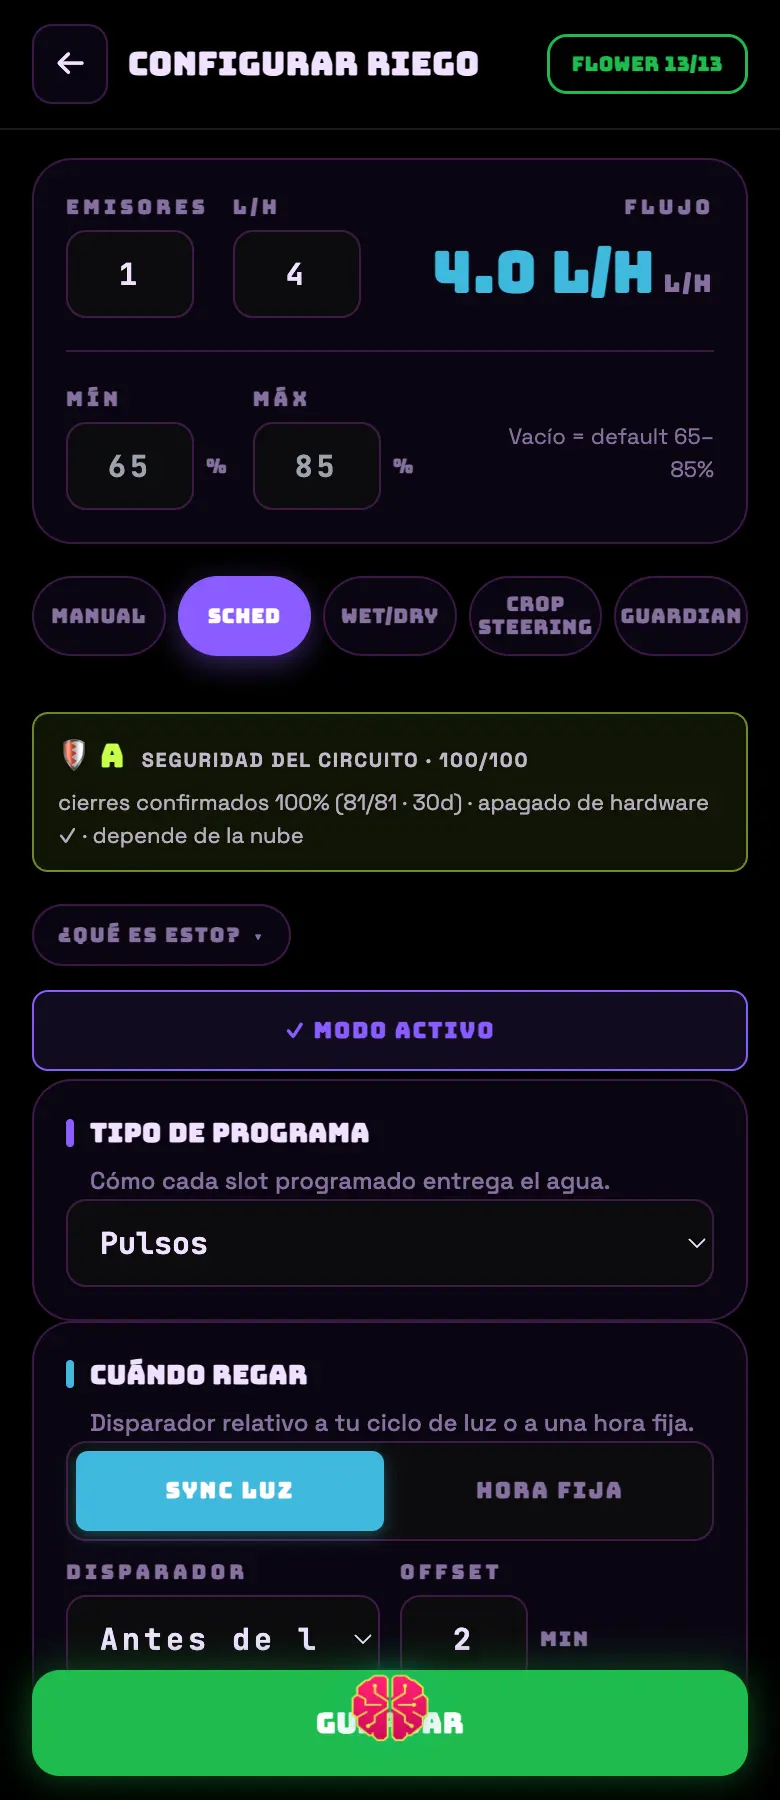
Of everything the app does, irrigation is the biggest, and the only one where a mistake is paid for within hours. You configure it behind the card's ⚙, and it's split into five panels: one per strategy, plus the safety caps that apply to all of them.
FIG 11a · Irrigation card: substrate moisture, strategy, next watering and the day so far.FIG 11b · Setup: the shared header and the five panels.
First of all: the header
Field
Range
What it's for
Drippers
1 to 100
How many drippers you have. At 0 the system doesn't make it up: the liters in the history are left unestimated.
L/h per dripper
0.1 to 20
Nominal flow rate. Without a flow rate, volume mode simply doesn't water.
Total flow
calculated
Drippers × L/h. It's the number the system uses to translate liters into seconds.
Chart min/max
0 to 100 %
It only changes the scale of the moisture chart. Empty = 65/85.
1 · Manual
No fields: you open the pump yourself, with the card's WATER button.
All the safety nets still cover you: duration cap, watchdog and automatic hardware shutoff.
To drop from an automatic mode down to manual, it asks you to confirm.
2 · Scheduled
Field
Range
Default
What it is
Program type
one shot / pulses / volume
—
How it delivers the water each time it fires.
One shot · duration
10 to 3600 s
120 s
A single opening.
Pulses · shot duration
5 to 300 s
30 s
How long it opens on each pulse.
Pulses · pause (soak)
1 to 120 min
60 min
How long it waits between pulses so the water spreads.
Pulses · maximum
1 to 50
10
Cap per session.
Volume · target liters
0.1 to 200 L
12 L
Total to deliver.
Volume · max s/shot
10 to 600 s
120 s
Cap on each opening.
When to water
sync with the light / fixed schedule
sync
With sync, watering hangs off the lamp turning on or off; with a fixed schedule, off the clock.
Trigger (sync)
after turning on / before turning off / before turning on
—
Which movement of the light it hooks onto.
Offset (sync)
0 to 480 min
30 min
How long before or after that event.
3 · Wet/dry (by soil moisture)
Field
Range
Default
What it is
DRY (minimum)
0 to 100 %
40 %
When moisture hits this value, the fill starts.
WET (target)
0 to 100 %
65 %
It waters up to here.
Shot duration
5 to 600 s
30 s
Each shot of the fill.
Pause (soak)
1 to 120 min
15 min
Wait before measuring again.
Max shots
1 to 20
6
Cap per calendar day, not per light cycle.
Max runtime / volume
60-7200 s / 1-500 L
600 s / 50 L
It's there so you don't end up waterlogging the pot.
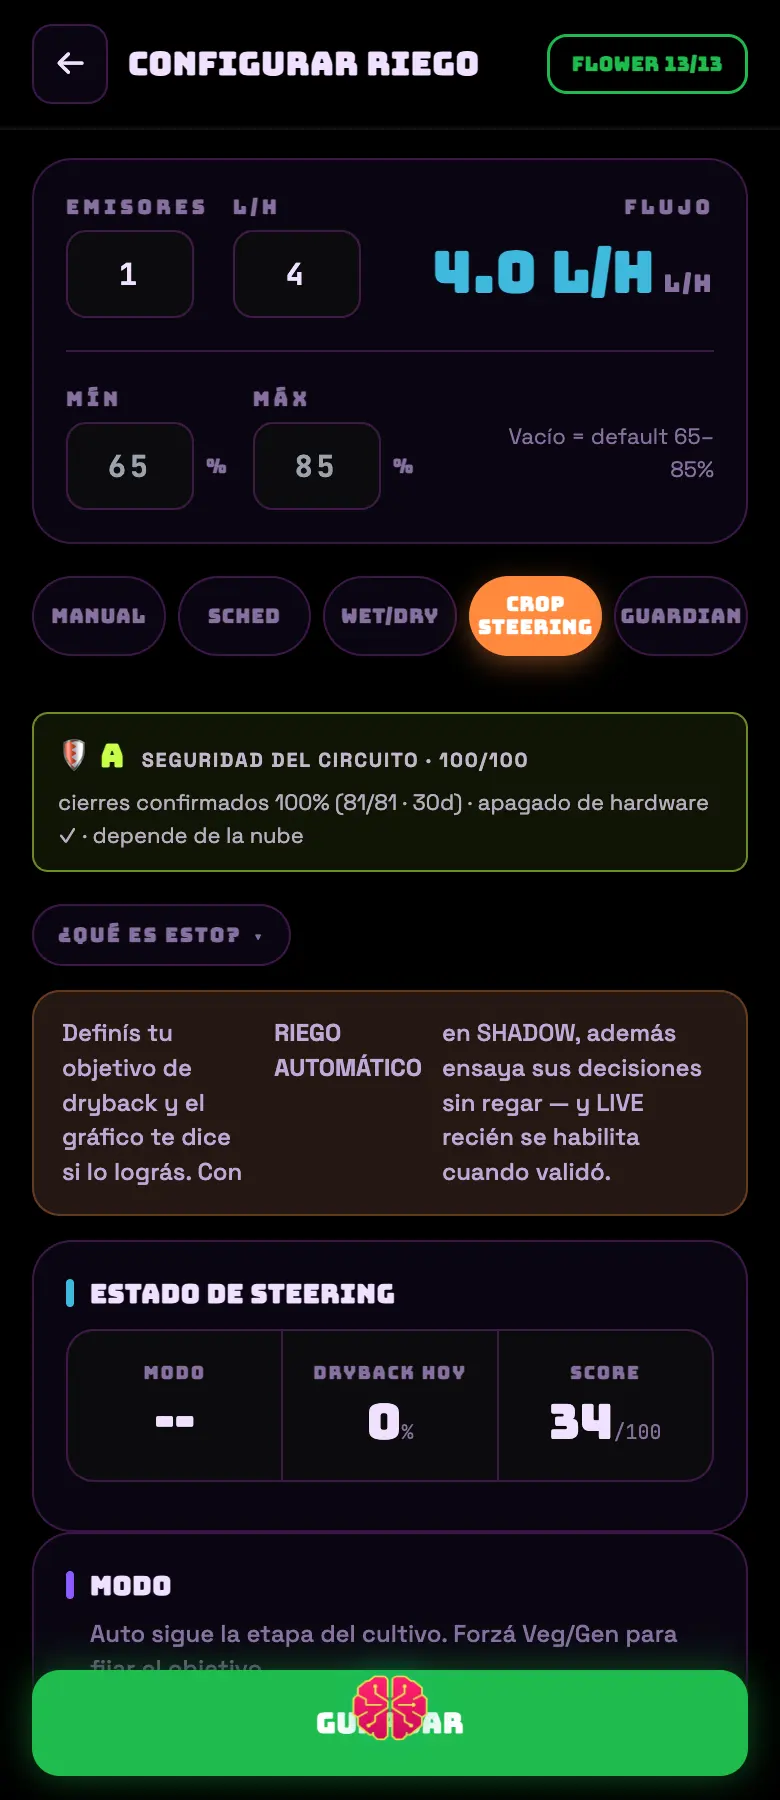
4 · Crop steering
It's the pro mode: the day is split into phases P1 (morning recharge), P2 (maintenance) and P3 (cutoff before the light goes off), plus the night with no watering.
With the block irrigation switch ON, out-of-range water stops automatic irrigation. On OFF, it only warns.
Two cases block always, wherever the switch is: a sensor that doesn't show up, and a probe whose last reading is already more than five minutes old. There, stopping is the safe thing.
It needs a water probe (Bluelab). Without a probe, Guardian does nothing.
The caps that apply to every mode
Cap
Range
Default
Max duration of an automatic watering
60 to 7200 s
600 s
Max duration of a manual watering
60 to 1800 s
300 s · off by default
Liters per session
1 to 500 L
50 L
Retries if the cloud fails
0 to 5
3
Warning if a watering couldn't run
yes/no
yes
Do this
Try it with PULSE IRRIGATION NOW or TEST WET/DRY NOW: they save the configuration and run once without changing the active mode.
Avoid this
Don't set the wet/dry minimum close to the target. At 60 → 65 the system waters all day and the root never goes looking for water; the dryback is half the job.
How urgent it is
EssentialDuration and liter caps set before the first automatic watering.
ImportantReal drippers and flow rate.
OptionalGuardian with a water probe.
14 · IrrigationINTERMEDIATE
Why irrigation won't flood your room
It's the most carefully built part of the system, because it's the only one that can ruin a grow in twenty minutes. It's worth understanding what it's covering for you, even if you never touch it.
Four layers, independent of each other
1 · The hardware
Before opening, the system arms the plug's own auto-off. If it can't arm it, it doesn't open. An internet outage, a server crash or a hung cloud won't leave the pump running.
2 · The watchdog
It checks that the valve really is open when it should be, and closes it when the time runs out.
3 · Reconciliation
Every half minute it compares what the system believes is open against what the device actually says, and corrects it.
4 · The command filter
It stops out-of-range durations and commands before they reach the relay.
On top of that
Sentinel for unexpected relays: every 30 seconds it checks whether an irrigation relay was left on that the system wasn't expecting. If it's a ghost of its own, it closes it. If you watered from the manufacturer's app, it warns you, cuts off at the limit and pauses the automatics for two hours so the water isn't doubled up.
Dry-run pump guard: it learns the pump's normal power draw; if it drops below that twice in a row it cuts off, cancels the watering that was coming and warns you. It catches an empty tank, a disconnected hose or a jammed pump.
Recovery after a crash: if the service restarts with a valve open, it closes it on startup and restores the day's counters — a restart doesn't hand out extra waterings.
Closing always gets through: a turn-off command never sits waiting behind a retry.
The circuit's SAFETY SCORE
A 0-100 score and an A-D letter per pump, recalculated every day over the last 30.
It looks at how many times the close was confirmed, whether the hardware's auto-off has been tested, whether the device answers on the local network, relays that were left on by themselves, failed closes and dry starts.
With no tested auto-off, your score stays at 55 — meaning you don't get past a C no matter how perfect everything else is.
The score comes with one concrete tip for raising it, the most important one first.
The messages you'll see
"Irrigation is paused"
Failures in the manufacturer's cloud. The panel tells you the reason and how many retries are left.
"The plug is offline"
The engine can't water through something that isn't answering it.
"The valve didn't physically open"
The system looks at whether the valve actually opened, not at whether the command was sent.
"EMERGENCY: the pump didn't respond to the close"
The one case where the system asks you to go unplug it by hand. Go.
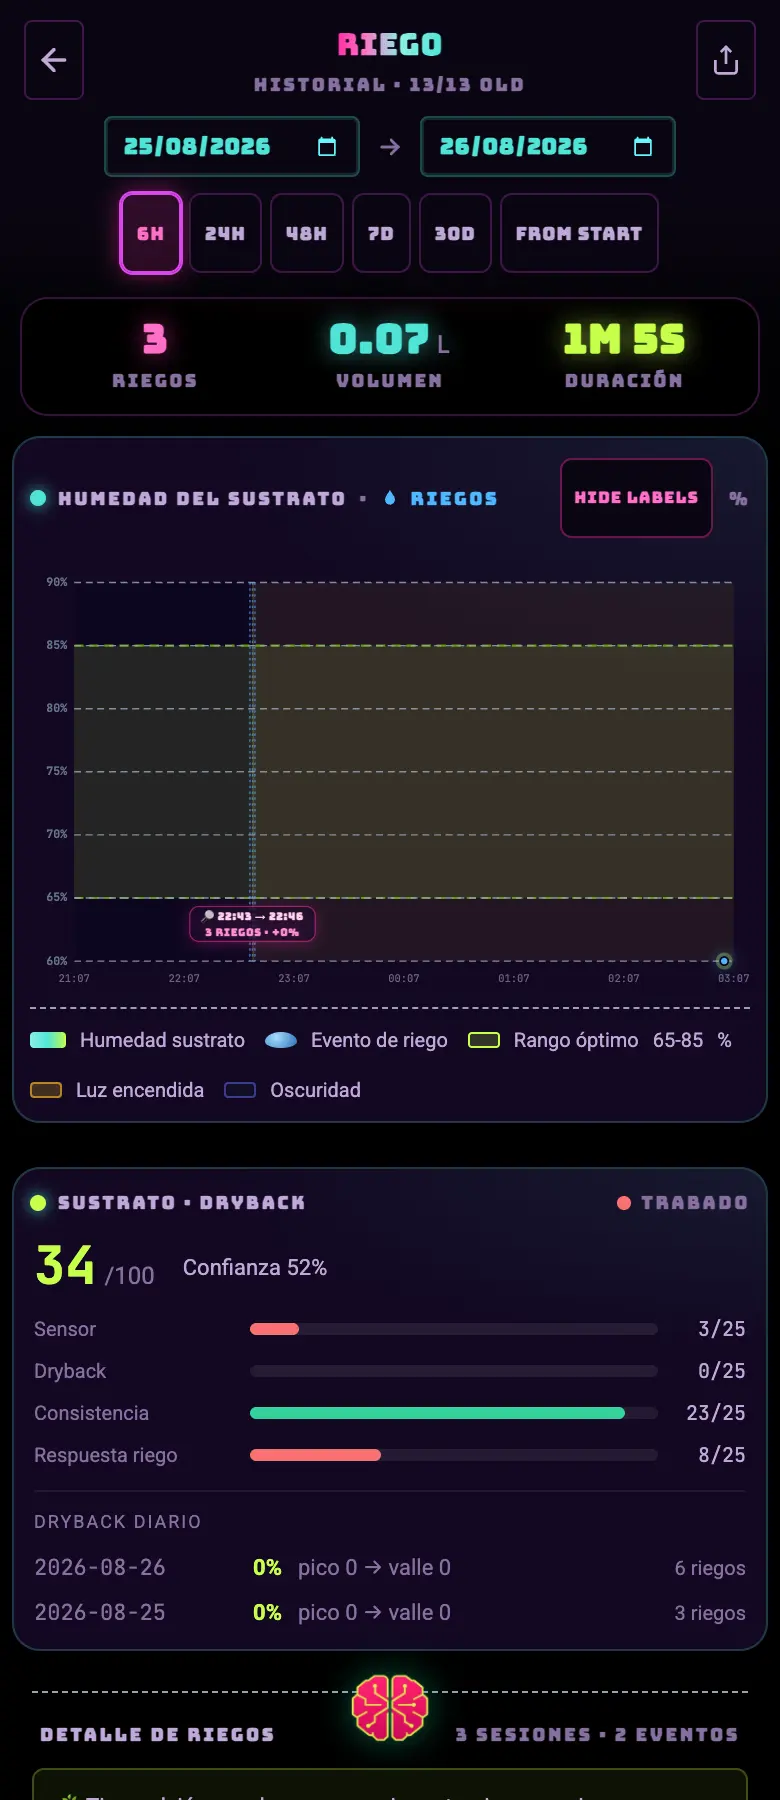
FIG 12 · Watering history: every trigger with its reason in plain language, and also what it did NOT water and why.
Do this
Pick plugs that know how to turn themselves off on a countdown. It's the difference between a C and an A, and between a flood and a scare.
Avoid this
Don't trust that "the server will figure it out". If the plug can't arm its own auto-off, the system would rather not open — and you can't turn that off.
How urgent it is
EssentialHardware auto-off available and tested.
ImportantFailed-watering notification turned on.
OptionalDry-run pump guard (needs a plug with power metering).
15 · CameraINTERMEDIATE
Eyes: the grow's camera
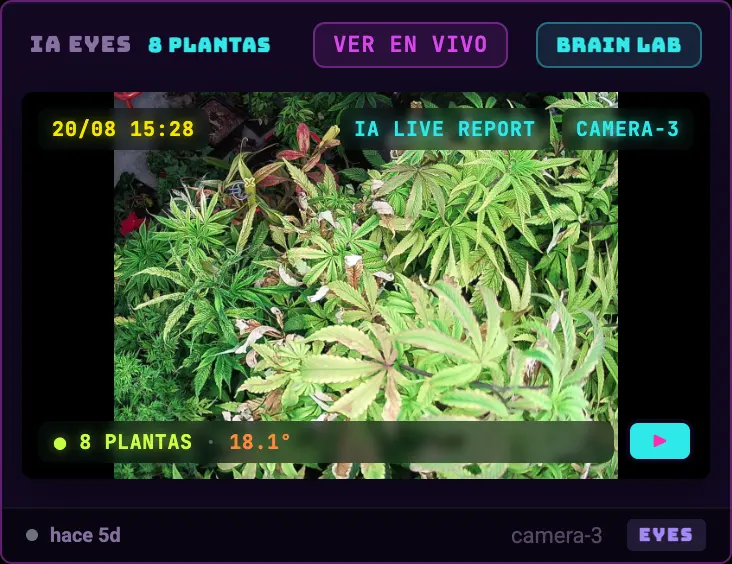
Eyes turns an old Android into the tent's camera. It's not just watching: it counts the plants, draws their outline, measures how much space they take up and builds the timelapse with the sensor numbers from each moment on top.
01Install the Eyes app on the phone you're going to leave inside (☰ → GROW TOOLS → use this phone as a camera, from the app only).
02Pair it with the QR code the dashboard shows you. The phone gets linked to one zone.
03Done: the AI EYES card appears on the dashboard with the latest photo.
FIG 13a · AI EYES card: live photo with the current readings on top of it.FIG 13b · Full-screen player, with the growth panel.
What it does, beyond taking photos
Plant count and outline
The AI cuts out each plant and works out how much of the photo it takes up. That way you compare growth day by day no matter the resolution or the camera distance. Violet = normal; orange = delayed growth.
Timelapse with the data on top
Video of the day, the week or the whole grow, with the temperature, humidity, VPD, day and equipment status from that exact frame, in sync.
Light leak detection
It learns what your tent looks like in the dark over seven days and warns you if light gets in at night. It rules out cameras with infrared and needs several frames in a row: it doesn't trip on a single flash.
Night series and live view
WATCH LIVE button on the card, and BRAIN LAB for the large player.
An IP camera over FTP works too: you upload the photos to the server and they land on the same timeline.
Old photos delete themselves so the disk doesn't fill up. A timelapse that's already been generated survives.
If the phone runs out of battery or loses WiFi, the card says so with the "X ago" — it doesn't pass off an old photo as a new one.
Do this
Mount the phone somewhere you won't move it from and keep it charging permanently. The value of a timelapse is that the framing doesn't change for three months.
Avoid this
Don't leave the camera pointing into the light. The contrast ruins plant detection and leaves the darkness baseline useless.
How urgent it is
EssentialNothing: Eyes is optional.
ImportantA fixed, powered camera if you want timelapse.
OptionalLight-leak detection.
16 · BrainBASIC
Brain: asking someone who has seen your sensors
Brain is the app's chat, and what makes it different from any other one is that it comes into the conversation with a snapshot of the real state of your zone. Ask it why the VPD is running high and it answers with your numbers, not with generalities.
FIG 14 · Brain chat. On a wide screen it lives as a column next to the dashboard.
What it can do
Answer with context
It sees your zone: sensors, equipment, stage, waterings. It calls you by your nickname.
Cite documentation
It has an agronomy knowledge base in several languages: it cites, it doesn't make things up.
Speak first
It sends proactive messages when it sees something odd or something left unconfigured. The number on the little brain is how many you haven't read.
Get hands-on
It doesn't just talk: it proposes configuration changes and applies them, turns a specific outlet on or off, and proposes improvements to your protocols. It shows you everything it touches before doing it.
Live voice
You talk, it listens and answers out loud, and you can interrupt it mid-sentence. Handy when your hands are busy.
Trivia
A quiz game inside the chat. You turn it on and off from ☰ → Settings.
Do this
Ask it concrete things about your tent ("was last night's dryback normal?"). That's where it beats searching the internet.
Avoid this
Don't ask it to make big configuration changes without looking at what it proposes. It shows you first precisely so that you read it.
How urgent it is
EssentialNothing.
ImportantRead the proactive messages: they usually flag something left unconfigured.
OptionalVoice and trivia.
17 · DiagnosisBASIC
Plant Scan and sticky traps
Take a photo and ask what's wrong with the plant. It's the quick diagnosis tool, and the only one in the app that works well without a single device connected.
FIG 15a · Plant Scan: you pick what you want analyzed and take the photo.FIG 15b · Sticky trap card: severity, count and trend.
The modes
Mode
What it does
Status
Look for diseases / deficiencies
It analyzes the leaf and tells you what it's seeing, with the reasoning.
Available
Analyze sticky trap
It counts the bugs on the yellow or blue trap and gives you severity and trend.
Available
Harvest
Trichome maturity.
Coming soon
Sex
Preflower identification.
Coming soon
The trap card
It shows up as soon as you scan a trap for the first time. There's no hardware to set up.
It shows severity, the approximate count, a trend across the last scans and the trap color you scanned.
It always compares against the previous scan of the same color, so don't mix the yellow one with the blue one in the same series.
If severity escalates, an alert goes out.
Do this
Scan the trap on the same day of the week and under the same light every time. The trend is worth far more than a number on its own.
Avoid this
Don't move the trap between scans. You're measuring the population at one spot, not in the whole room.
How urgent it is
EssentialNothing.
ImportantTrap scanned once a week in flowering.
OptionalLeaf scan at the first doubt.
18 · FertilizationINTERMEDIATE
Fertilization plan and IPM catalog
Two journal tabs that work together: in FERT you set how you water and with what, and IPM is the pest prevention strategy. Both generate tasks that then show up in the day's agenda.
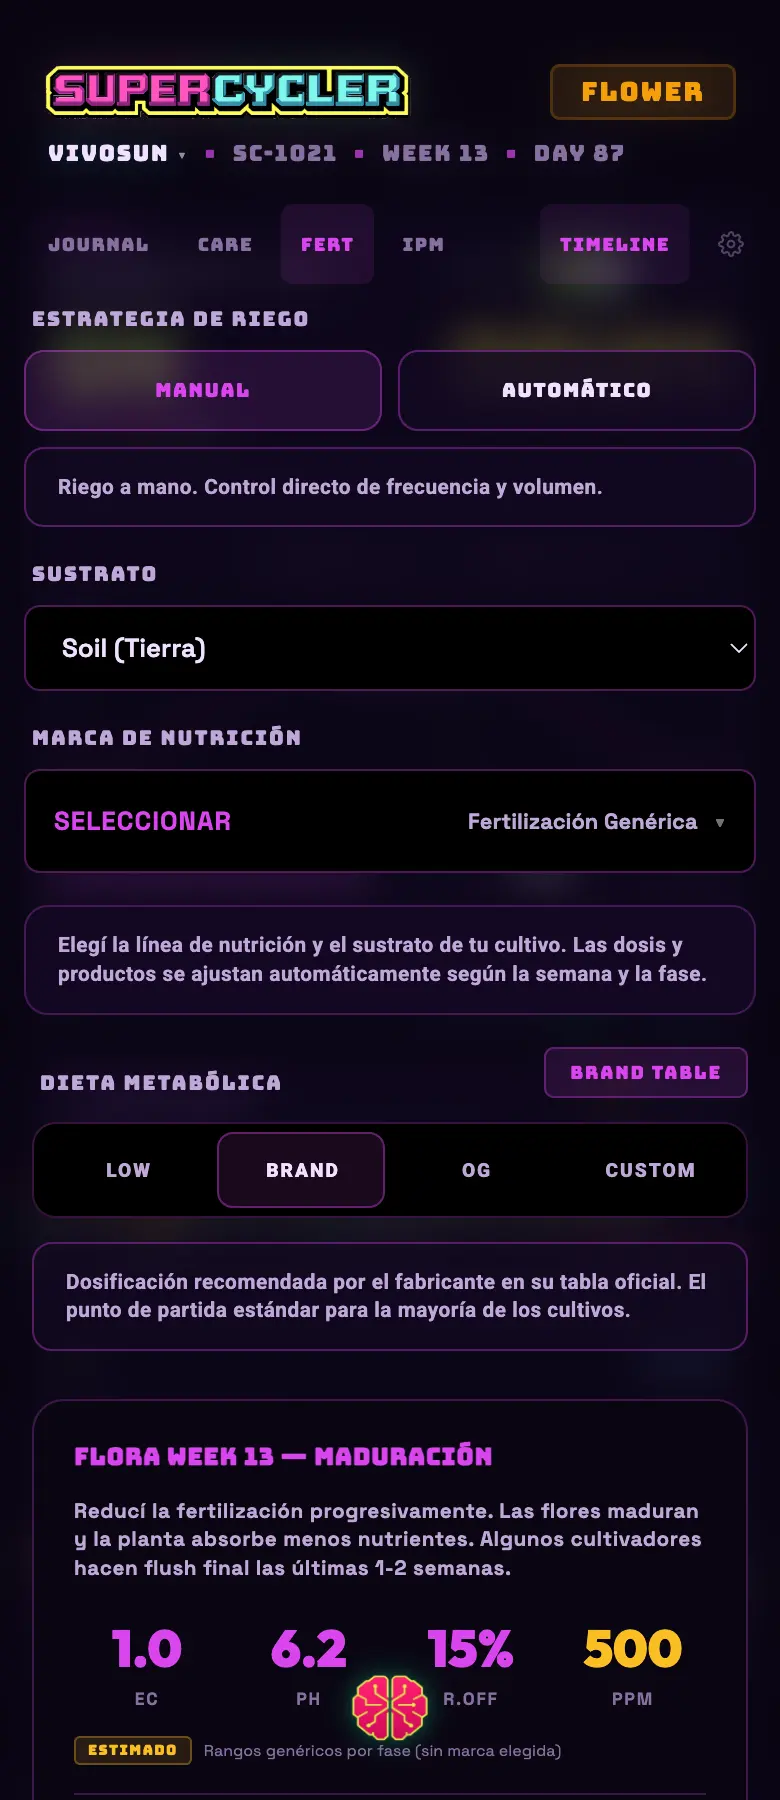
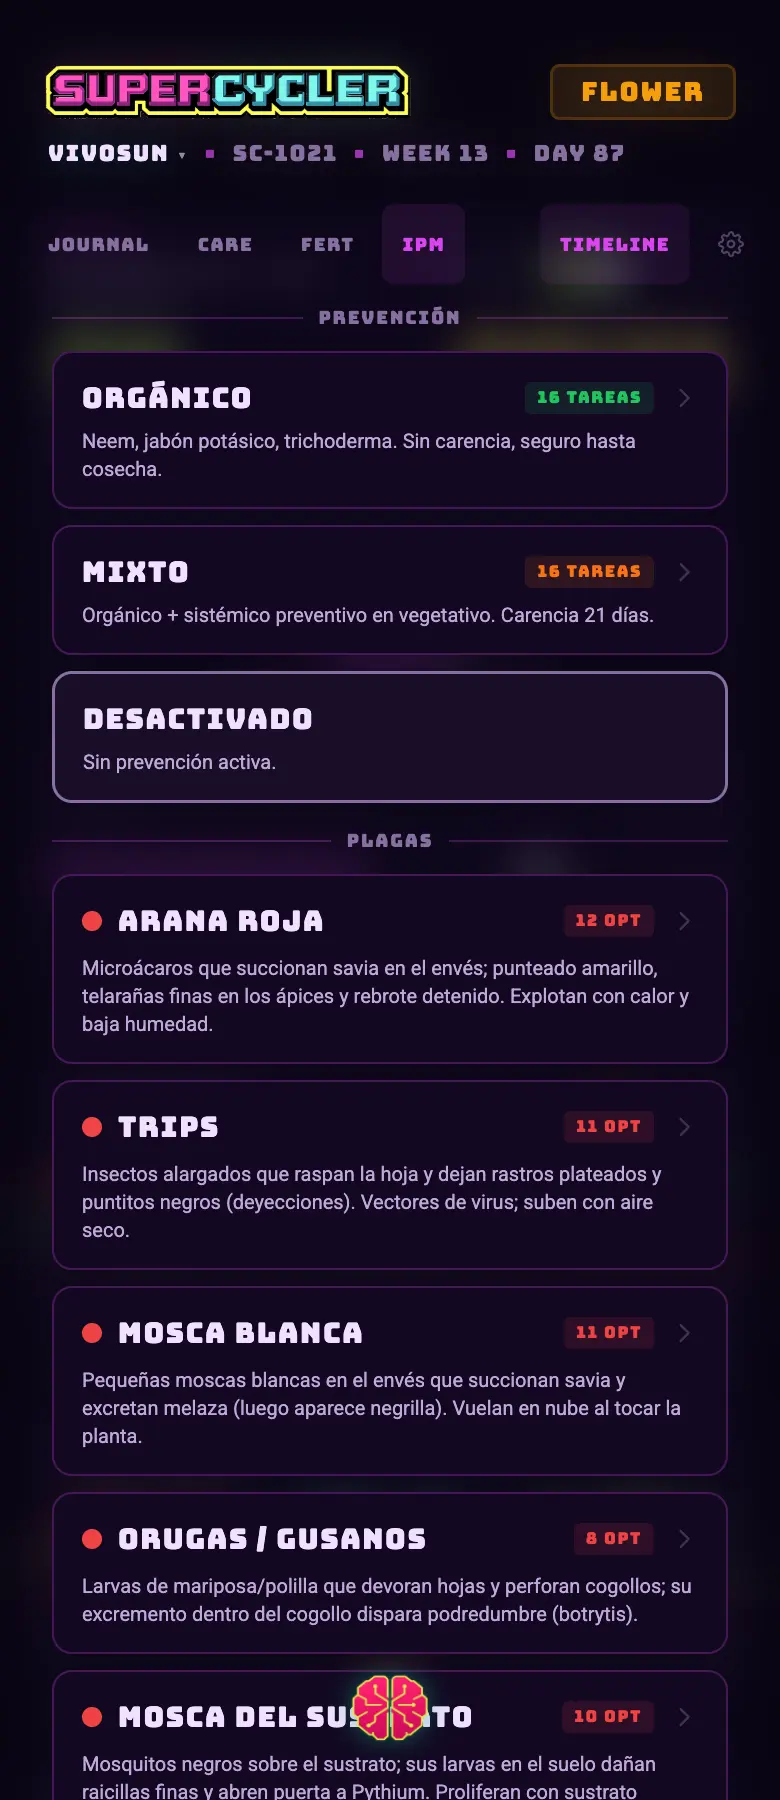
FIG 15a · FERT: irrigation and substrate strategy.FIG 15b · IPM: the prevention strategies, with the number of tasks each one brings.
FERT
Irrigation strategy: manual or automatic. On manual you set the frequency and the volume yourself.
Substrate: soil, coco, hydro. It changes the recommendations and the notes the app gives you on the moisture chart.
The fertilizer plan with the brands and products from the catalog.
IPM
You choose a strategy — organic, mixed — and each one comes with its own batch of scheduled preventive tasks.
Every product in the catalog has its safety sheet: pre-harvest interval, whether it's safe up to harvest, how it's applied.
It works together with the dashboard's sticky trap: if the trap escalates, you already have the protocol loaded.
Do this
Load the IPM strategy at the start of the cycle, while there's still no pest. It's prevention.
Avoid this
Don't apply anything in flowering without checking the pre-harvest interval on the sheet.
How urgent it is
EssentialNothing: you can grow without filling this in.
ImportantThe right substrate in FERT — it changes the irrigation recommendations.
OptionalIPM strategy and fertilizer plan.
19 · CommunityBASIC
Grower Arena: the ranking
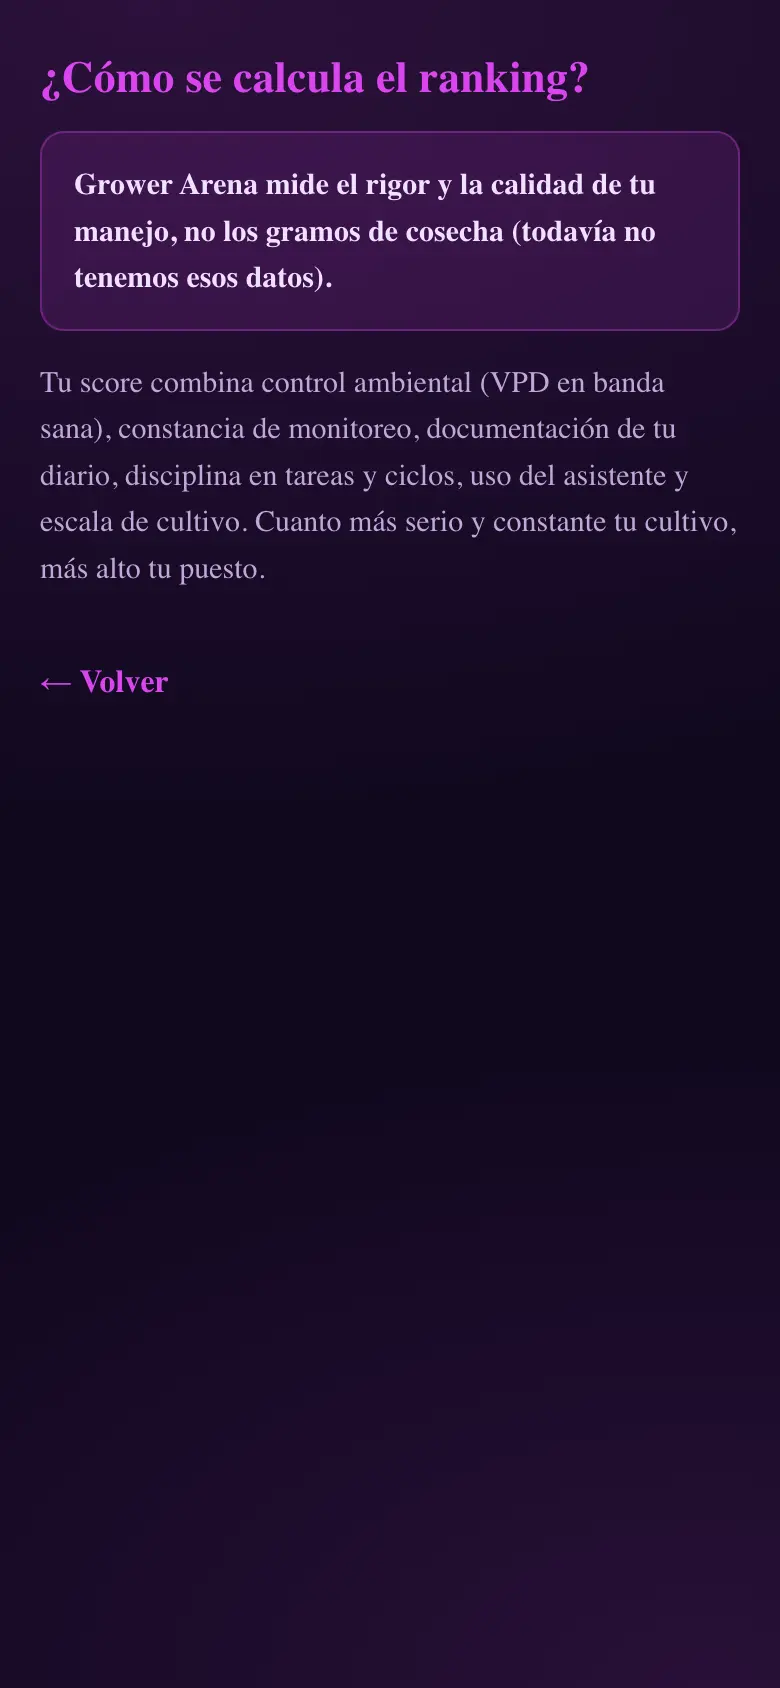
A ranking among growers that measures how tidily you run your grow, not how much you harvest. You join if you want and you leave whenever you want. The good part is that the math is published: you can see exactly what counts and what does not.
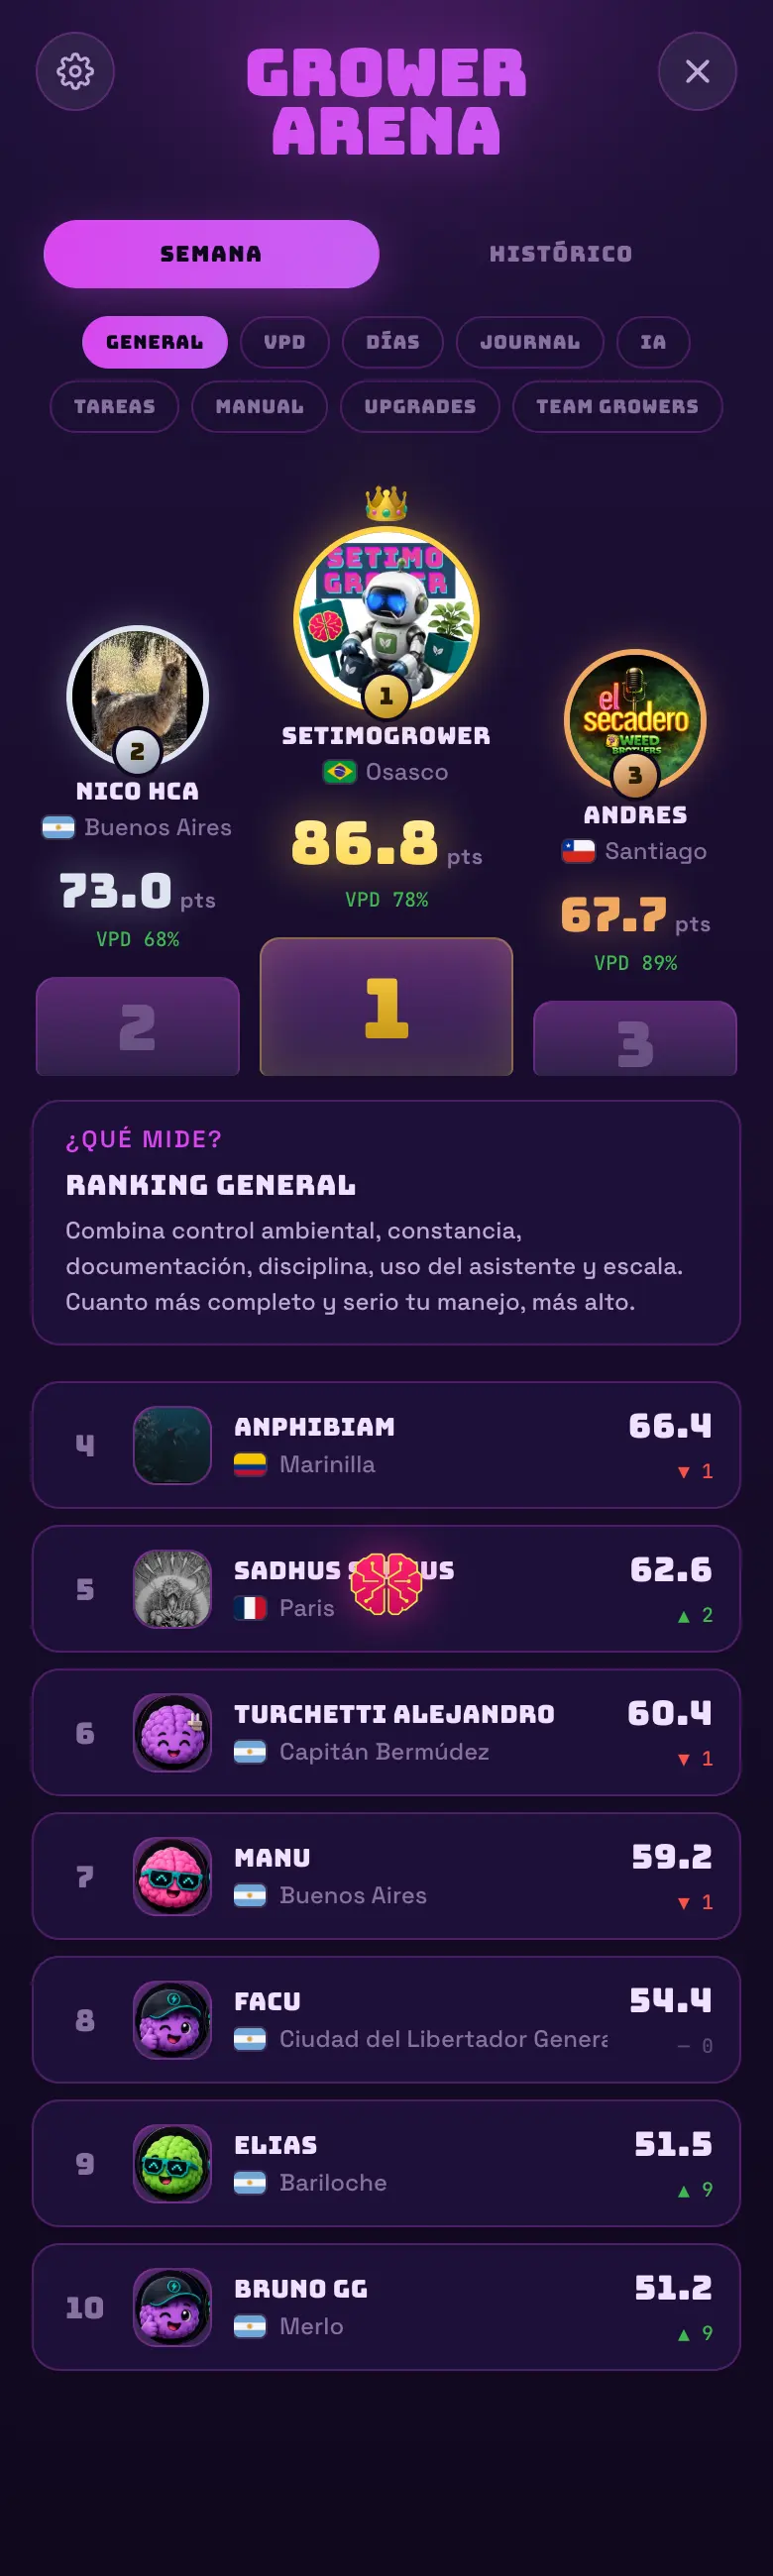
FIG 16a · The podium, with the weekly ranking and the all-time one.FIG 16b · The methodology, published.
What it measures
Environmental quality — how much of the time you kept VPD inside the band.
Consistency — how many days you monitored and how much data there is.
Documentation — journal entries, with a bonus if they carry a note or a photo.
Discipline — the tasks you did against the ones you skipped, and what time you did them against the scheduled time.
How much you use the assistant and how big the grow is.
Do this
If you are going to compare yourself, read the methodology first. It explains why you are where you are.
Avoid this
Do not change how you run the grow to climb the ranking. The ranking follows the grow, not the other way around.
How urgent it is
EssentialNone of this is essential.
ImportantNothing.
OptionalRead the methodology and decide whether you want to take part.
20 · My LabINTERMEDIATE
My Lab: the zone's complete record
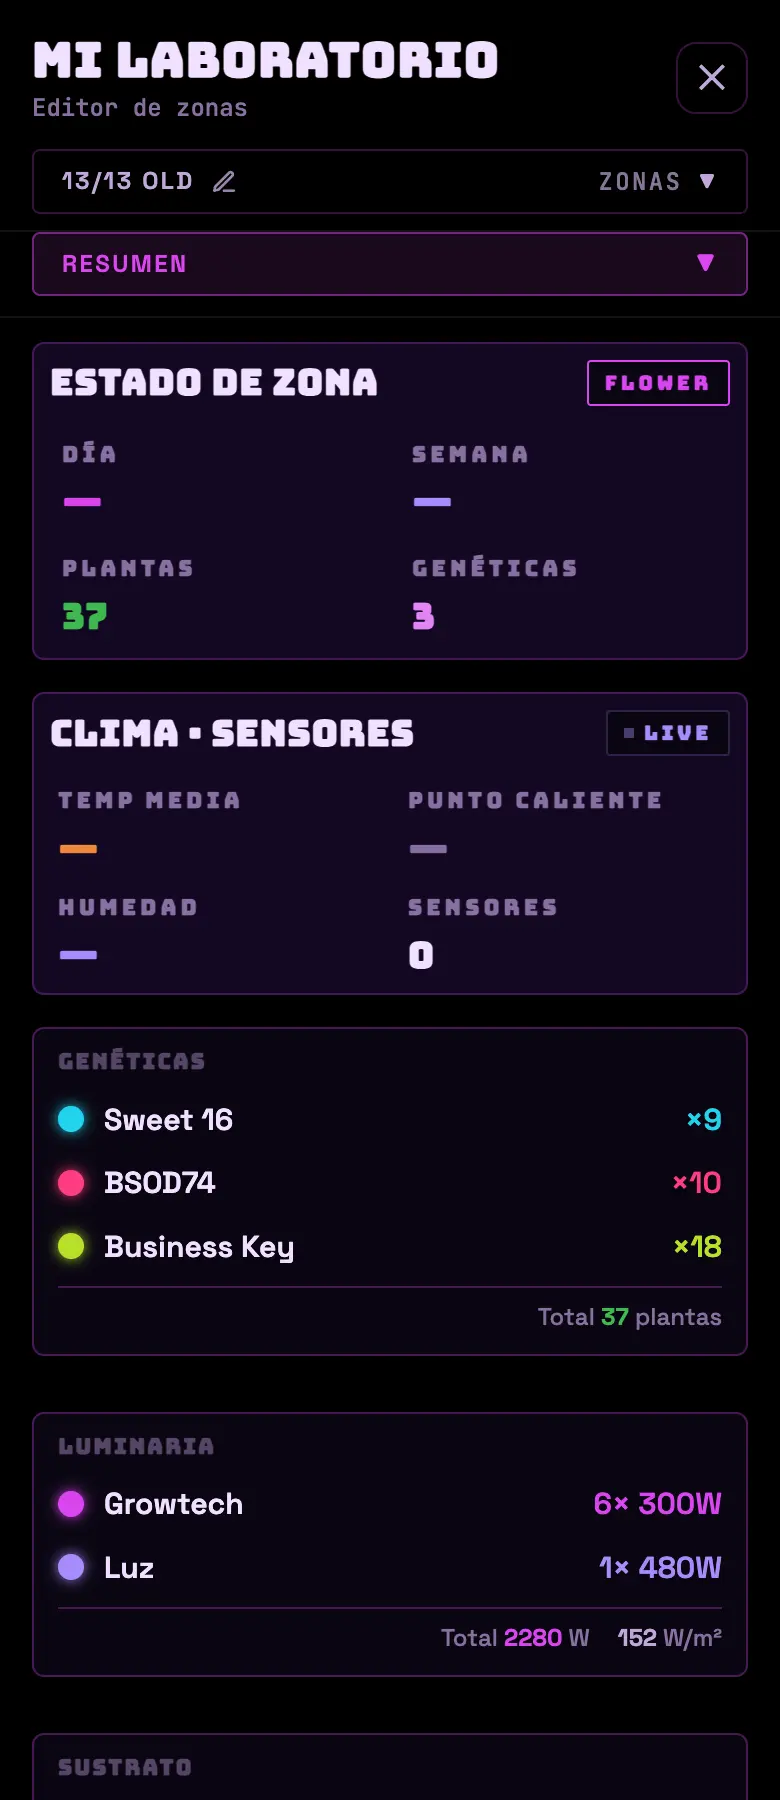
Everything the dashboard doesn't show because it doesn't change every day: the tent's dimensions, the substrate, the genetics, the fixtures, the physical layout and the team. It opens from ☰ → My Lab.
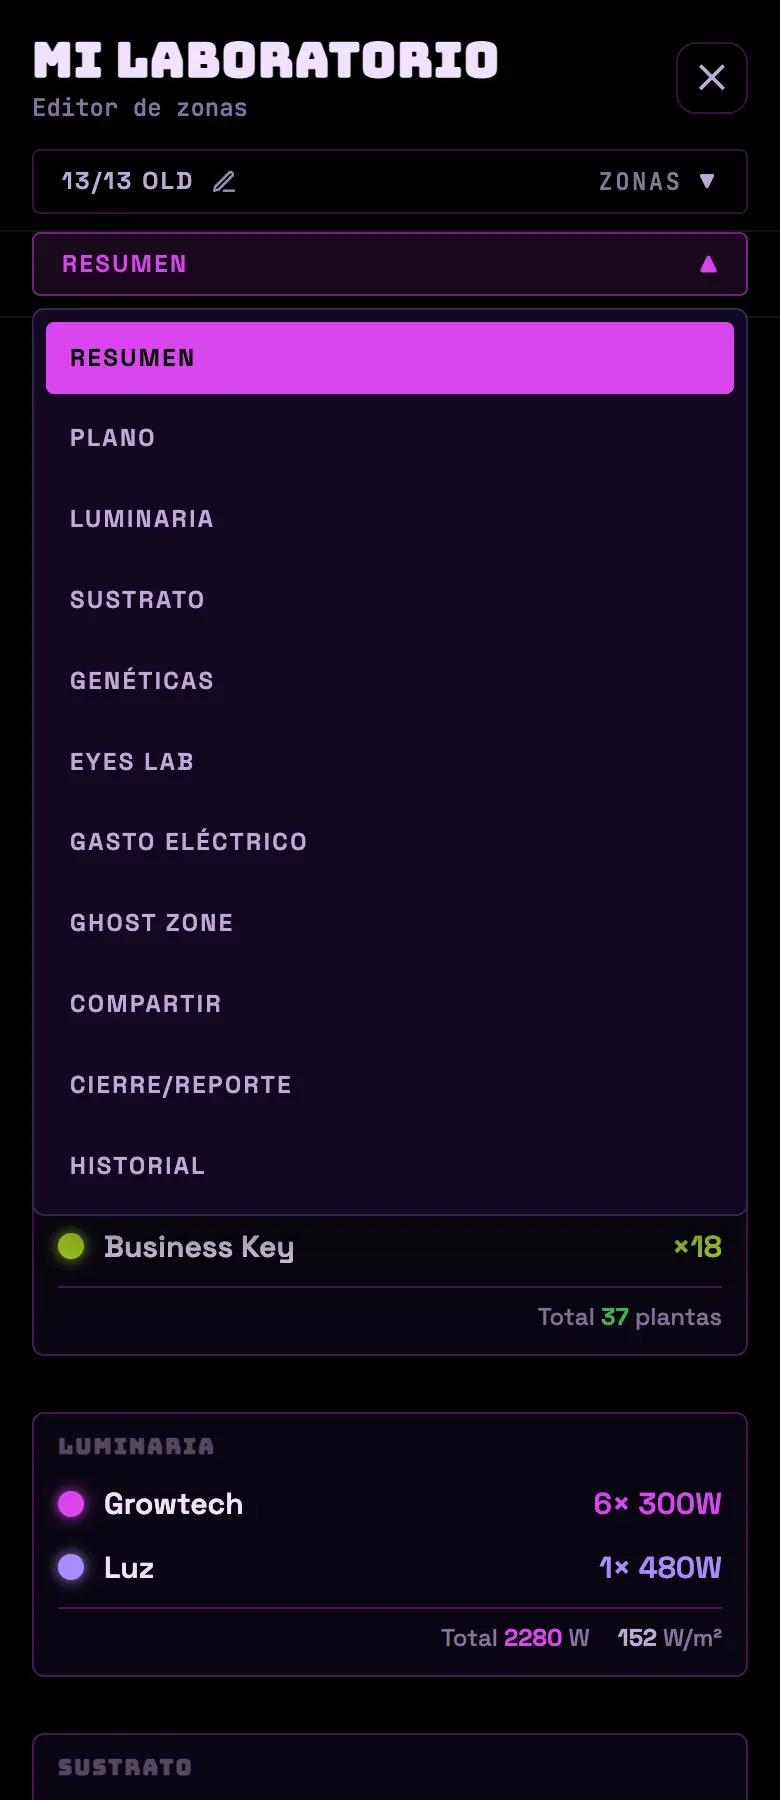
FIG 16a · SUMMARY tab: the zone at a glance.FIG 16b · On the phone the tabs live in a dropdown at the top.
The tabs
Overview
Day, week, plants, genetics. Climate with average temperature, hot spot and humidity. Container, mix, target EC/pH, mini layout with area and volume, and free-form notes for the zone.
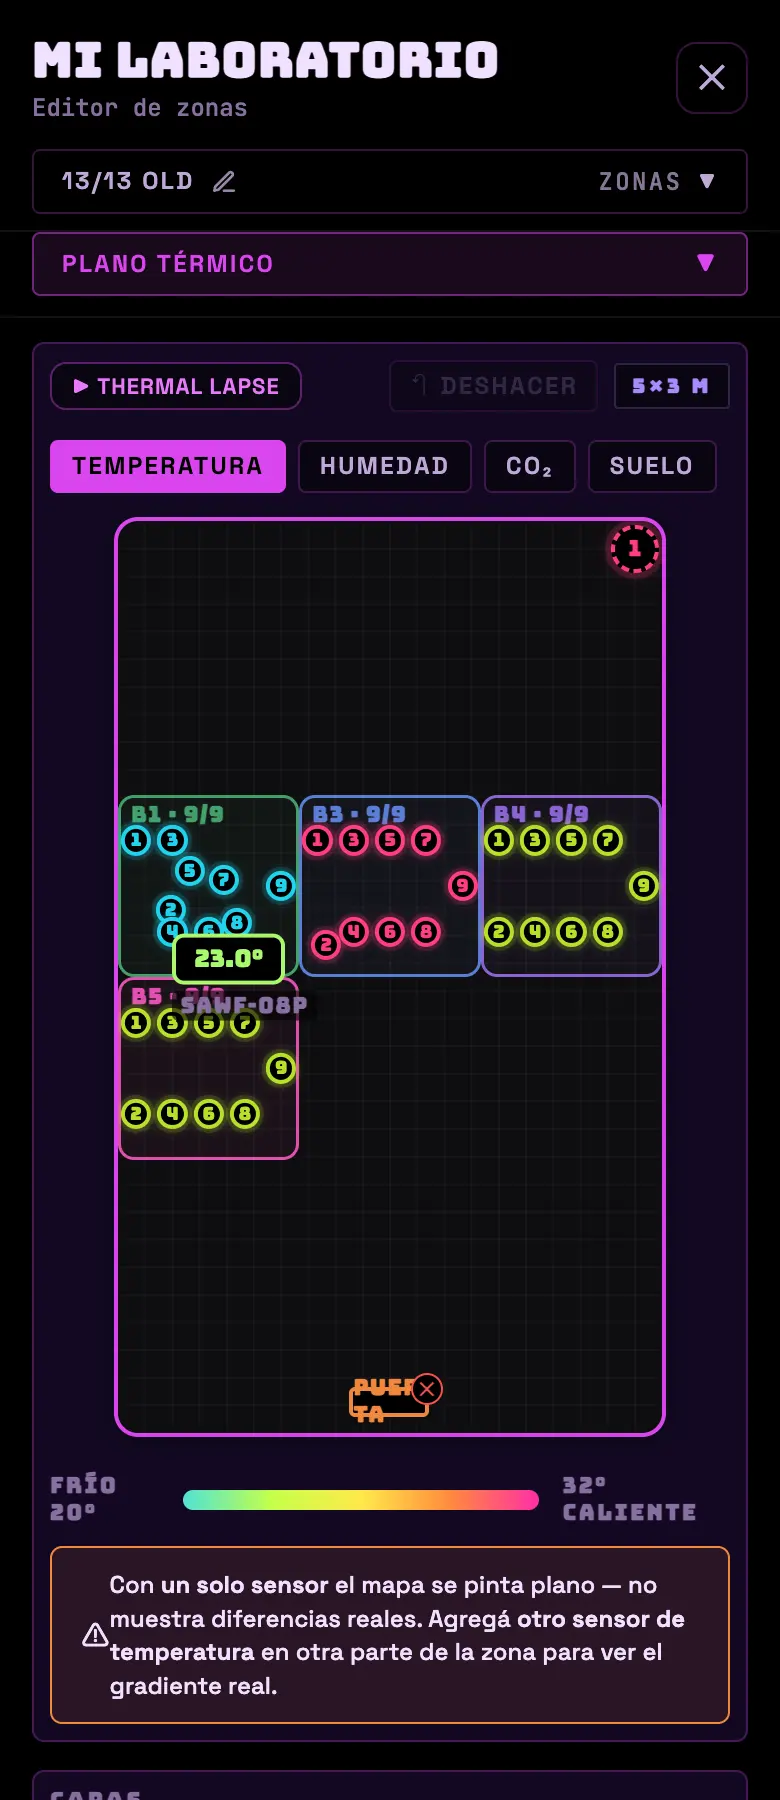
Layout
The physical map of the tent, draggable. Layers for heat map, equipment heat, thermometers, fixtures, plants, trays and doors. Four maps: thermal, humidity, CO₂ and soil.
Lighting
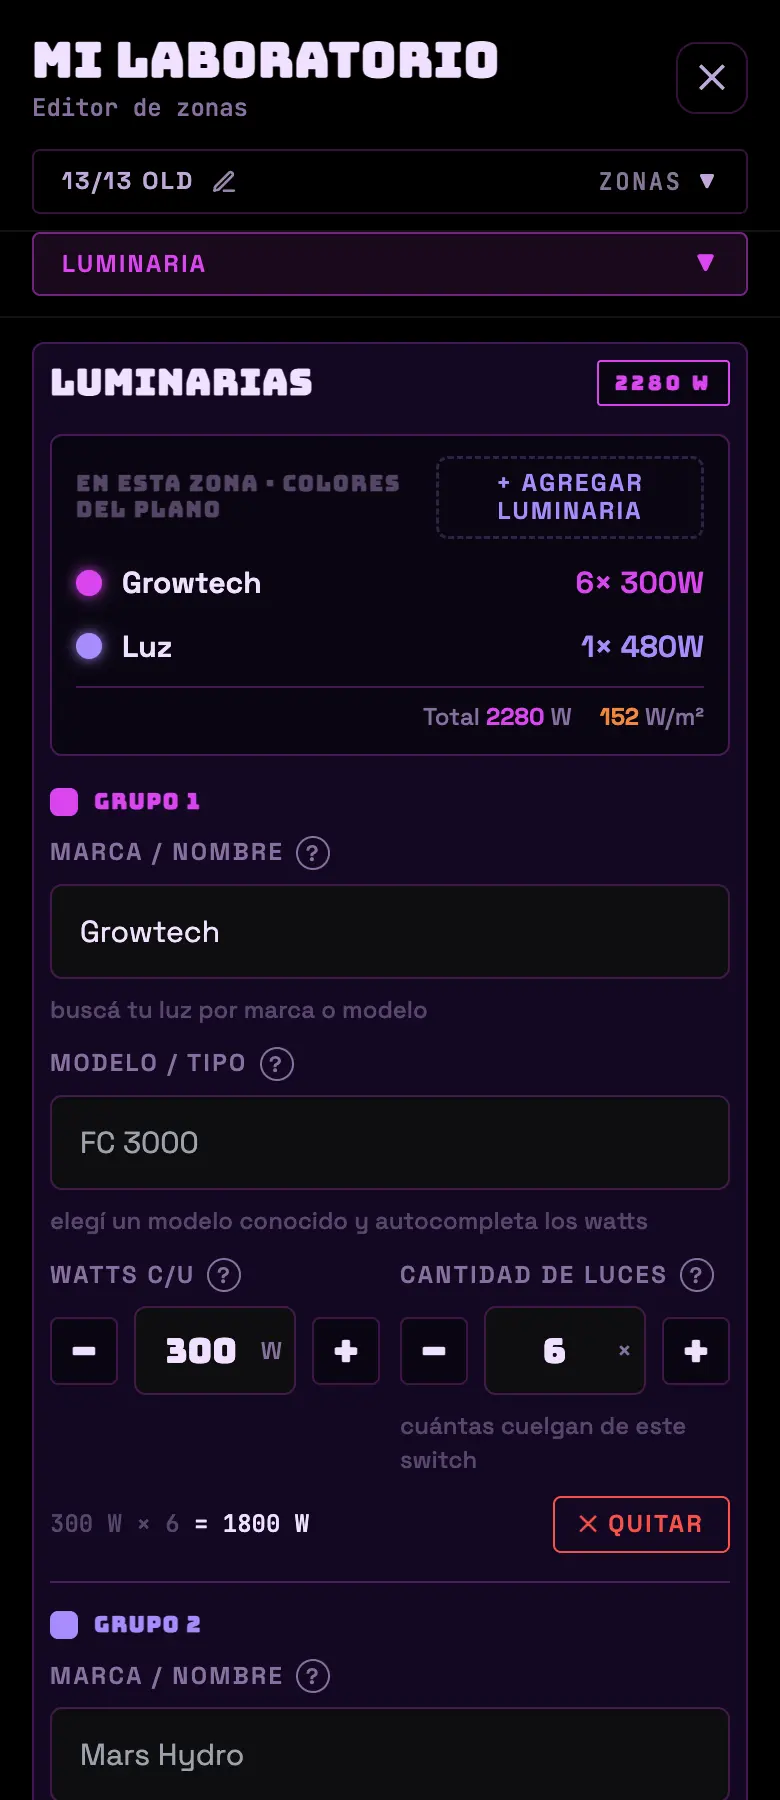
Where you enter your lights: brand, model, watts and quantity. You can import them from your plugs, or measure the real watts if the device has a meter. It calculates efficiency, power density and coverage in m².
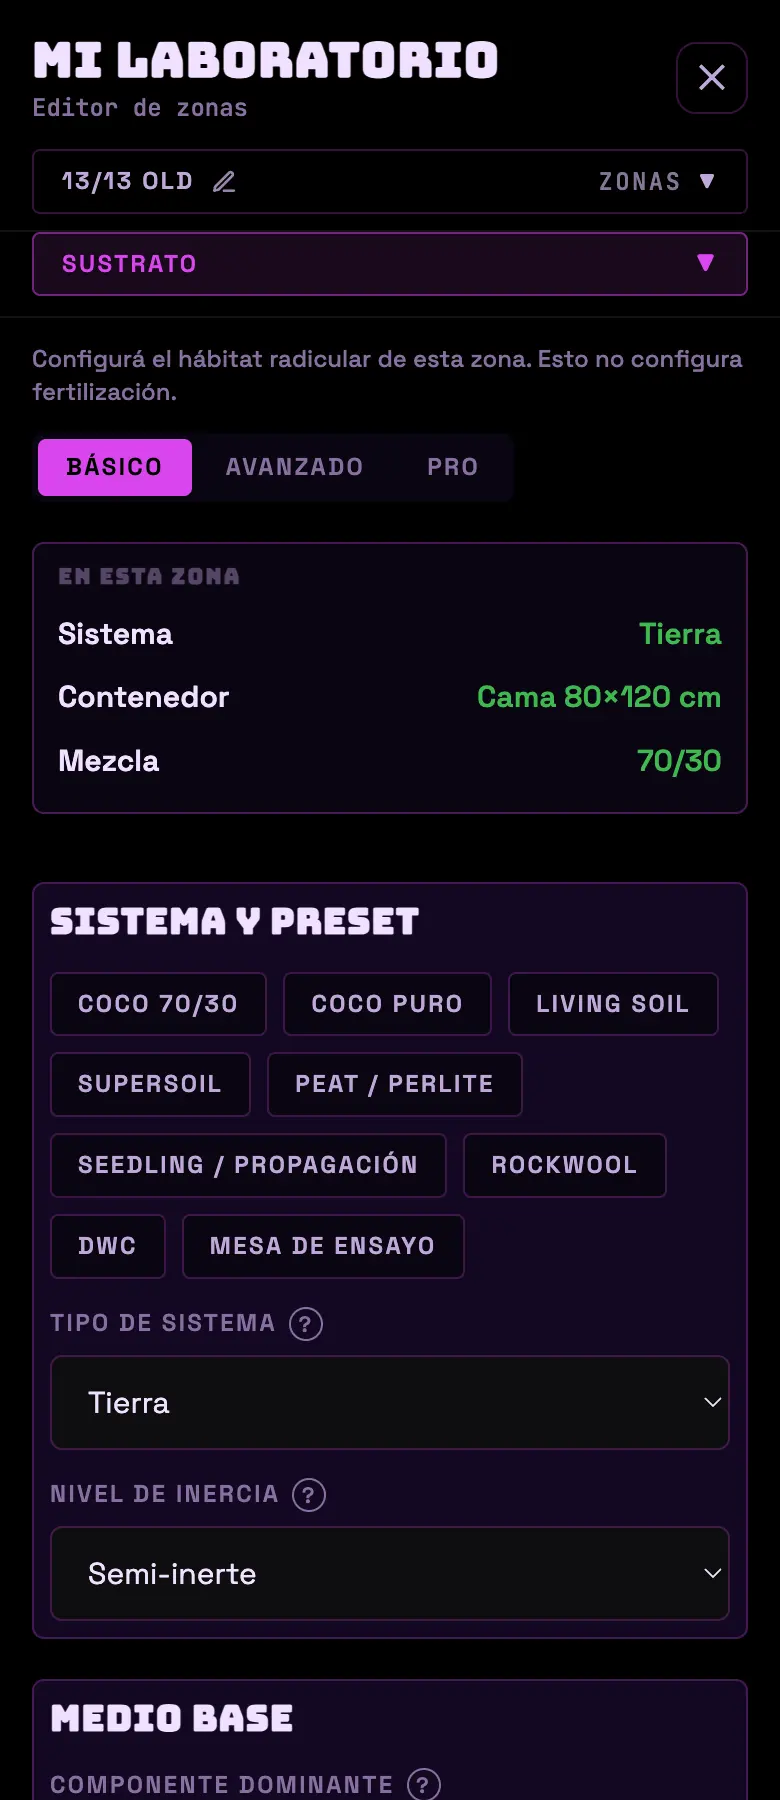
Substrate
Where the roots live: system, container or bed with dimensions, mix, amendments, condition and reuse, and target EC/pH. It has a basic and an advanced mode.
Genetics
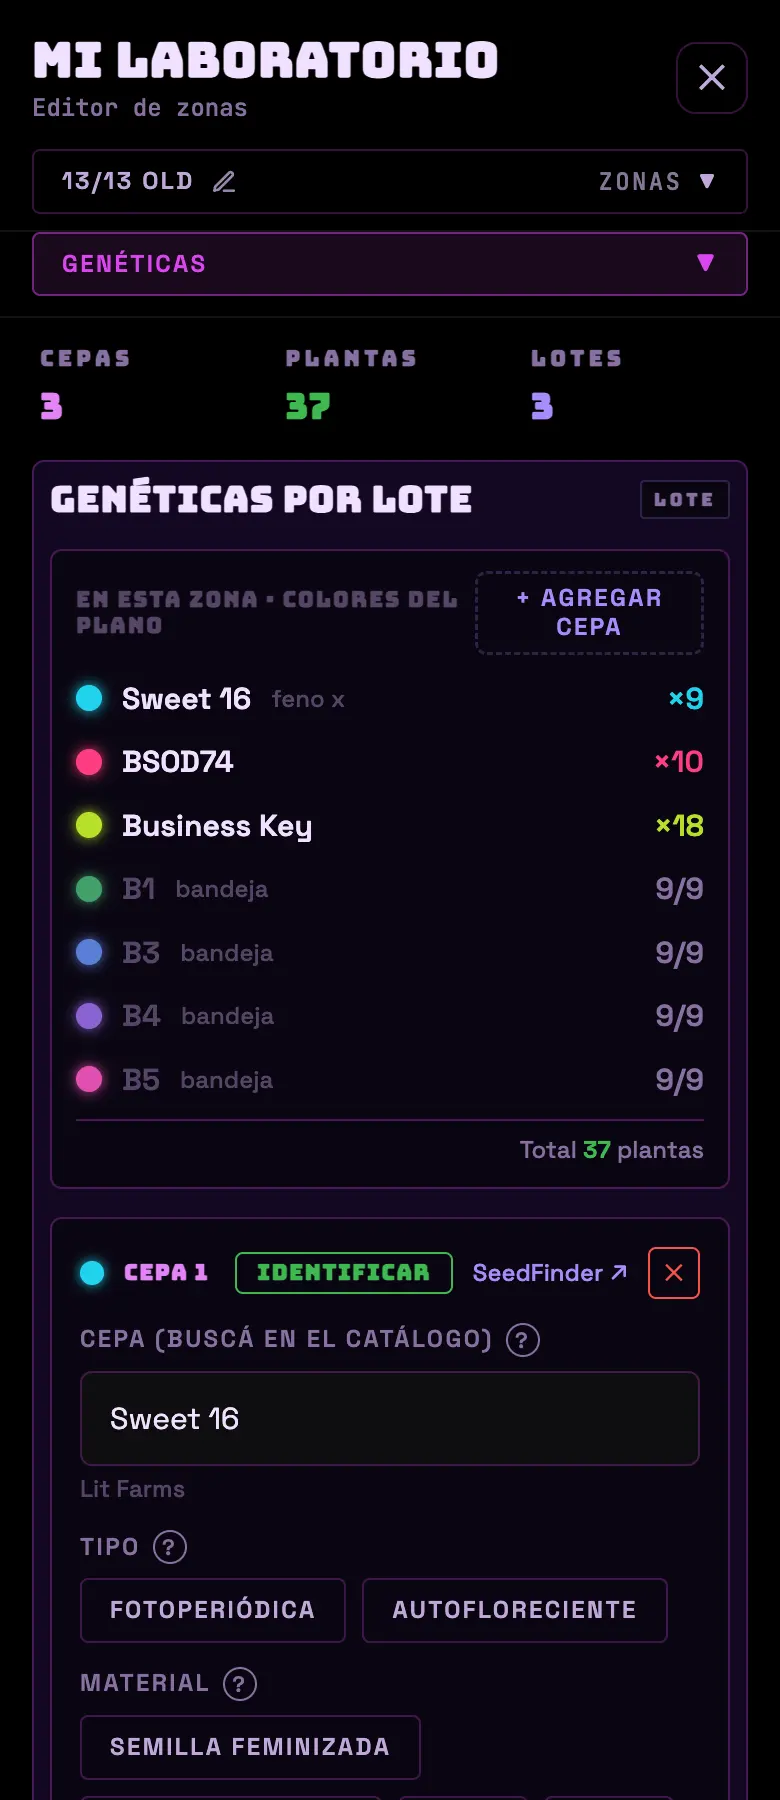
The strains in the grow, with a search against a catalog of tens of thousands of varieties. Per batch: type, material, number of plants, phenotype and notes. Each strain has its own color on the layout.
Eyes Lab
This zone's camera; if you don't have one yet, you link it here.
Hide a zone behind an NFC chip. It only works in the Android app.
FIG 16c · Layout with heat map.FIG 16d · Substrate: the longest tab in the panel.FIG 16e · Genetics with catalog search.FIG 16f · Lighting: real watts, not the marketing ones.
Do this
Enter the tent's real dimensions and your lights' wall watts. That's where the W/m², the coverage, the plant density and the closeout's g/W come from.
Avoid this
Don't enter the "equivalent" watts from the box. The product manual lies almost every time; use the wall draw or measure it with the plug itself.
How urgent it is
EssentialThe zone's dimensions.
ImportantFixtures with real watts and genetics entered.
OptionalLayout built and substrate in advanced mode.
21 · TeamINTERMEDIATE
Sharing the zone and working as a team
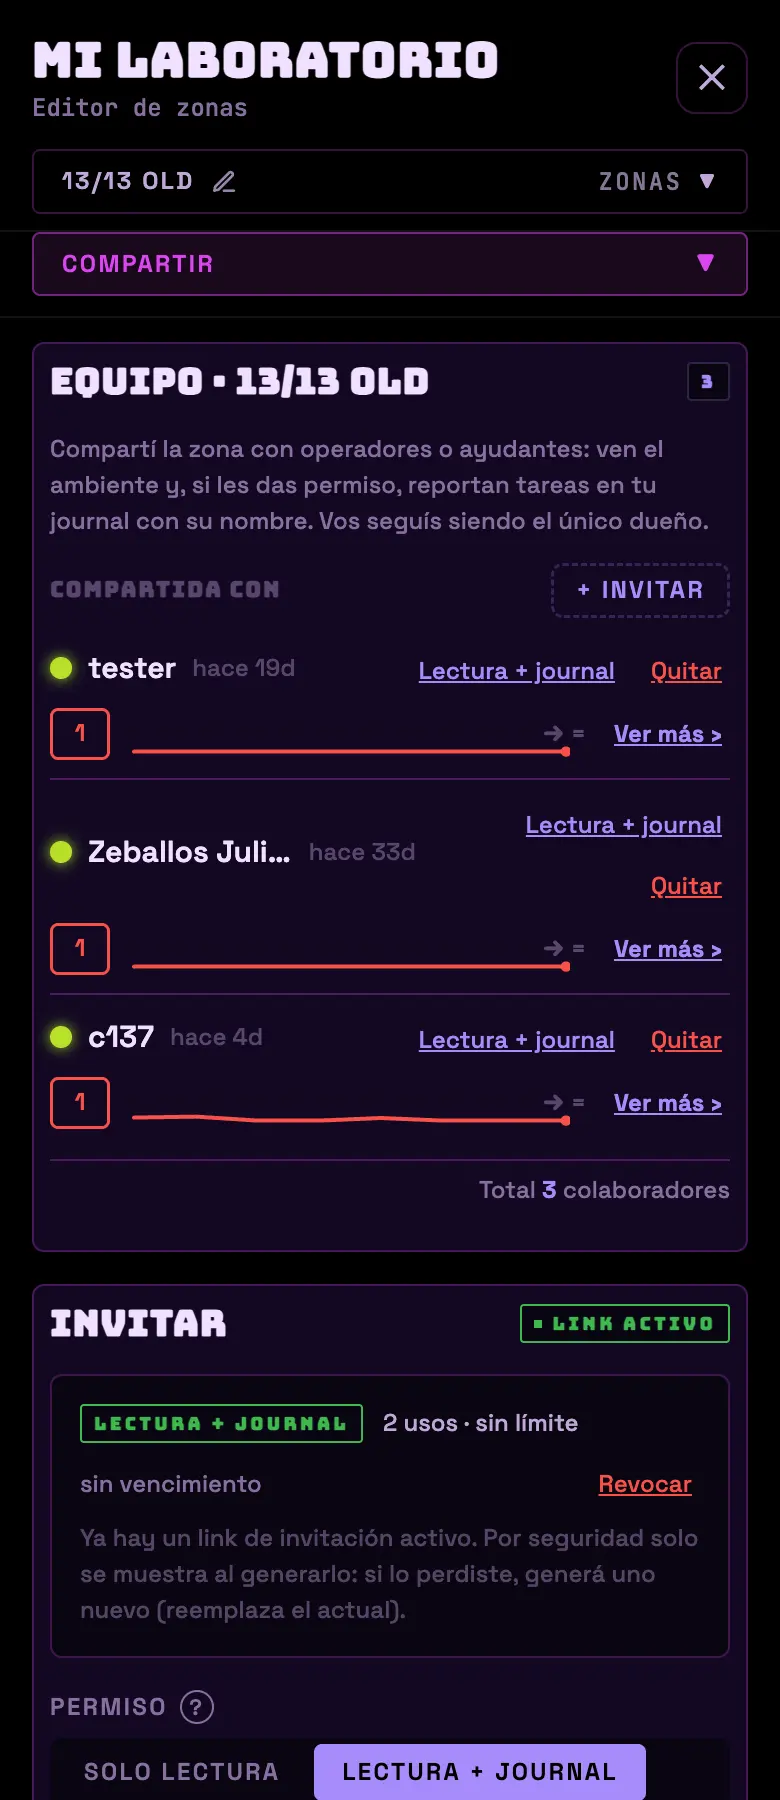
If someone else walks into your room, it's worth having them in the app. Sharing a zone gives you a collaborator who sees the environment, reports tasks under their name and can't reconfigure anything on you. Seeing and operating are different permissions.
FIG 17a · SHARE panel: link, QR and the edit requests.FIG 17b · Collaboration score, seen from the collaborator's account in someone else's zone.
The two permissions you can give
Permission
What they can do
Read only
See the zone and the journal.
Read + journal
Also reports tasks and posts entries to your journal, under their name.
*(Owner)*
Everything. You stay the only owner; the role doesn't transfer.
The invite link
You choose permission, expiration (no limit, 7 days or 30 days) and uses (no limit, or from 1 to 20).
It gives you the URL and a QR code to scan. Save it right there: for security it isn't shown again.
There's only one active link per zone: generating another one replaces the previous one. Whoever already got in stays in.
If you revoke the link nobody new gets in, but whoever is already in stays in. To kick someone out, remove them from the list: they stop seeing the zone instantly.
Temporary edit permission
A collaborator can ask for permission to operate equipment — turn on, turn off, manual watering.
You see the request and give them 1 hour, 24 hours or 7 days. Or you deny it.
While it's valid, the collaborator sees an EDITOR chip with the expiration time.
You revoke it with one tap and they stop operating instantly.
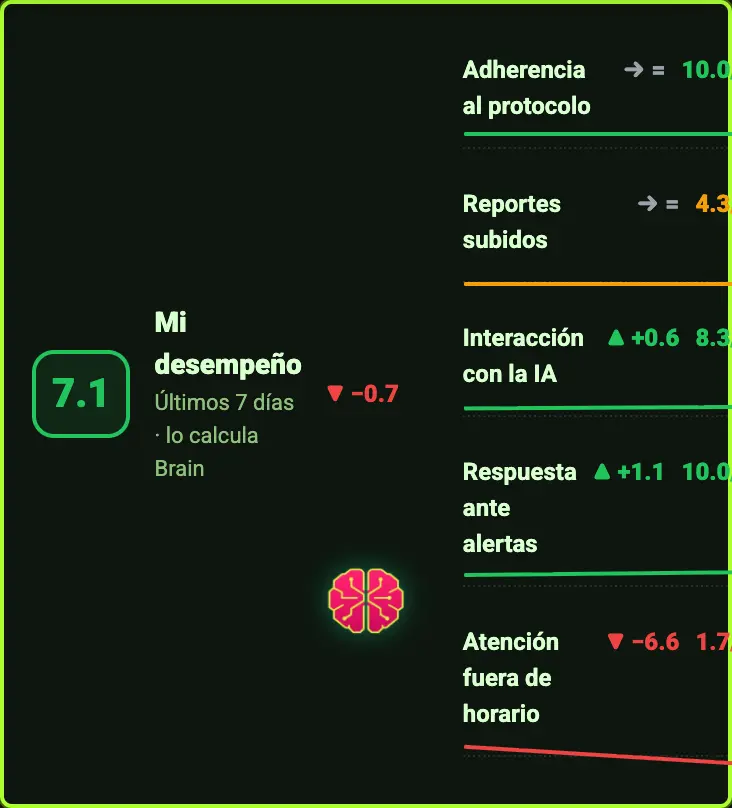
Collaboration score
Dimension
Weight
What it looks at
Whether they follow the protocol
30 %
Tasks done against tasks skipped.
Reports posted
25 %
Journal entries, with a bonus if they come with a photo or a note.
How much they use Brain
15 %
How much they ask and how often.
How fast they attend to an alert
15 %
How long they take to acknowledge an alert.
After-hours attention
15 %
Night and weekend work.
It runs from 1 to 10, is recalculated every day over the last 7, and needs two weeks to show a trend.
A metric with no data doesn't lower the score: it's left out and its weight is split among the rest. Nobody loses points for not having sensors.
It's private to the zone owner. It comes with a report written by Brain in HR tone.
Do this
Give "read + journal" to whoever actually walks into the room. The journal stops having gaps and the work gets a name on it.
Avoid this
Don't send the link through an open group. If you have to, cap the uses at the size of the team and set a 7-day expiration.
How urgent it is
EssentialNothing: if you work alone, skip this section.
ImportantThe right permission for each person.
OptionalCollaboration score as a conversation, not as a whip.
22 · PowerINTERMEDIATE
Power Cost
How much power the grow uses and what it costs you in your currency. You open it from ☰ → My Lab → Power Cost, but the screen is global: it shows you all your zones together, your own and shared ones, even if you came in from one tent.
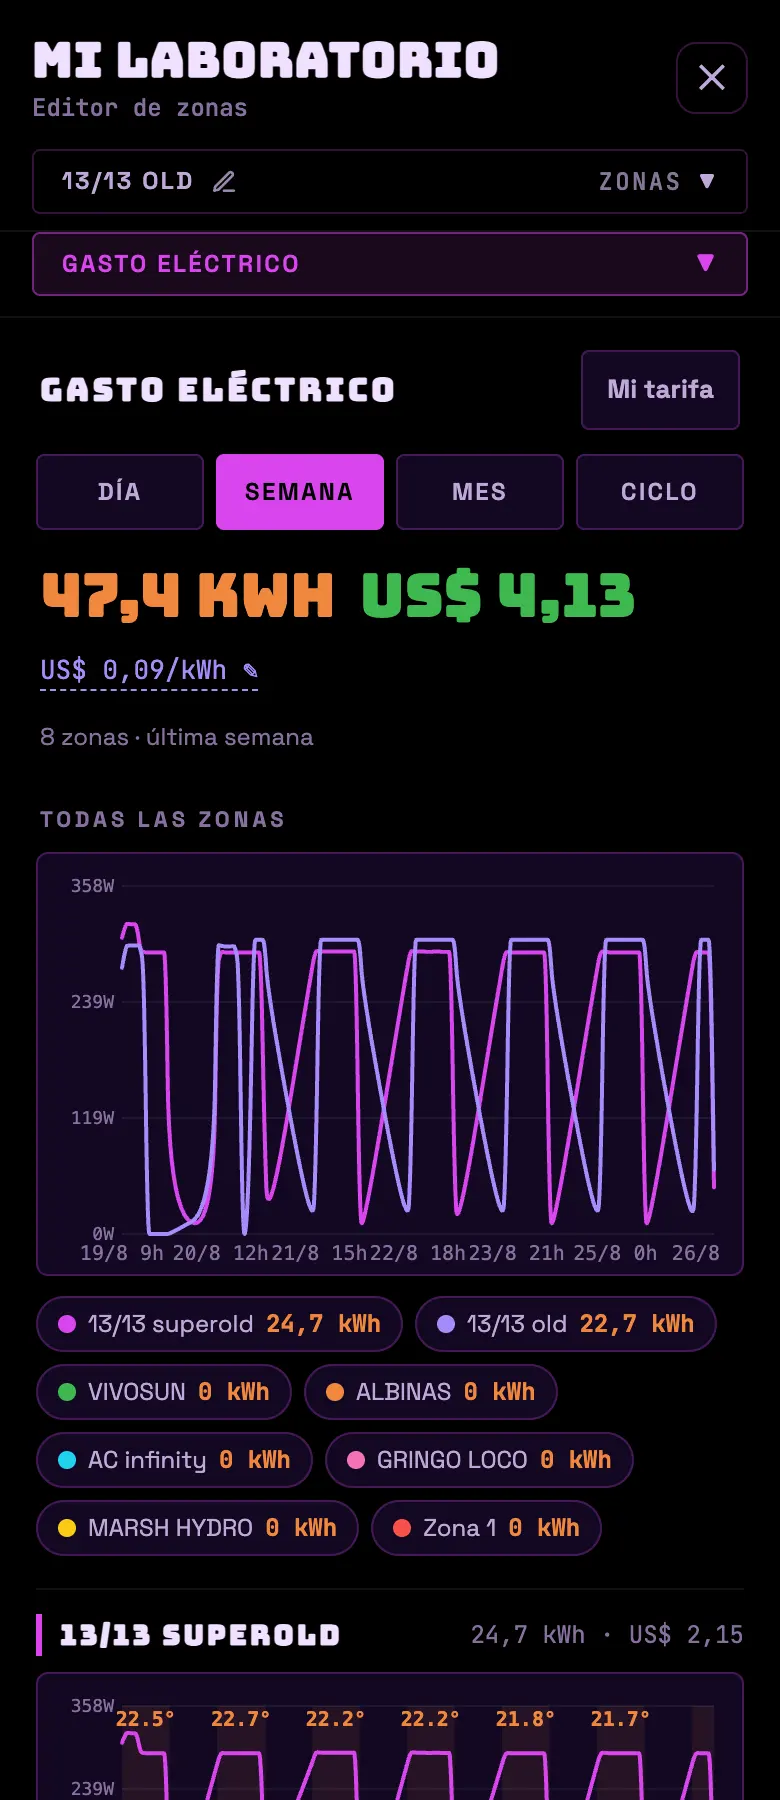
FIG 18 · Usage per zone and per piece of equipment, with the kWh price up top.
The four periods
Day — 24 hours, one point per hour.
Week — one point per hour.
Month — one point per day.
Cycle — from when the active cycle started. It is the only one that is not a fixed span: it stretches with your grow.
Measured, partial or estimated
Label
Where the number came from
measured
All the usage was reported by a meter in the equipment itself.
partial
Part measured and part calculated: the meter went quiet for a while, or it was added recently.
≈ estimated
No measurement: watts × time on.
An estimate does not go wrong at random: it goes wrong the same way every time.
Partial is the one worth watching out of the corner of your eye: it is not a money issue, it is a plug that is losing its connection.
When measurement and estimate overlap, the measurement wins.
The warm band on the chart marks the actual time the lights were on, not the configured schedule. That difference is information, not a bug in the chart.
Your rate
You enter currency, kWh price and, if you want, off-peak and peak time slots (they can cross midnight; the rest of the day uses the base price).
With no rate entered, the system uses your country's average residential cost in dollars — which is not your rate.
Equipment with no meter and no watts entered stays out of the total. You type in the watts and past usage shows up retroactively, because the history is built from the hours it was on.
Do this
Enter the watts for everything that does not have a meter. It is the step that turns the cost from "approximate" into "believable", and on top of that it is retroactive.
Avoid this
Do not compare this month's total against last month's without looking at the labels. If a piece of equipment went from measured to estimated, the number changed because of that and not because of usage.
How urgent it is
EssentialNothing.
ImportantA real rate entered.
OptionalTime slots and watts for every piece of equipment.
23 · VPDINTERMEDIATE
AI VPD: when Brain watches humidity
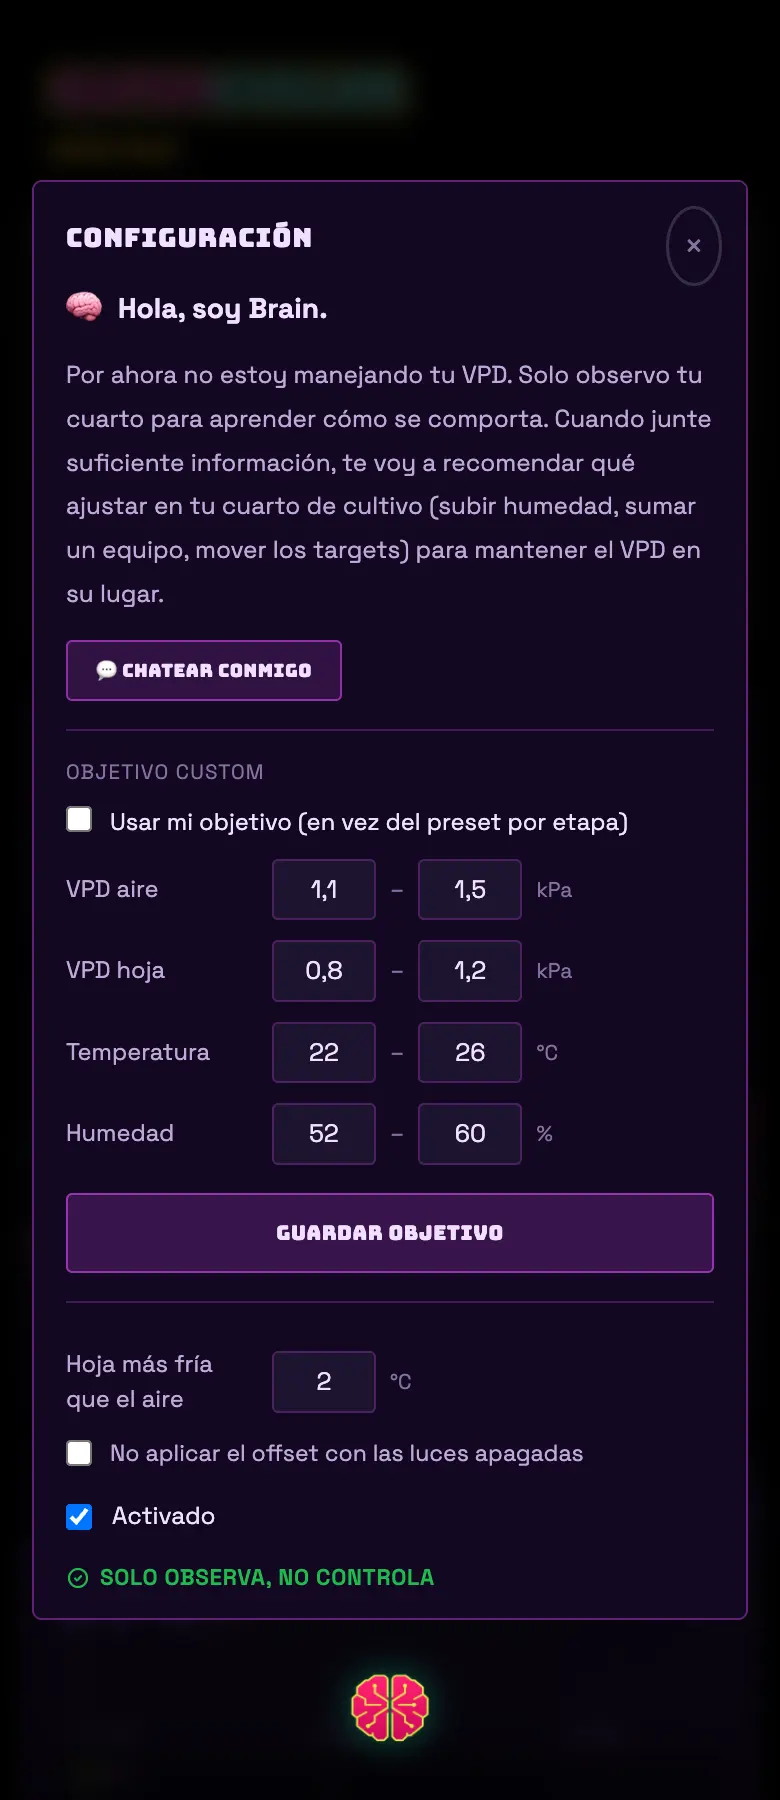
The AI VPD card isn't just a number: it watches how your room behaves and tells you what to adjust. It appears as soon as the zone has a sensor that measures humidity, and it starts in learning mode.
01Open the AI VPD card on the dashboard and tap the gear.
02If the per-stage targets are enough for you, don't touch anything: they're already loaded.
03If you want your own, check use custom targets and edit the ranges for air VPD, leaf VPD, temperature and humidity.
FIG 18c · The AI VPD settings. Brain explains what it's up to.
Do this
Leave it in learning mode for a few days before touching the targets. It needs data.
Avoid this
Don't build your climate control on this card: the thresholds that actually turn things on and off live in each piece of equipment.
How urgent it is
EssentialNone of this is essential.
ImportantA sensor with humidity so the card exists at all.
OptionalYour own targets.
24 · CloseoutADVANCED
Closing the grow and the history
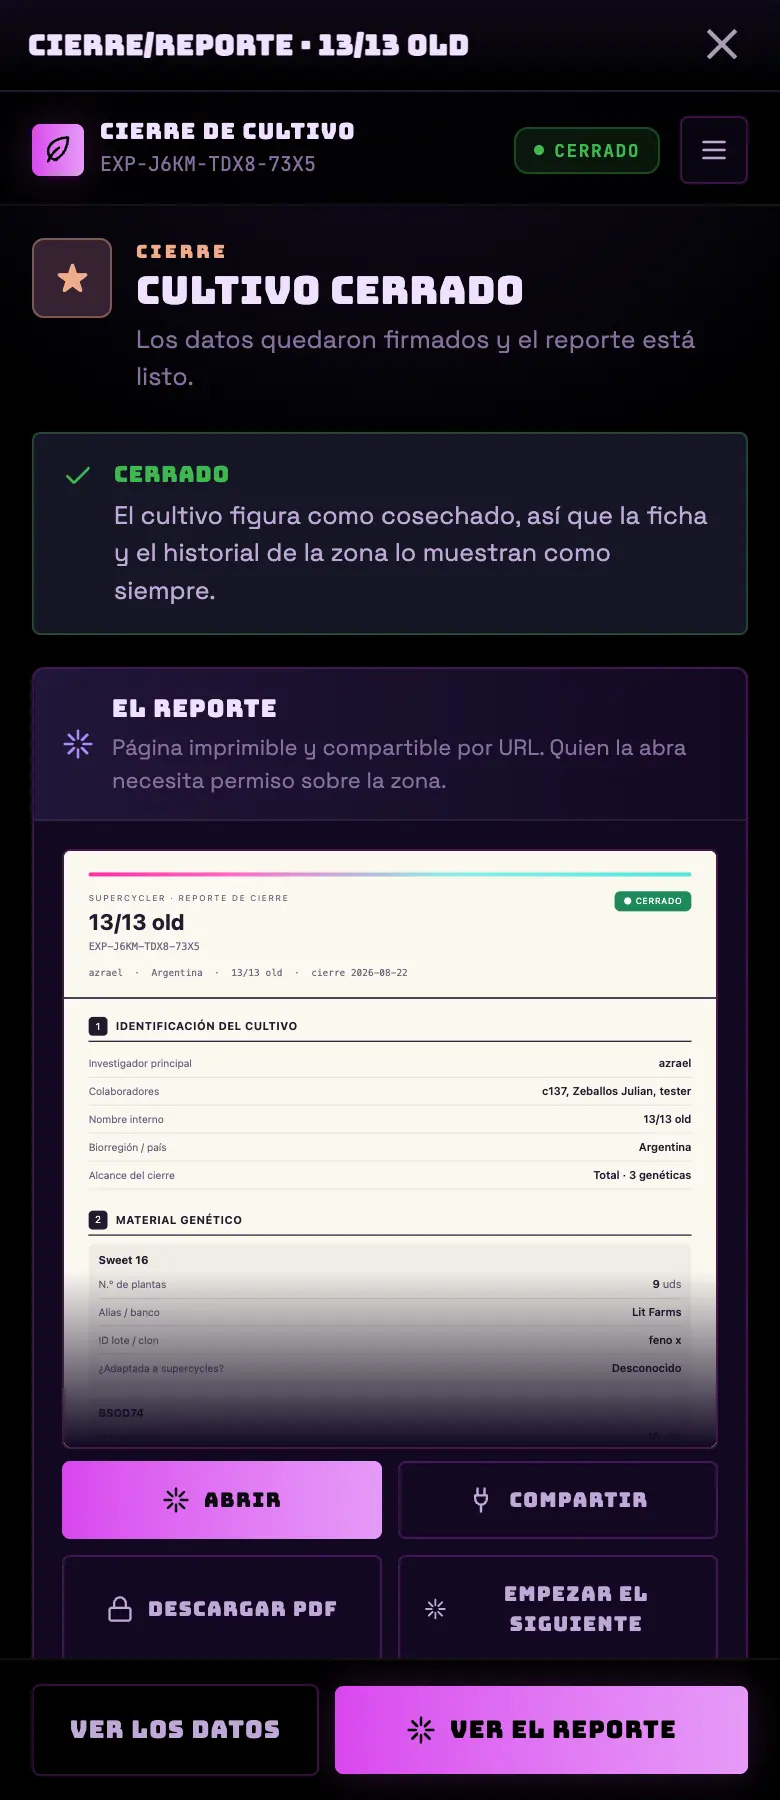
When you harvest, you close the cycle and you are left with a record that stays forever: the whole cycle's climate frozen, the yield, the genetics and the length in days and in supercycles. It is what makes the next grow start out knowing something.
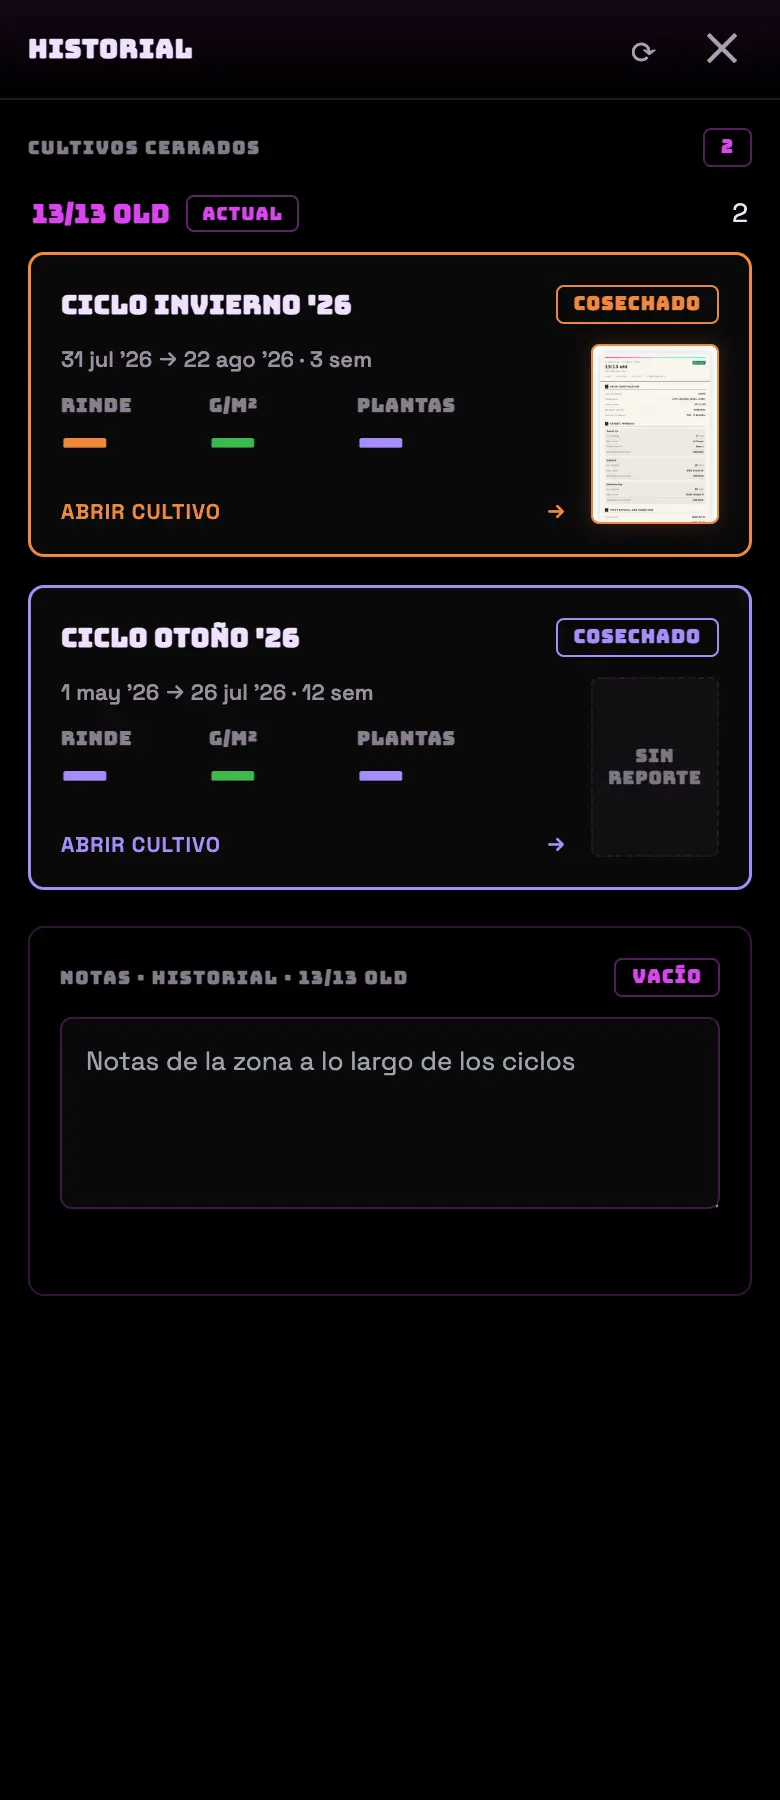
FIG 19a · Closeout wizard: 16 steps across five phases.FIG 19b · History: the previous cycles, comparable with one another.
The steps, grouped
Phase
What you fill in
Identify
What you grew and with which genetics. Almost all of it autofills with what you already entered.
Time
Time protocol, transition and the supercycle you actually ran — with the drift measured, not the one you declared.
Environment
Measured environmental variables, substrate and root zone, crop management and actual watering.
Results
Phenology, yield and biomass (with g/m² and the deviation against the declared total), quality and sensory, phenotypes and anomalies.
Interpretation
How closely you followed the plan and where you drifted, the comparison, the Eyes photos with their day, and the closing write-up Brain writes for you from the measured data.
Closeout
Generate the report. It is kept with an identifier, a date and a fingerprint.
Closing is by batch: you can close some genetics and leave others standing.
You can edit it again: closing is not throwing away the key.
From the last step you start the next cycle, which leaves the zone clean without deleting the history.
Do this
Close the cycle even if the harvest came out badly. The record of a bad grow is the only one that later explains why.
Avoid this
Do not start the next cycle without closing the previous one. The new one's metrics start out contaminated with the old data.
How urgent it is
EssentialNothing: only once you harvest.
ImportantClose the cycle when you harvest.
OptionalFill in the whole scientific report.
25 · WidgetsINTERMEDIATE
The 22 widgets and why you're missing one
The dashboard has no "enable widgets" screen: each card appears on its own when the zone meets its condition. If a widget isn't there, it's because the hardware is missing or the role is. Here's the complete list with the exact condition for each one.
The ones almost everyone sees
Widget
Appears when…
What you do from there
Light
Always. With no light assigned it shows the empty state and works as a button to assign one.
Turn on/off, edit the schedule, manual alarm, back to automatic.
Schedule
The zone has a platform light.
Pause the schedule, temporary override, edit the cycle.
Environment
Always. It changes face depending on whether there's a sensor, a sensor with no data, or nothing.
History, alarms and all the climate settings.
Devices
Always, even with zero devices.
Assign, configure metrics, mark as primary and delete.
Tasks
Whenever there's a zone. With no protocol it shows a recommended one.
Check off tasks, open the detail, go to CARE.
Irrigation
Always. With a pump or a valve you get the full widget; with a soil probe but no pump, it shows you the chart and the settings in preview.
Water now, history and the whole strategy.
The ones that depend on hardware
Widget
Appears when…
AI VPD
The zone has a sensor reporting humidity. That's enough.
CO₂
Three faces: full with a device in the *CO₂ injector* role; monitor if you only measure CO₂; showcase if on top of that you asked for the expanded card. With no sensor and no injector, it isn't drawn.
Equipment
There's at least one climate actuator running without a sensor — manual mode, by time, or following the light. The ones running off a sensor live inside Environment.
Camera (AI Eyes)
The zone has an Eyes camera assigned.
Sticky trap
The zone has at least one trap scan on record.
Grouped thermometers
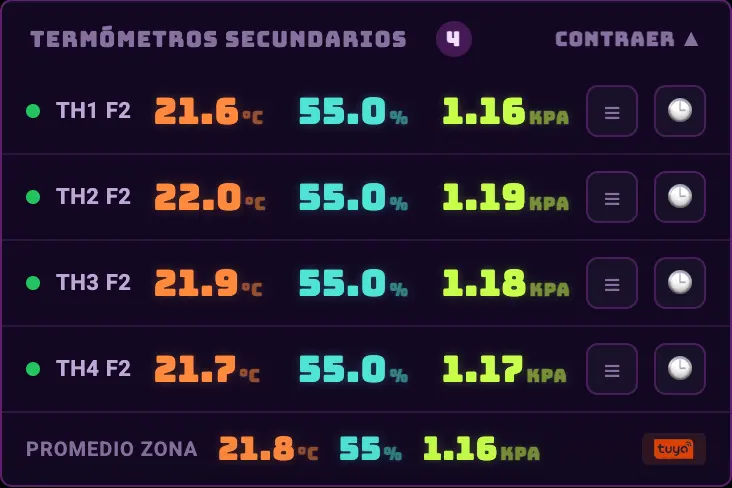
The zone has 4 or more ambient sensors. With 3 or fewer, each one is drawn as a full card.
Dimmable lights
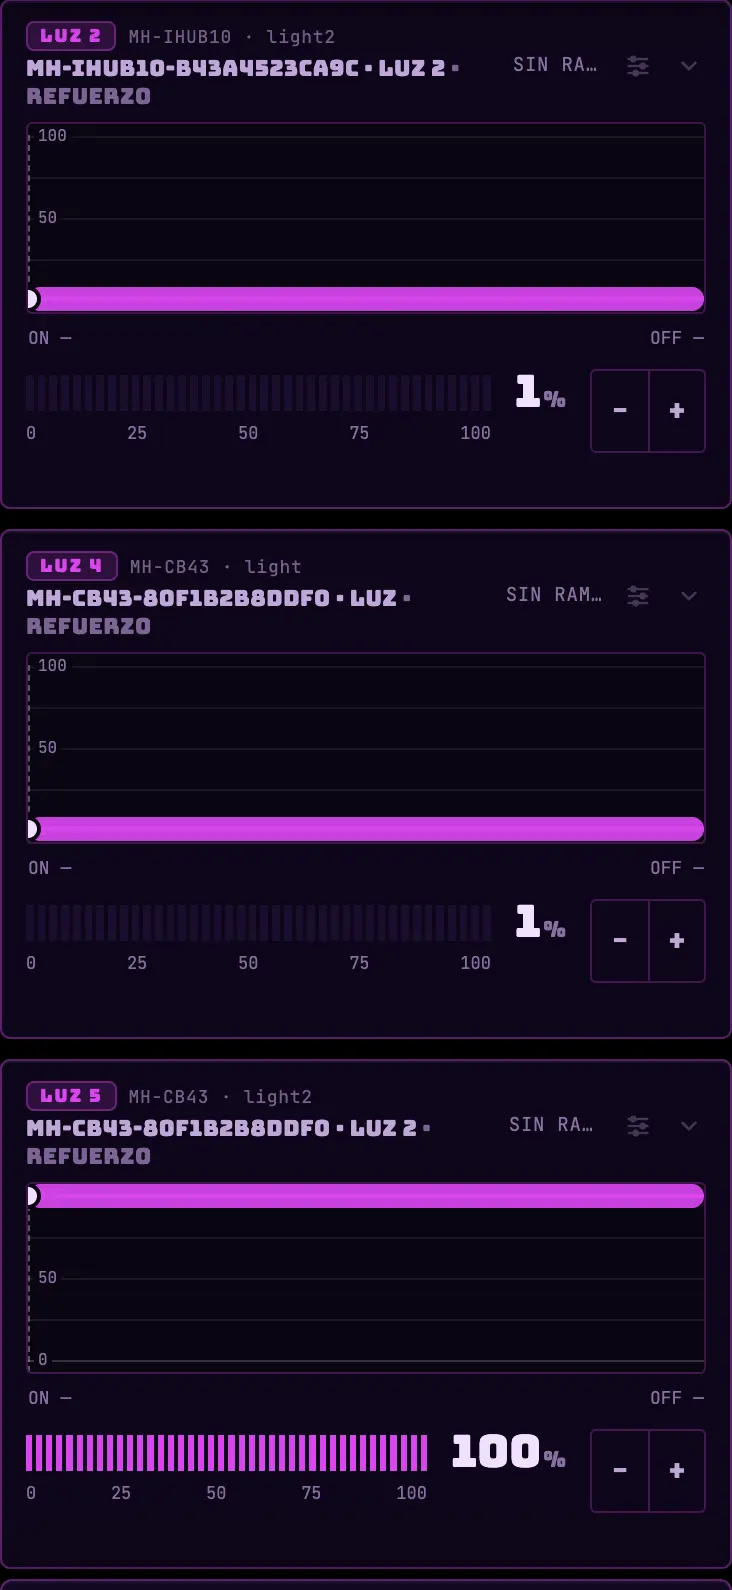
The zone has two or more lights and at least one of the ones that aren't the primary dims.
Secondary lights
There are additional lights that don't dim: an outlet with a lamp hanging off it, an undercanopy bar, a UV-C.
PPFD
A sensor assigned to the zone with the PAR metric enabled, and not stuck on the same value.
Spectrum
A Pulse Pro that has already reported spectral data. A Pulse Zero or One isn't enough.
A/C over infrared
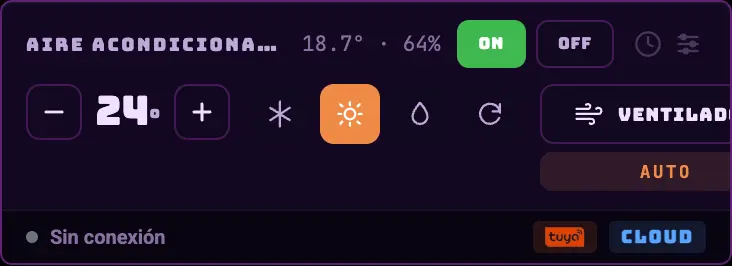
An air conditioner set up through a Tuya IR blaster.
Dehumidifier
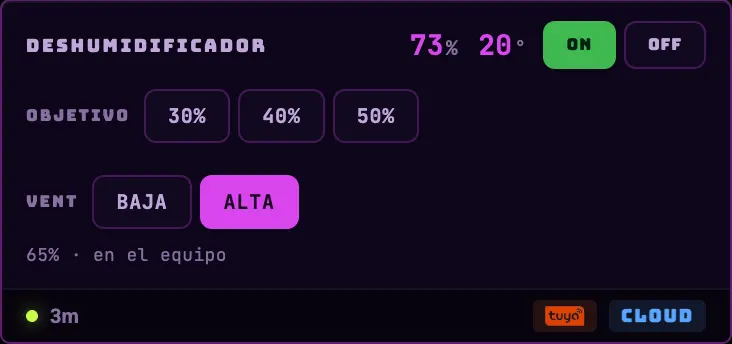
A Tuya dehumidifier set up as one.
Aqua Master
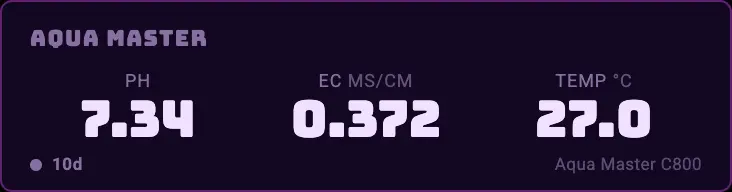
An Aqua Master C800 controller assigned to the zone.
Solution
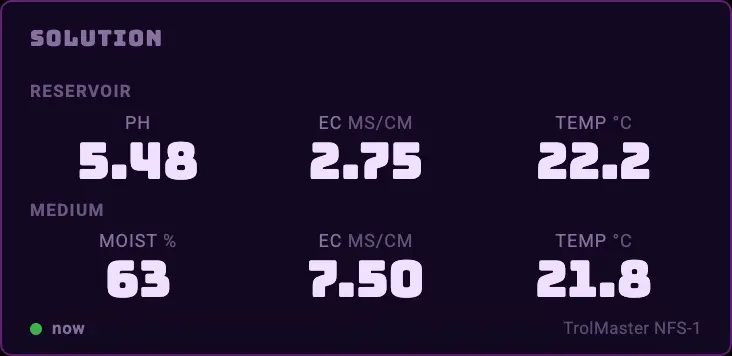
Any device in the zone reported pH, EC, water temperature, substrate EC or substrate temperature. Soil moisture on its own is not enough to open it.
External controller light
The zone has a linked TrolMaster reporting lights. It's read-only.
Collaborator score
Only when you're looking at someone else's shared zone and the daily calculation has already run. It never appears in your own zone.
What they look like
CO₂ · full mode, with the injection budget.AI VPD · air and leaf against the stage's band.PPFD · measured intensity, DLI and the day's peak.Spectrum · blue/red and red/far-red, with Guardian.A/C over infrared · mode, temperature and fan.Dehumidifier · target and speed.Aqua Master · pH, EC and solution temperature.Solution · reservoir and medium, side by side.Grouped thermometers · one row per extra sensor.External controller light · read-only.Dimmable lights · one curve per fixture.Secondary lights · compact rows with their preset.
Do this
If a widget is missing, check the device's role in the devices card first. Nine times out of ten the hardware is there and the role isn't.
Avoid this
Don't make up a role just to get a card to appear. The role is what decides what the system sends to that plug.
How urgent it is
EssentialLight, environment, devices.
ImportantIrrigation and tasks.
OptionalEverything else, as you add hardware.
26 · LightADVANCED
Secondary, dimmable, and UV lights
A zone can have more than one light, each with its own regime. The main one defines the photoperiod; the rest hang off it or run on their own.
The presets for a secondary light
Preset
What it does
What you set
Sync
Mirrors the main light's window exactly.
Nothing.
Undercanopy
Turns on with the main light and turns off earlier.
How many minutes earlier (0 to 120).
End-of-day far-red
A short pulse after the main light turns off.
Pulse length (5 to 30 min) and how long after it starts (0 to 30 min).
Germicidal UV-C
A germicidal pulse with the room empty.
See the box below.
Custom
Its own window relative to the light, or an independent timer.
Everything.
Declared photoperiod and effective photoperiod
A secondary light with an offset stretches the tent's real photoperiod. A real case: the zone declared 16/16 and the tent was doing 17/15 because one light opened an hour earlier.
That's why the card shows the effective photoperiod when it differs from the declared one.
Far-red and UV-C pulses don't count as stretching as long as they last 30 minutes or less: they step on the dark on purpose.
Brightness curve
Setting
Range
What it does
No ramp
—
Turns on straight to the ceiling percentage.
Fade
5 to 120 min per side (default 30)
Linear sunrise and sunset, with independent durations.
Curve
—
Smooth rise and fall, sine-shaped.
Ceiling (plateau)
1 to 100 %
The day's maximum brightness. You drag it on the chart. There is no 0: turning off is the switch's job.
Do this
If you have two identical lights, leave one on sync and don't touch anything on it. The offset only makes sense when the second light has a different job.
Avoid this
Don't set a far-red pulse several hours long. That's not a pulse anymore: it's a whole photoperiod hiding behind a preset's name.
How urgent it is
EssentialNothing: one light is enough.
ImportantSecondaries on sync if you add fixtures.
OptionalUndercanopy, far-red, UV-C, and the brightness curve.
27 · IrrigationADVANCED
Crop steering
The pro irrigation mode. Instead of "water when it drops below X", it splits the day into phases and uses dryback — how much the substrate dries down — as the lever to push the plant toward vegetative growth or toward dense flower.
FIG 21 · Crop steering panel: mode, dryback targets and the three phases.
The phases of the day
P1 · Ramp-up
It starts a few minutes after the light comes on and brings the substrate to field capacity, with short shots and pauses to measure.
P2 · Maintenance
During the day, it holds a moisture floor with smaller shots.
P3 · Cutoff
It stops watering however many minutes you choose before the light goes off, so the substrate dries down overnight.
Night
No watering. The overnight dryback is the goal, not a problem.
Vegetative or generative
Mode
Ideal dryback
What it produces
Vegetative
10 – 20 %
Small, steady drybacks. Pushes growth and stretch.
Generative
15 – 25 %
Bigger drybacks, especially overnight. Pushes denser flower.
Automatic
—
Follows the zone's stage.
Per-phase values you'll run into
Setting
Vegetative
Generative
P1 starts (min after lights on)
30
60
P1 moisture target
65 %
62 %
P1 shot / pause / maximum
30 s · 15 min · 12
30 s · 20 min · 10
P2 moisture floor
58 %
54 %
P2 shot / pause / maximum
20 s · 45 min · 8
20 s · 60 min · 6
P3 cutoff (min before lights off)
90
120
P3 overnight dryback target
6 %
10 %
Shadow: try it without watering
Crop steering starts in shadow mode: it calculates and logs what it *would have* watered, without opening a valve.
To switch to real watering it asks for three complete light cycles logged, the zone qualifying, and the targets loaded. Until they're there, the button won't let you tap it and tells you why.
With autopilot on, it makes the switch by itself as soon as those conditions are met, notes it in the feed, and goes back to shadow on its own if things turn ugly.
Several safety cutoffs in the same day drop the zone to shadow. Cutoffs less than 30 minutes apart count as a single incident: one odd spike from the probe won't drop your zone.
The brakes
Brake
What it does
Survival floor
Below that percentage it waters anyway, whatever the hour. It's the only exception to the phases.
Moisture ceiling
It never waters above that value.
Maximum shots and minutes per day
Hard caps, no matter what.
Adaptive P3 cutoff
Optional: instead of a fixed cutoff, the system stretches or shortens it based on how fast your zone dries, using the median of the last seven days. One odd day can't double or halve the cutoff all at once.
Do this
Leave it in shadow for a full cycle and read what it says it would have done. It's the cheap way to find out the probe is in the wrong spot.
Avoid this
Don't start your first grow in generative. A 25 % dryback with the probe badly placed is a week of stress you won't be able to undo.
How urgent it is
EssentialNothing: wet/dry is enough for most people.
ImportantShadow mode, to see what it would do.
OptionalReal mode with autopilot and adaptive P3.
28 · ToolsADVANCED
Research tools
What you don't need in order to grow, but what makes the second grow better than the first: comparing against the real climate of an origin, looking at where a genetic line comes from, measuring with instruments and competing with other growers.
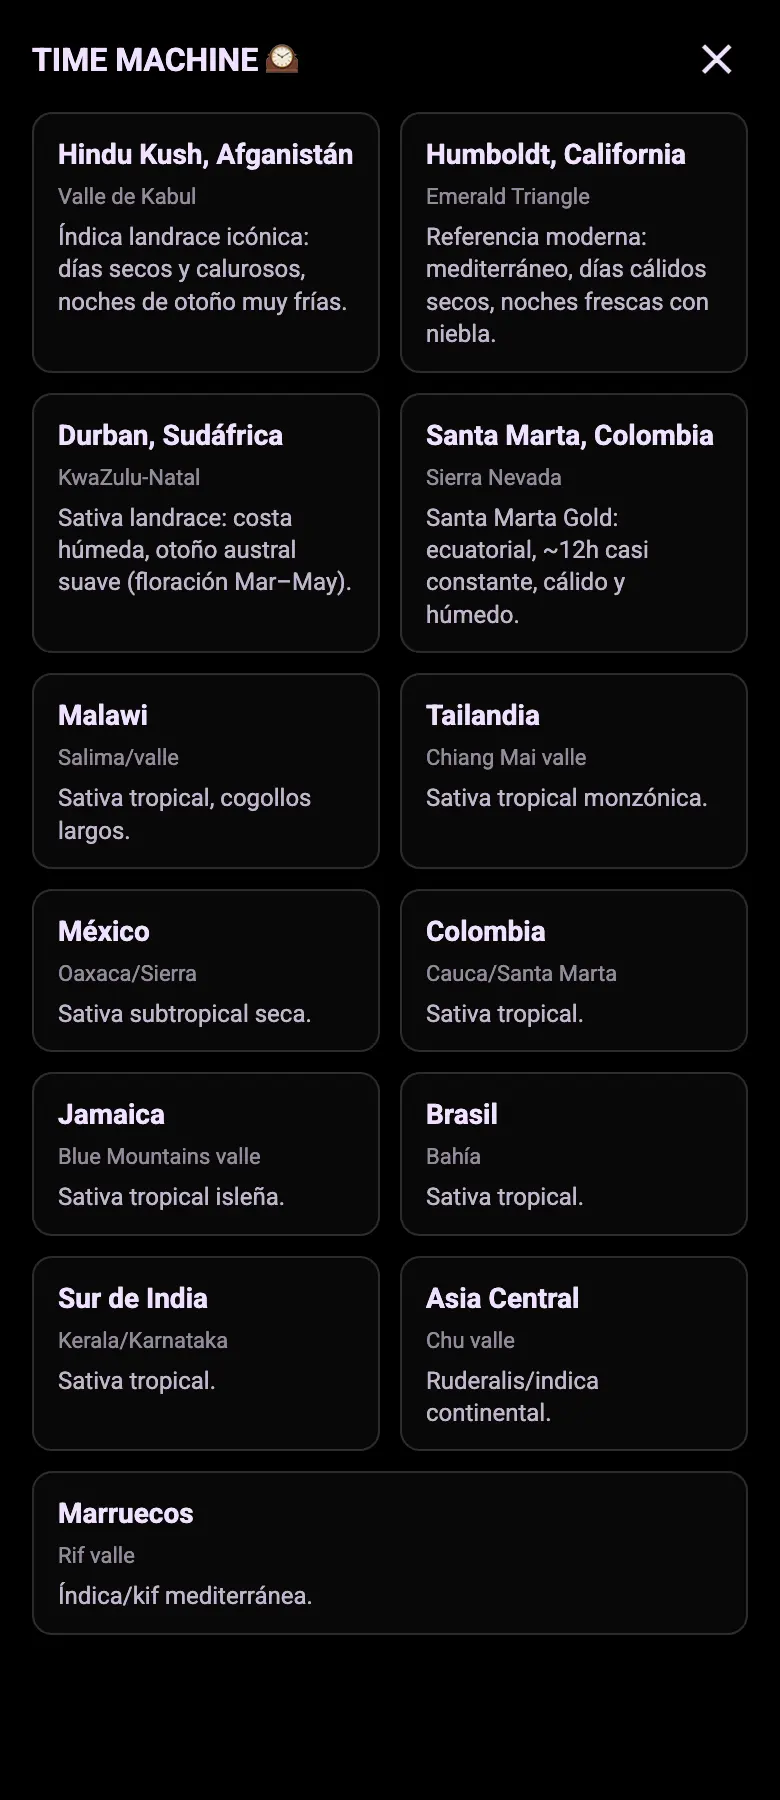
Time Machine
FIG 22a · Time Machine: the origin's climate curve against your cycle.
You pick a landrace origin and the app builds that place's climate curve, scaled to the length of your cycle.
Previewing writes nothing: it draws day and night temperature and the summary of light hours per stage.
Apply loads those targets into your zone, with a confirmation.
Compare overlays the target curve against what your tent actually measured.
Undo returns the zone to how it was.
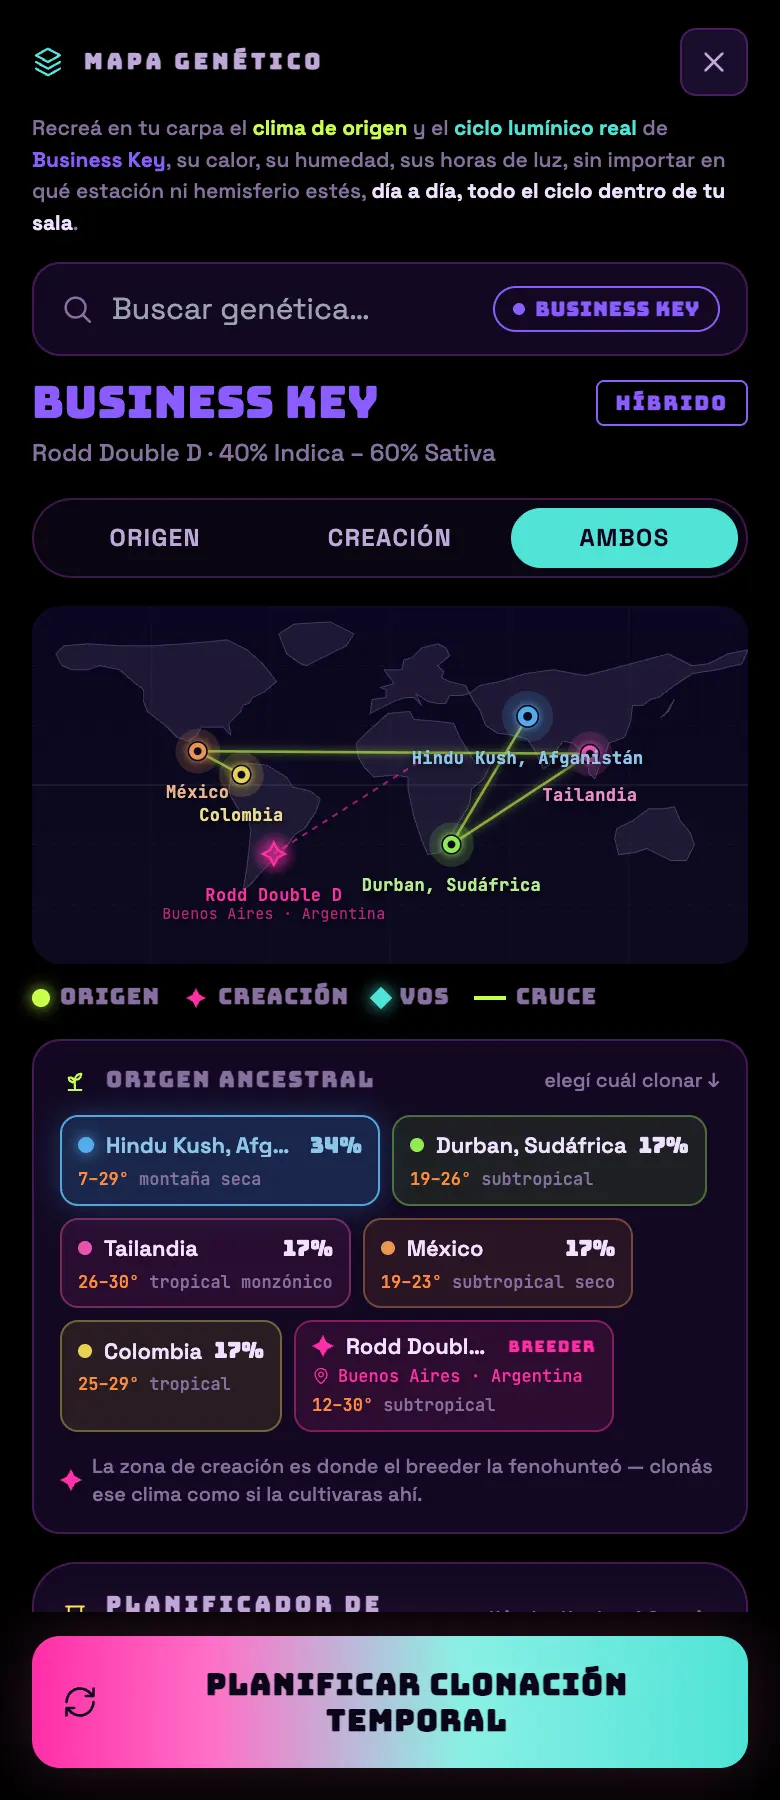
Genetic map
FIG 22b · Genetic map: landrace origins and place of creation.
You start from a strain and see where it comes from: origin landraces with their weight, place and country of creation, and the real climate of that origin.
It connects with Time Machine: from the map you can clone that origin's climate into your tent.
When the data only got as far as country-level precision, it shows the country and doesn't invent a place. As for you, the app locates you by IP and only down to the country: it never stores coordinates.
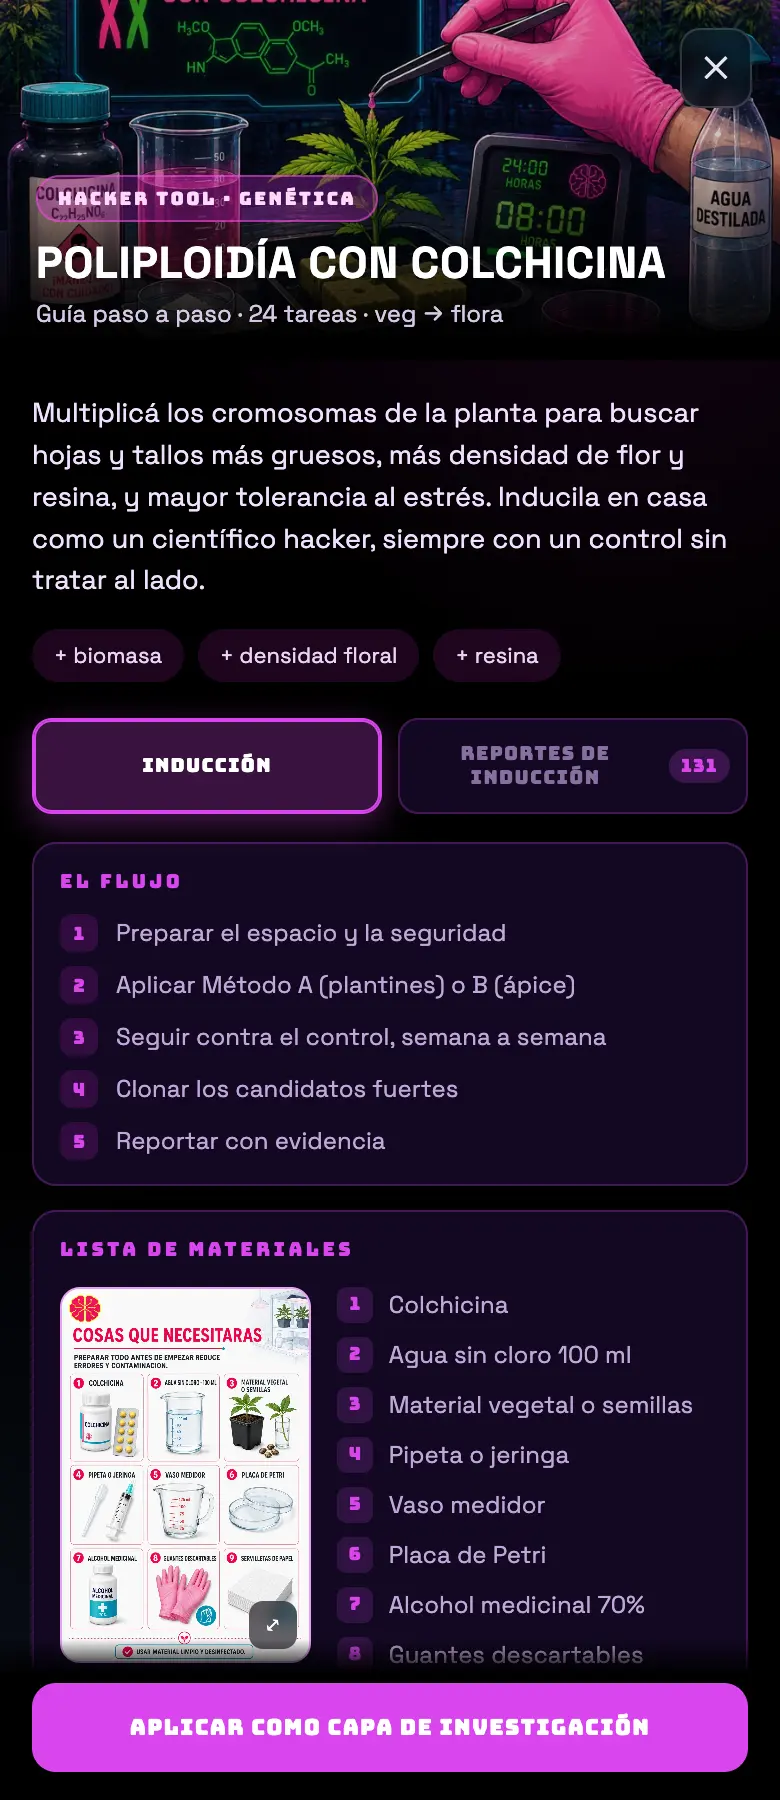
Hack Tools · polyploidization
FIG 22c · Step-by-step induction protocol, with reports from the community.
Grow Tools
FIG 22d · Grow Tools: it only appears in the app, because it needs Bluetooth.
PAR measurement with a VBR-100 meter over Bluetooth: it opens a live measurement screen so you can map the tent.
THC/CBD measurement with a Purpl Pro.
Use this phone as a camera: the setup flow for Eyes.
Grower Arena
FIG 22e · Weekly ranking with a podium, and your own row always visible.
Two views: weekly (the last 7 days, on a rolling window) and all-time, plus the hall of fame with each week's champions.
Eight metrics: overall, VPD in band, days monitored, journal entries, AI usage, tasks completed, light punctuality and setup improvements. Plus a team ranking for collaborators.
If you don't have data for a metric you don't enter that ranking: it doesn't put you last, it leaves you out of that table.
What's different: it rewards being on time when you do it by hand — it compares the real time of each action against the scheduled one. It only adds, never subtracts.
You can change your name and avatar, and opt out of the ranking with a checkbox.
There's a public page explaining how each metric is calculated.
Do this
Use Time Machine on a test zone before your production one. An Afghan landrace's curve can be spectacular and awful for the genetics you're running now.
Avoid this
Don't apply the polyploidization layer "just to see what happens". It rewrites the tasks of the grow you have running.
How urgent it is
EssentialNothing.
ImportantGrower Arena, if it motivates you not to slack off any day.
OptionalTime Machine, genetic map and polyploidy.
29 · PrivacyADVANCED
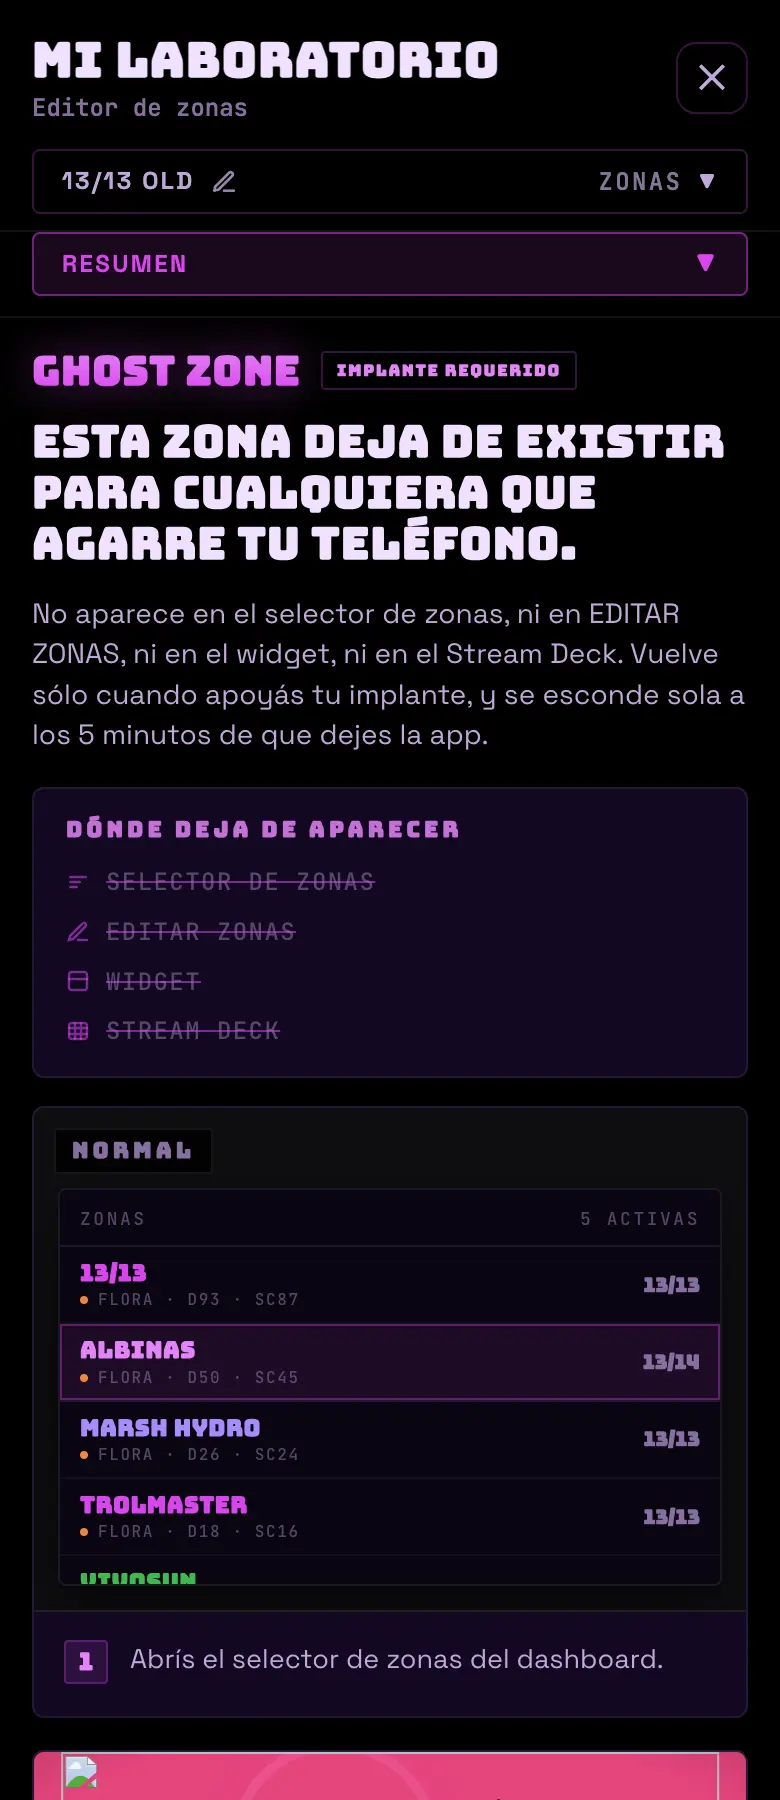
Ghost Zone: hiding a zone
A zone in ghost mode stops showing up: it's not in the zone selector, or the editor, or the phone widget, or the Stream Deck. It comes back when you tap the NFC implant. It's a tab in My Lab.
FIG 22b · The GHOST ZONE tab, inside My Lab.
Do this
Test the unlock with the implant before you hide a zone with a grow in it.
Avoid this
Don't use it as if it were encryption. It isn't yet.
How urgent it is
EssentialNone of this is essential.
ImportantImplant set up and tested, if you're going to use it.
OptionalHiding the zone.
30 · SettingsBASIC
Themes, monitor, language and access
The app lets itself be rearranged quite a bit. None of this changes how the system grows, but it changes quite a lot about how you live with it.
Themes
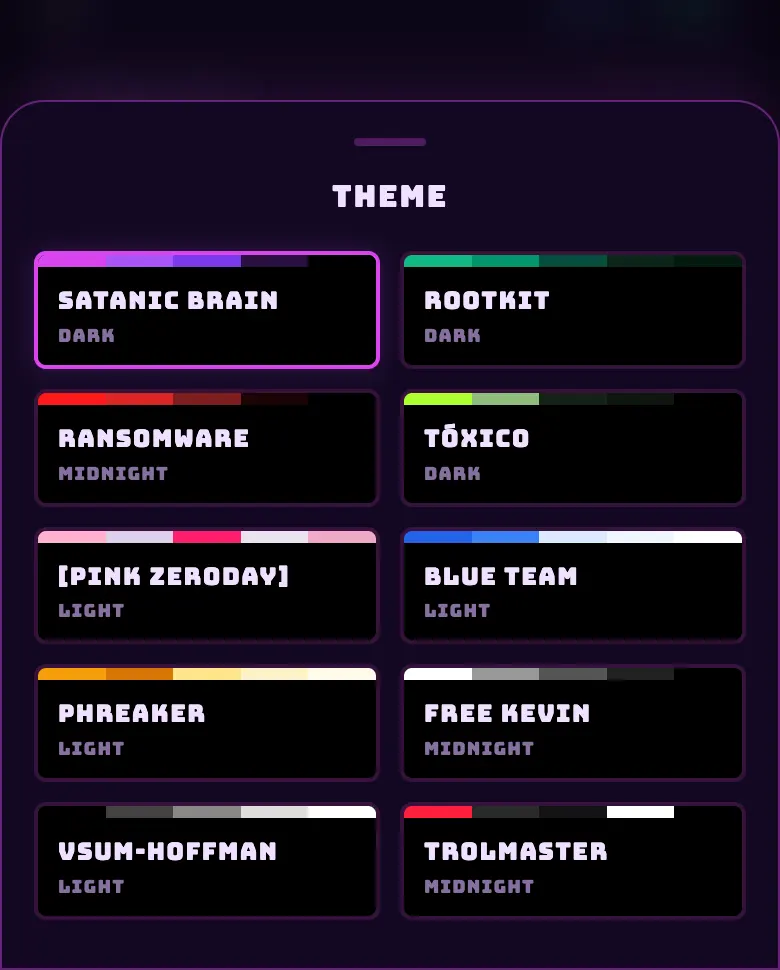
FIG 23a · The ten themes. The factory one is SATANIC BRAIN.
TROLMASTER — it unlocks by owning that brand's hardware, not by paying.
You change it from ☰ → Settings → Theme, or by tapping the logo in the header to cycle from one to the next.
The theme follows you into Plant Scan, Grower Arena and the rest of the screens.
Shared zones have their own palettes instead of themes, so you can tell at a glance that you are in someone else's tent.
Monitor Mode
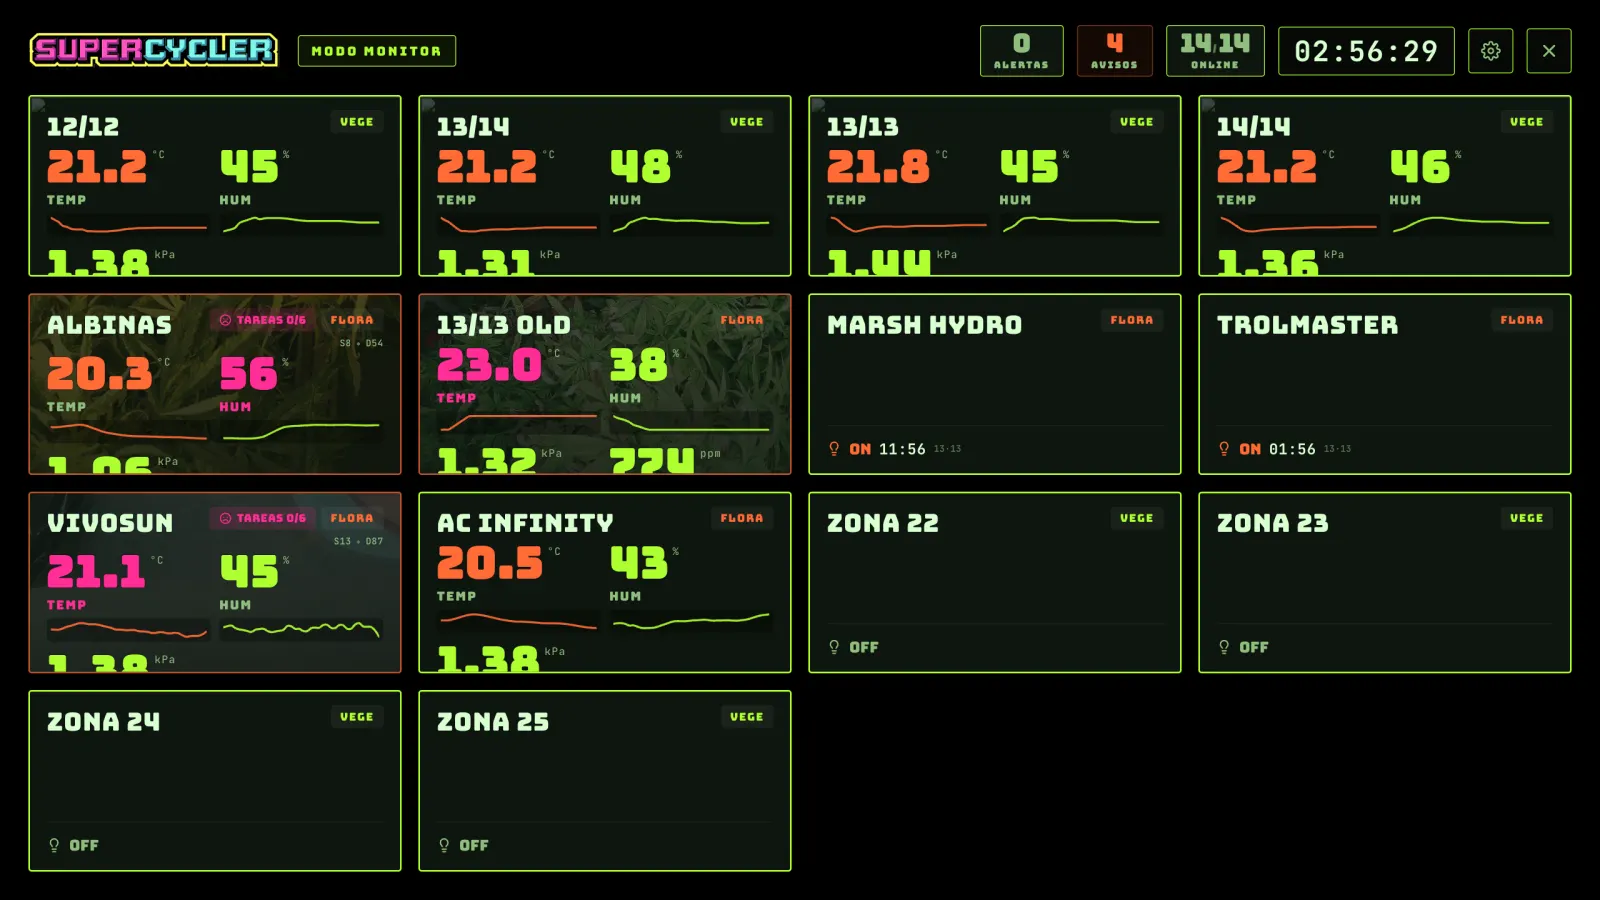
FIG 23b · Monitor Mode: one panel per zone, meant for a TV in the room.
A landscape board with one panel per zone and the vitals in large type, with a traffic light per metric.
You get in from ☰ → Monitor Mode, or by turning the phone sideways.
When you leave it, it goes back to where you were, not to the home screen.
Language
Four languages: Spanish, English, Portuguese and German. You switch them from the ☰ menu itself.
If a translation is missing, it falls back to Spanish instead of showing the technical key.
Numbers and dates are formatted according to the language.
API keys
FIG 23c · Key manager: health status per service.
It stores the credentials for each cloud (Tuya, eWeLink, Shelly, Bluelab, Pulse, Zigbee) with a health status: valid, suspect or invalid.
You can test them without saving them.
When a key dies, the app flags "you need to link again" instead of going quiet.
You cannot delete a key that has equipment assigned to it: it tells you how many.
Ways in from outside the app
Android widgets
Three widgets for the home screen: one zone, the zone list and the day's tasks. They use the same session as the app, so they go dark on their own when you log out. They refresh every half hour.
Stream Deck
A plugin for the physical key controller: you see the environment and you act on up to four pieces of equipment per zone. It gets in with a key you can revoke whenever you want: you generate it and change it from the app.
Telegram
You link the account with a short code and you get alerts there.
Deleting the account
From ☰ → Settings → Delete account. You have to type DELETE and confirm.
If you cannot log in, there is a public page to request it: we check who you are and do it within seven days.
Everything gets deleted and it is irreversible: profile, credentials for the clouds you connected, historical readings, journal, photos and logs.
Do this
If you are going to show the app to someone, the FREE KEVIN theme (black and white) is the one that reads best on a projector and in photos.
Avoid this
Do not delete an API key to "clean things up" when a piece of equipment stops responding. Test it first: almost always what you need to do is link again, not start from scratch.
How urgent it is
EssentialLanguage.
ImportantHealthy API keys.
OptionalTheme, monitor, widgets and Stream Deck.
31 · SupportBASIC
Support: when you have to write to a human
Brain answers now and that's where it ends. A ticket stays alive, with a state, until someone works on it. You open it from ☰ → Support.
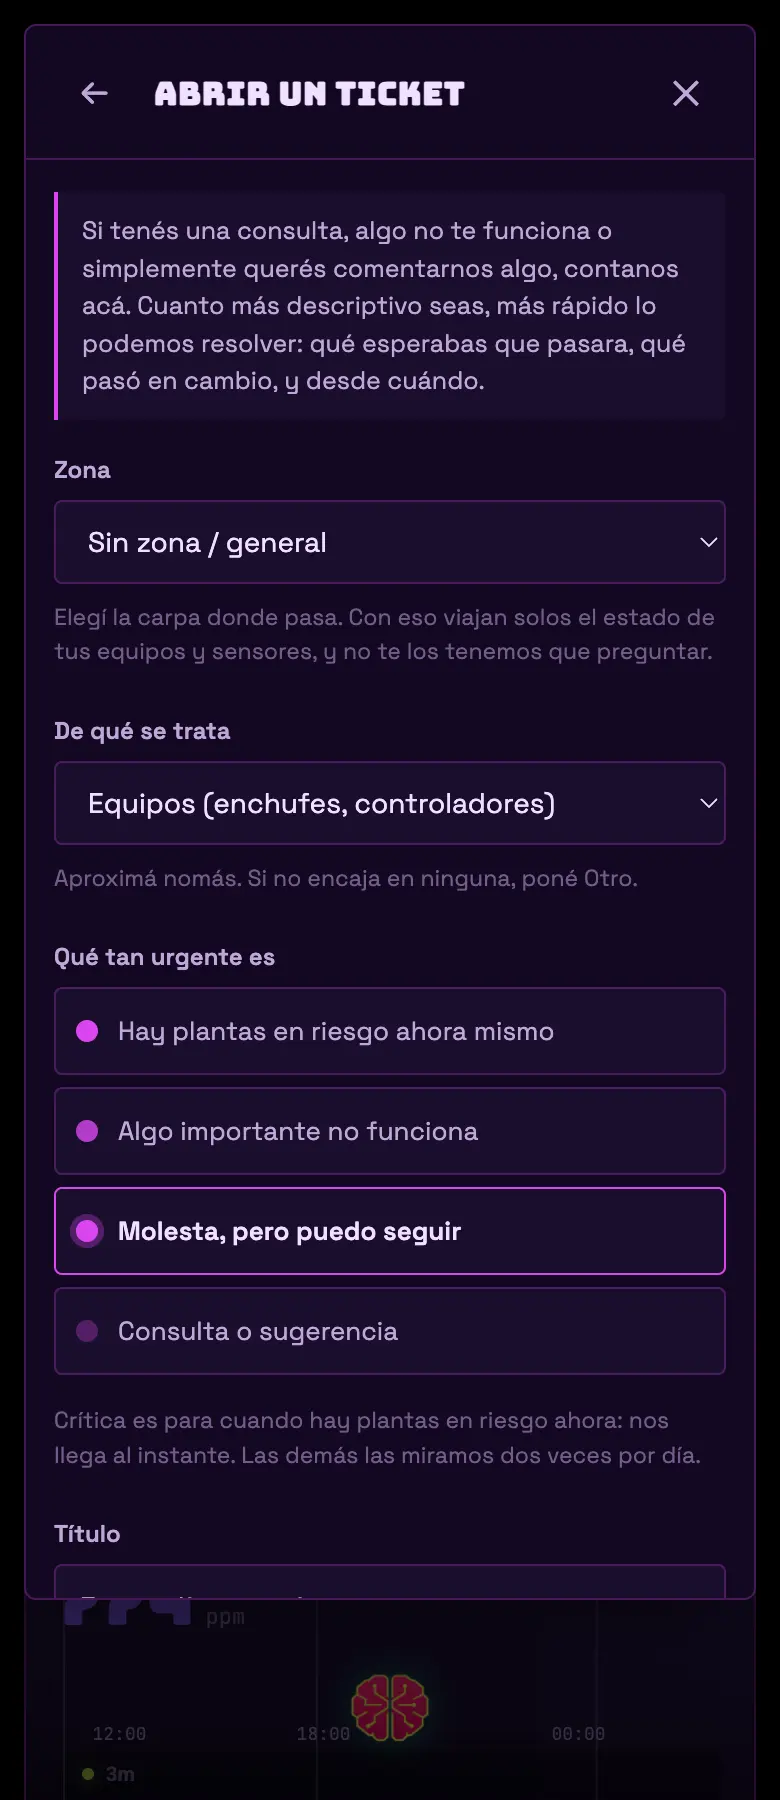
FIG 24 · New ticket: zone, category, urgency, and photos.
Opening one
You pick a zone (it can be a shared one, or none), a category (equipment, sensors, irrigation, light, app, account, or other), urgency, subject, and description.
You can attach up to 5 photos per message and 20 over the ticket's whole life.
Limits: 5 tickets a day.
What travels with the ticket
A frozen snapshot of your zone's state at that moment: day and phase, effective photoperiod, protocol, the equipment with its role and what state it should be in versus what it reports, each sensor's last reading with how many seconds old it is, the last ten alerts, and data about your app.
You can see it before you send it, in the "what we send to support" dropdown.
The states
Status
What it means
Open
It arrived and it's in the queue.
In progress
Someone is working on it.
Waiting for your reply
Something from you is missing.
Resolved
The closing report arrived. Writing there reopens it.
Closed
You can't write anymore. The button becomes "open a new one", which pre-loads the reference to the previous one.
Urgency doesn't change the fix priority: it changes how we find out. High and critical notify instantly; medium and low get grouped into a digest twice a day.
The notices go by email and, if you have it on, by notification. Replying to the email doesn't work: you have to go in through the link.
The closing report has five parts: what you reported, what we found, what we did, what's left for you to do, and how long it took.
A resolved ticket closes itself after 7 days with no activity.
Do this
Attach the photo of the screen where you see the problem, not the one of the plant. The zone's state already travels on its own; what's almost always missing is which button you tapped.
Avoid this
Don't open a ticket at critical urgency if the plants aren't at risk right now. It's the only category that wakes people up, and spending it blunts it.
How urgent it is
EssentialNothing.
ImportantOne ticket instead of three loose messages.
OptionalTelegram linked.
32 · GlossaryBASIC
Glossary
The terms that show up in the app and don't always mean what they look like.
Supercycle
One full turn of your light cycle: one ON plus one OFF. If you run 13/13, it lasts 26 hours. SC in the header counts how many the grow has completed.
Zone
A physical space with its own schedule, its sensors and its plugs. The unit for everything: alerts, journal, power cost and closeout are all per zone.
Role
What a device is to the system: light, exhaust fan, pump, sensor. It's what makes the widgets appear and decides what gets sent to it.
Primary sensor
The ambient sensor the big numbers, the alerts and the rules come from. One per zone, and never a soil probe.
VPD
Vapor pressure deficit: how thirsty for water the air is. It combines temperature and humidity into one number.
Leaf VPD
VPD calculated with the temperature of the leaf, which is cooler than the air. It's what the plant feels.
Dew point
The temperature at which the air starts to condense. If the leaf is below it, there's water on the leaf.
Hysteresis
The distance between the value that turns a piece of equipment on and the one that turns it off. Without it, the equipment turns on and off every minute.
Dryback
How much the substrate dries between waterings, in moisture points. The main lever of crop steering.
Wet/dry
Watering by soil moisture: wait until it hits the minimum, fill up to the target, and let it dry.
Shadow mode
The system calculates and logs what it *would* have done, without acting on anything. It's how crop steering gets tested and how AI VPD works today.
Hardware auto-off
The plug's own timer. It's the safety layer that keeps working even if the internet, the server or the manufacturer's cloud goes down.
Secure Run
Writing the schedule into the firmware of the plug, as a backup. Only on the models that support it, and not on the outlets of a multichannel device.
By hand
A light mode in which no automation touches it. Different from override, which overrides a schedule that still exists, and from manual light, which is a light with no hardware, set up so the zone has a photoperiod.
Effective photoperiod
The tent's real photoperiod, which can differ from the declared one if a secondary light stretches the window.
Protocol
A plan of tasks and targets per stage. The built-in ones can't be edited: the moment you touch one, the app creates your copy.
Collaborator
Someone you share a zone with. They watch, and if you want, they report too. Operating equipment is a separate, temporary permission.
Do this
When something doesn't add up, look first at the "X ago" at the foot of the card. Half the weird problems are stale data, not broken logic.
Avoid this
Don't use "day" to compare grows with different cycles. Use supercycles.
How urgent it is
EssentialSupercycle, zone, role.
ImportantVPD, hysteresis, dryback.
OptionalThe rest, as they come up.
33 · DIYADVANCED
Your own board: DIY with an ESP32
If you build your own hardware, your brand does not have to be on the list in Connecting your first device. The app gives you a username, a password and an MQTT topic, and your board sends its readings straight to the server, without going through anyone's cloud. It is a read-only path: a DIY sensor reports, it does not switch anything on or off.
01☰ menu → Add device → Brain ESP32 (your own board).
02Before you create anything, open View contract and reference firmware. That is the protocol in writing, plus an Arduino sketch that already speaks all of it, so you adapt it to your sensor instead of starting from scratch.
03Tap ADD MQTT SENSOR. The app shows you the secrets.h with the credentials already in it, lets you download the config.json, and writes you a prompt ready to paste into an AI so it builds the firmware.
04Flash the board and leave it publishing. With the first message that arrives, the screen picks it up on its own and lets you assign it to a zone.
How it connects
What
Value
Server
newschoolgrowers.supercycler.app
Port
8883, with TLS required. There is no plaintext MQTT, and you must verify the certificate against the CA shipped in the contract.
Username and Client ID
the board_id the setup gave you — it starts with diy_
Password
the token from the setup
Topic
sc/diy/<board_id>/telemetry/<channel>
Channel
the one the setup gave you. Today the app creates a single one, called env0.
Delivery
QoS 1, and no retained
What the message looks like
It is a flat JSON object: one key per reading, all at the root. Nothing nested.
Values go as a number, never as text: {"t":23.5} gets in and {"t":"23.5"} is dropped.
Up to 1024 bytes per message. Anything bigger is thrown away whole.
You can send several readings in the same message.
The ones you leave out keep their last known value: a board that only sends temperature does not wipe your humidity.
Keys the server does not know are ignored. If the message carries no valid reading at all, it is dropped whole.
An out-of-range value voids only that reading, not the whole message.
A key's long name is only used when the short key is absent. If you send {"t":null,"temperature":21} the server keeps the null from t and the temperature is lost with no warning: pick one form and do not mix them.
You may include ts (epoch seconds) and it is accepted, but the timestamp that counts is the one from arrival at the server.
One message every 30 to 60 seconds. The reference firmware sends one every 45.
What a board can measure
Key
Also valid
What it is
Range
t
temperature
Air temperature, in °C
−40 to 80
h
humidity
Relative humidity, in %
0 to 100
sm
soil_moisture
Substrate moisture, in %
0 to 100
vpd
— short key only
VPD, in kPa
0 to 20
co2
— short key only
CO₂, in ppm
0 to 10000
ph
— short key only
pH of the solution
0 to 14
ec
— short key only
EC of the solution, in mS/cm
0 to 20
sec
soil_ec
EC of the substrate, in mS/cm
0 to 20
stemp
soil_temperature
Substrate temperature, in °C
−40 to 80
wtemp
water_temperature
Water temperature, in °C
−40 to 80
Do this
Start from the reference firmware and swap the sensor. It already solves the parts that are hardest from scratch: verifying the certificate and the cadence.
Avoid this
Do not push the secrets.h or the config.json to a repository. That password is the key to your board and there is no way to know who used it.
How urgent it is
EssentialNothing: this is for people who build their own hardware.
ImportantCredentials saved before you close, and the topic copied exactly.
OptionalAdding substrate and solution readings to the same board.
The real Brain reads your sensors
This manual explains the app. Brain, inside it, answers about your tent: why your VPD spiked last night, whether that dryback is normal, what to change today.